Why Nails Break — and What Honey Does About It
The nail plate is composed almost entirely of hard keratin — a fibrous structural protein organized into layers of flattened, interlocked cells called corneocytes. Unlike bone, nails have no blood supply of their own. They depend entirely on the nail bed beneath and the surrounding periungual tissue for moisture and nutrients. When that moisture balance tips too far in either direction, the nail becomes brittle.
Optimal nail flexibility requires approximately 18% water content within the nail plate. Above that, nails become soft and prone to peeling. Below it — which is far more common in adults who wash dishes, use acetone nail polish remover, or live in dry climates — nails become rigid and fracture easily. The nail industry calls this "brittle nail syndrome" (BNS), and it affects an estimated 20% of the population, with a 2.5:1 female-to-male ratio according to a 2012 review in the *American Journal of Clinical Dermatology*.
Honey addresses brittle nails through three distinct mechanisms. First, **humectancy**: honey is 70–80% sugars (primarily fructose at ~40% and glucose at ~30%), both of which are powerfully hygroscopic — they attract water molecules from the surrounding air and tissue and hold them at the application site. Applied to the nail and cuticle, honey draws atmospheric moisture into the nail plate and locks it there, raising the water content toward the optimal 18% zone without requiring occlusion or synthetic humectants. Second, **lipid-barrier support**: honey's mild acidity (pH 3.2–4.5) is very close to the skin's natural acid mantle (pH 4.5–5.5). This helps stabilize the thin lipid layer that prevents water loss from the nail bed and surrounding cuticle — disrupted by alkaline soaps, acetone, and gel remover. Third, **antimicrobial action**: hydrogen peroxide generated by honey's glucose oxidase enzyme and the methylglyoxal unique to manuka honey provide surface-level antimicrobial activity that addresses one of the most common causes of nail discoloration and texture changes: early-stage fungal colonization.
These are not theoretical effects. A 2017 study in *Pharmacognosy Research* confirmed raw honey inhibits clinical isolates of *Trichophyton rubrum* — the most common dermatophyte responsible for nail fungus — at minimum inhibitory concentrations achievable with topical application. Honey's antifungal activity against *Candida* species is equally well documented, with a 2020 systematic review in *Frontiers in Microbiology* identifying over 40 studies confirming honey's broad-spectrum antifungal efficacy.
Pro Tip
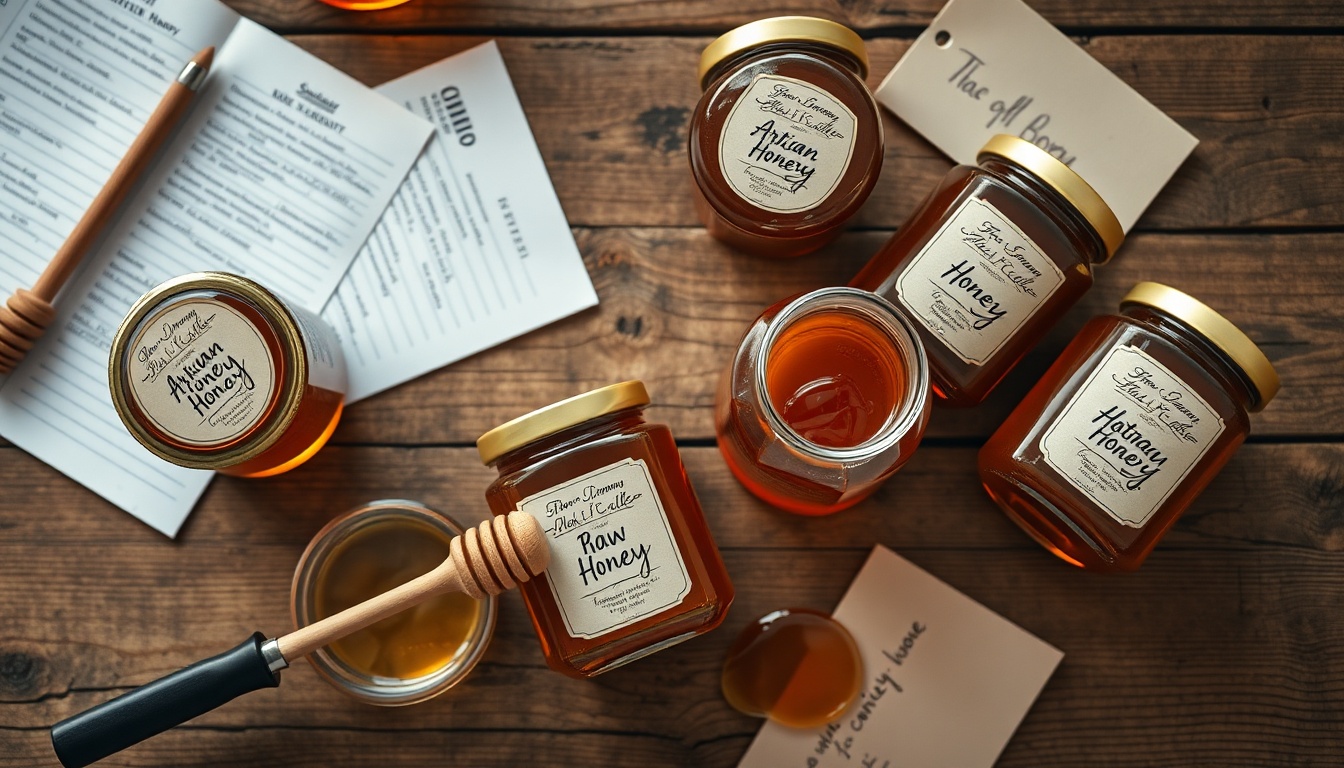
Use raw, unheated honey for all five recipes in this guide. Pasteurized commercial honey is heated above 120°F (49°C), which destroys the glucose oxidase enzyme responsible for generating hydrogen peroxide — the primary antimicrobial and humectancy-supporting compound. Look for labels that say "raw," "unheated," or "unpasteurized." Manuka honey (UMF 10+ or MGO 263+) offers the strongest antimicrobial activity for fungal-related issues and is the best choice for Recipes 4 and 5.
Understanding Your Nail Condition Before Choosing a Treatment
Brittle, unhealthy nails present differently depending on the underlying cause. Identifying the right pattern guides you to the most effective recipe:
- **Onychoschisis (horizontal peeling/layering)** — The nail splits horizontally into layers, usually at the free edge. Caused by repeated wet-dry cycling (dishwashing, swimming without gloves), acetone removers, and low humidity. The primary problem is dehydration and lipid loss. Recipes 1 and 2 (honey soak and brightening oil treatment) address the root cause.
- **Onychorrhexis (longitudinal ridging and breaking)** — Vertical ridges running from the base to the tip, with nails that snap or crack at the free edge. Associated with iron deficiency, thyroid dysfunction, and aging. Honey improves the surface environment but cannot address systemic causes — consult a physician if ridging is severe or new.
- **Leukonychia (white spots or streaks)** — White marks under or on the nail surface. Most cases are caused by minor trauma (nail plate injury) rather than nutritional deficiency. They grow out naturally. Persistent or expanding white discoloration may indicate fungal involvement — Recipe 4 (honey & tea tree) is appropriate.
- **Onychomycosis (nail fungus)** — Thick, yellowed, crumbling, or distorted nails with a foul odor. The nail plate thickens as the fungus grows beneath it. Honey's antifungal action is most effective in very early-stage infections. Advanced onychomycosis requires prescription antifungals (terbinafine, itraconazole) — honey can complement but not replace medical treatment.
- **Yellow nail syndrome** — Nails that are uniformly yellow, slow-growing, and thickened without fungal infection. Can be associated with lymphedema or respiratory conditions. Honey & lemon (Recipe 2) helps address surface staining but will not resolve underlying yellow nail syndrome.
- **Post-gel/acrylic damage** — Thin, flexible, peeling nails after removal of gel polish or acrylic extensions. The nail plate has been mechanically and chemically thinned by the removal process. All five recipes are beneficial here; prioritize Recipe 5 (honey, biotin & castor oil) for recovery.
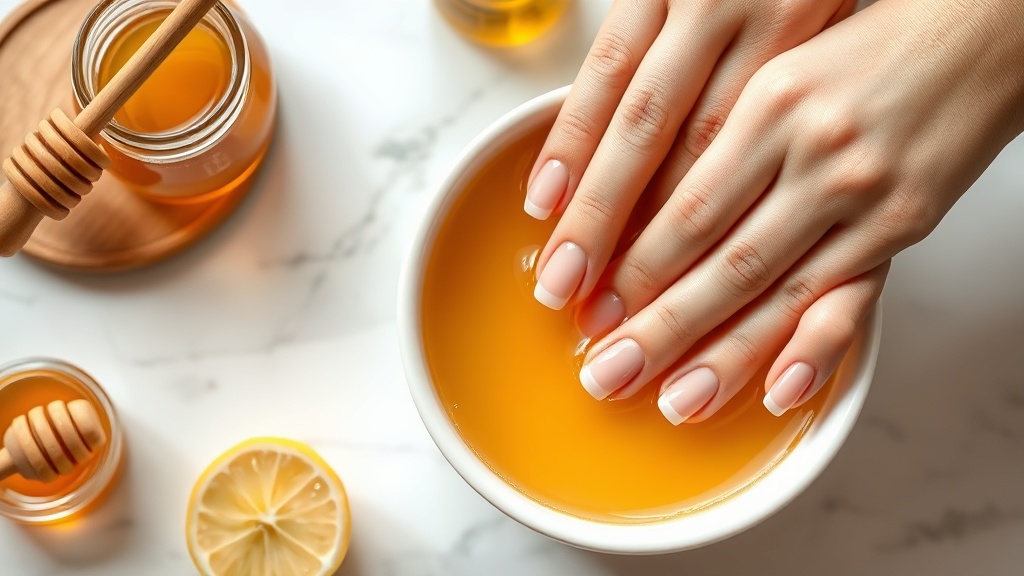
Recipe 1: The Honey Nail Soak — Core Hydration Treatment for Brittle, Peeling Nails
This is the foundational treatment — the most direct way to deliver honey's humectant and pH-balancing benefits to the nail plate and surrounding tissue. It requires nothing except raw honey and warm water, and it is appropriate for all nail types except active, severe fungal infections.
The warm water in this soak temporarily softens the nail plate and opens the intercellular spaces, allowing greater absorption of honey's humectant sugars and antioxidants. The honey then acts as a moisture magnet as the nail dries, drawing water from the environment into the nail rather than releasing it.
**Ingredients:**
• 2 tablespoons raw honey
• 1 cup warm water (not hot — around 100°F / 38°C)
• Optional: 1 tablespoon apple cider vinegar (ACV) — adds acidity, helps dissolve surface buildup
**Instructions:**
1. Dissolve honey in warm water, stirring until fully incorporated. Add ACV if using.
2. Submerge fingertips to the first knuckle. Ensure nails and cuticles are fully immersed.
3. Soak for **15–20 minutes**. During the soak, gently push back any softened cuticle with a wooden cuticle stick. Do not cut the cuticle — it is a waterproof seal protecting the nail matrix.
4. Pat dry gently with a soft towel. Do not rub — rubbing lifts the softened surface cells.
5. **Immediately** while the nail is still damp, apply 1–2 drops of jojoba oil or vitamin E oil to each nail and cuticle. Sealing moisture in while the nail is hydrated produces a compound effect.
6. Leave the oil on — do not rinse.
**Frequency:** 2–3 times per week for damaged or brittle nails. Once per week for maintenance.
**Expected results:** Nails will feel noticeably more flexible within 2–3 sessions. Horizontal peeling (onychoschisis) typically reduces within 3–4 weeks of consistent treatment.
Pro Tip
The most common mistake with nail soaks is applying hand cream or oil after the nails have fully dried. Once the water has evaporated from the nail plate, applying oil seals in nothing — the moisture is already gone. Always apply your sealing oil or cream within 60 seconds of patting dry.
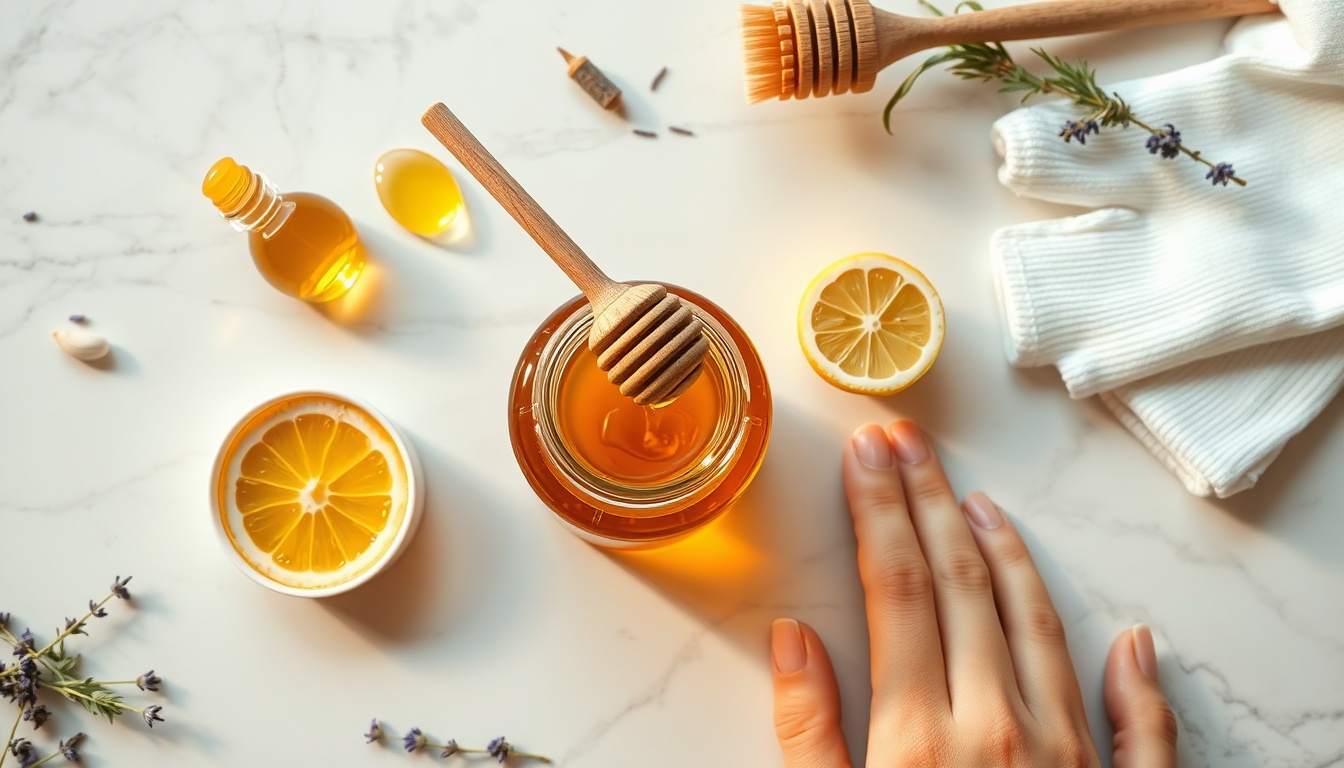
Recipe 2: Honey, Lemon & Vitamin E Nail Brightening Treatment (Yellowed or Stained Nails)
Nail discoloration from nail polish, tobacco, tea, coffee, or mild surface fungal growth responds well to the combination of honey's antioxidants, lemon's citric acid, and vitamin E's barrier-restoring tocopherols.
Lemon juice contains citric acid (5–8% w/v in fresh lemon juice), which acts as a gentle chelating and bleaching agent. It dissolves surface-level pigment deposits and lifts the dull outer layer of keratin that dulls nail color over time. Unlike bleach or acetone-based whitening treatments, citric acid does not damage the nail plate at normal exposure durations (under 10 minutes). A 2015 study in the *International Journal of Cosmetic Science* confirmed that low-pH alpha-hydroxy acid solutions (which include citric acid) improve nail plate surface smoothness without measurable keratin damage in contact times under 15 minutes.
Vitamin E oil (tocopherol) is one of the few compounds with molecular geometry small enough to penetrate the nail plate's closely packed keratin structure. A well-cited 1998 study in the *Journal of Dermatological Treatment* found that topical vitamin E (applied nightly) significantly improved brittle nail syndrome in 35 of 45 patients within 8 weeks — softening ridges, reducing splitting, and restoring natural sheen. In this recipe, vitamin E serves primarily as a carrier and cuticle repair agent.
**Ingredients:**
• 1 tablespoon raw honey
• 1 tablespoon fresh lemon juice (from half a lemon — use fresh, not bottled)
• 1 teaspoon vitamin E oil (puncture 2 vitamin E capsules or use a small bottle)
**Instructions:**
1. Stir honey and lemon juice together — the mixture will foam very slightly as lemon's acidity reacts with honey.
2. Stir in vitamin E oil.
3. Using a soft nail brush or a cotton pad, apply the mixture to all nail surfaces and cuticles. Coat generously.
4. Leave for **8–10 minutes** — do not exceed 15 minutes. Lemon juice at sustained contact becomes drying.
5. Rinse thoroughly with lukewarm water.
6. Apply a drop of pure jojoba or almond oil to each nail as a finishing treatment.
**Frequency:** Once or twice per week until discoloration resolves, then monthly for maintenance.
**Caution:** Do not use on cracked, broken, or inflamed cuticles — lemon juice will cause stinging. Do not use immediately before sun exposure; citric acid increases photosensitivity in skin at the contact site.
Recipe 3: Honey, Garlic & Olive Oil Nail Hardening Serum (Soft, Thin, Breaking Nails)
This is the most potent recipe for nails that are genuinely thin or soft — nails that bend back, peel into layers, or break before reaching functional length. It draws on the synergistic action of honey's humectancy, garlic's allicin content, and olive oil's squalene.
Garlic has been used in traditional nail care for centuries, but the science behind it is concrete. Allicin — the sulfur compound produced when garlic is crushed or minced — has documented antifungal activity against *Trichophyton* species (nail fungus) via inhibition of cysteine proteinase and alcohol dehydrogenase enzymes critical for fungal growth. A 2019 study in the *Iranian Journal of Public Health* confirmed that garlic extract (equivalent to 0.5–1% allicin) inhibited *T. rubrum* and *T. mentagrophytes* at concentrations achievable with topical application. Beyond antifungal action, the sulfur amino acids in garlic (cysteine, methionine) may support keratin cross-linking when absorbed into the nail plate — the same sulfur bridges that give hard keratin its structural rigidity.
Olive oil is uniquely suited to nail treatment among carrier oils. Its primary fatty acid, oleic acid (C18:1), has a molecular weight and geometry that allows it to penetrate the close-packed structure of the nail plate better than most alternatives. A 2012 study in *Lipids* confirmed oleic acid's superior penetration into the nail plate compared to mineral oil, lanolin, and petrolatum. Squalene — a minor but functionally important compound in olive oil — is also found in sebum and provides lipid-barrier repair properties to the cuticle and nail fold.
**Ingredients:**
• 2 tablespoons raw honey
• 2 tablespoons extra-virgin olive oil
• 2 garlic cloves, finely minced or pressed
**Instructions:**
1. Mince or press garlic cloves. Allow to sit for 5–10 minutes after mincing — this resting time allows alliinase enzyme activity to convert alliin to allicin at maximum yield.
2. Gently warm the olive oil (not above 100°F / 38°C — just slightly above body temperature). Stir in the honey until combined.
3. Add minced garlic and stir well.
4. Soak a cotton round or cotton ball in the mixture and press firmly to each nail for 5 minutes per hand, OR place a small amount in a shallow bowl and soak fingertips for 10–15 minutes.
5. Rinse with warm water. Pat dry.
6. The serum can be strained and stored in a sealed glass jar in the refrigerator for up to 5 days (garlic in honey at room temperature is safe; garlic in oil at room temperature poses a risk of *C. botulinum* — refrigerate).
**Frequency:** 3 times per week for thin, soft nails; once weekly for maintenance.
**Note:** Fresh garlic has a strong smell that will briefly transfer to the fingers. This dissipates within 30–60 minutes of washing. If smell sensitivity is a concern, use garlic powder instead (1 teaspoon per recipe) — it retains much of the antifungal activity with significantly reduced odor.
Pro Tip
Garlic-infused nail treatments are particularly effective for nails that are soft AND have a slight yellowish tinge — a combination that often suggests subclinical fungal colonization that hasn't yet caused obvious onychomycosis. The dual action of honey's hydrogen peroxide and garlic's allicin targets the fungal cell membrane from two different angles, making resistance less likely.
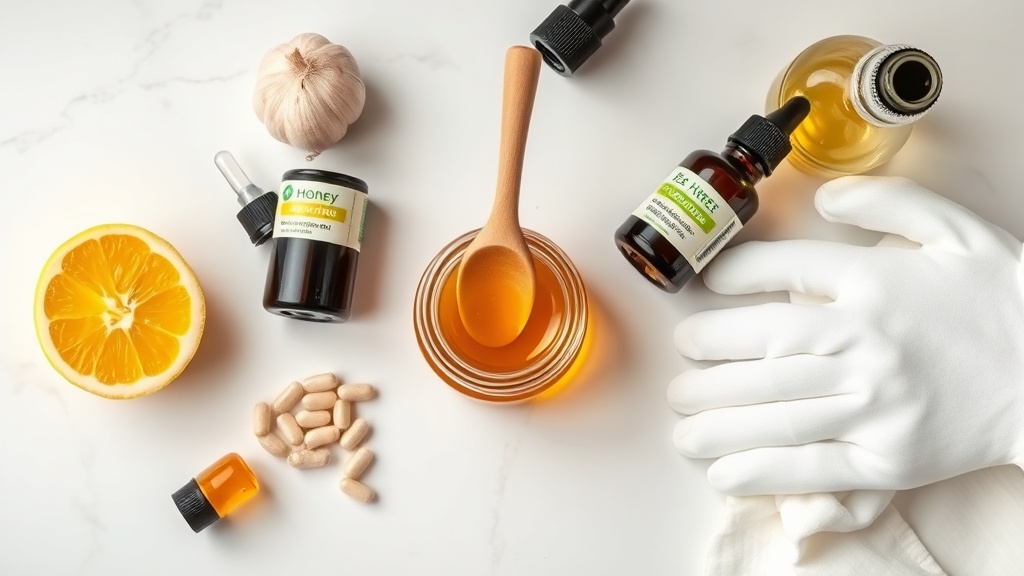
Recipe 4: Honey & Tea Tree Antifungal Nail Treatment (Early-Stage Discoloration & Fungal Concerns)
When nails show early signs of fungal involvement — mild yellowing or whitening, slight thickening at the free edge, loss of normal luster, or separation beginning at the tip (onycholysis) — early intervention with a targeted antifungal treatment is far more effective than waiting for full nail involvement.
Tea tree oil (*Melaleuca alternifolia*) is the most clinically studied natural antifungal for nail conditions. A landmark 1994 study in *Journal of Family Practice* compared 100% tea tree oil to 1% clotrimazole (a pharmaceutical antifungal) for distal subungual onychomycosis. At 6 months, both treatments produced equivalent rates of clinical improvement (61% tea tree vs. 60% clotrimazole) and mycological cure (18% vs. 11%) — a surprising result that established tea tree oil's legitimate status as a nail antifungal. Subsequent studies confirmed that tea tree oil's primary active components, terpinen-4-ol and γ-terpinene, damage *T. rubrum* cell membranes at concentrations as low as 0.12% — well within the range delivered by a 2% dilution used in this recipe.
In this recipe, tea tree oil is combined with honey rather than used neat. Using tea tree oil undiluted on the nail and cuticle causes significant drying and can trigger contact dermatitis in sensitive individuals. Honey serves a dual purpose here: it acts as a gentle carrier that moderates the concentration of essential oil at the skin surface, and it contributes its own antifungal action via hydrogen peroxide, giving this recipe a true one-two punch against *Trichophyton* and *Candida* species.
**Ingredients:**
• 2 tablespoons raw honey (manuka UMF 10+ preferred for maximum antifungal potency)
• 20 drops tea tree essential oil (yields approximately 2% dilution)
• 5 drops lavender essential oil (anti-inflammatory; soothes nail-fold irritation)
• 1 teaspoon fractionated coconut oil (stable carrier; has some antifungal activity from lauric acid)
**Instructions:**
1. Stir honey and coconut oil together.
2. Add essential oils and mix thoroughly.
3. Apply a small amount directly to the affected nail(s) using a clean toothbrush or nail brush, working the mixture under the free edge and along the sides of the nail fold where fungal growth concentrates.
4. Leave for 20–30 minutes. Cover fingers with disposable gloves or fingertip covers to maintain contact.
5. Rinse with warm water. Allow nails to air dry completely — do not apply nail polish afterward on treatment days.
6. Between treatments, keep nails trimmed short and dry. Change socks daily if toenails are affected.
**Frequency:** Daily for 4 weeks (acute treatment phase), then 3 times per week for 8 additional weeks. Nail fungus grows slowly — one full nail cycle (6 months for fingernails, 12–18 months for toenails) is required to see full clearance.
**Important:** If nails are significantly thickened, crumbling, or separated from the nail bed, see a dermatologist. Over-the-counter antifungal treatments (including this recipe) are not effective against advanced onychomycosis. Oral prescription antifungals are required for severe infections.
Recipe 5: Honey, Biotin & Castor Oil Nail Growth Serum (Damaged, Slow-Growing Nails)
This recipe is formulated for nails that are growing slowly, failing to reach functional length, or recovering from damage caused by gel polish, acrylic extensions, or extended illness. It combines the three most evidence-supported topical nail growth compounds: biotin, honey, and castor oil.
Biotin (vitamin B7) is the most clinically validated nutritional intervention for brittle nails. Its role in nail health centers on its participation in carboxylase enzyme activity — enzymes that are critical for the synthesis of fatty acids used in keratin production and for the metabolism of amino acids that form keratin's protein backbone. A 1993 study in the *Journal of the American Academy of Dermatology* found that biotin supplementation (2.5mg/day orally for an average of 5.5 months) increased nail plate thickness by 25% and reduced nail splitting in 91% of participants with brittle nail syndrome. This recipe uses biotin topically — though oral biotin is better established, topical application to the cuticle and nail fold (where keratin synthesis occurs) may provide localized benefit.
Castor oil provides ricinoleic acid — a hydroxyl fatty acid that penetrates more deeply into keratin structures than other fatty acids due to its unique molecular geometry. It also supports local prostaglandin activity, which may stimulate follicular growth mechanisms analogous to those observed in hair follicles. A 2018 review in *Journal of Cosmetic Dermatology* identified castor oil as one of the few plant-derived oils with documented keratin penetration capacity.
**Ingredients:**
• 1 tablespoon raw honey
• 1 tablespoon castor oil
• 1 teaspoon jojoba oil (thins castor oil; non-comedogenic)
• 2 biotin capsules, punctured and squeezed (5,000mcg total, or use liquid biotin drops)
• 5 drops frankincense essential oil (anti-inflammatory; supports tissue repair)
**Instructions:**
1. Blend castor oil and jojoba oil — castor oil is very thick; jojoba reduces the viscosity for easier application.
2. Warm honey slightly (10 seconds in microwave or place jar in warm water) and stir into the oil blend.
3. Squeeze in biotin from capsules. Add frankincense oil. Mix thoroughly.
4. Using a small brush (a clean mascara wand, nail art brush, or lip gloss applicator works perfectly), paint the serum onto the nail, cuticle, and nail fold — the entire periungual area.
5. Massage gently in circular motions for 2–3 minutes. The massage stimulates circulation in the nail bed, which is the primary driver of nail growth rate.
6. Leave on overnight. Cover hands with cotton gloves (widely available in beauty supply stores) to maximize absorption and protect bedding.
7. In the morning, rinse with warm water. No shampoo or soap needed — castor oil absorbs significantly during overnight application.
8. Store remainder in a small sealed glass jar or dropper bottle. Keep refrigerated; use within 2 weeks.
**Frequency:** Every night for 4–8 weeks during recovery; 3 times per week for ongoing nail growth support.
**Note on biotin:** Oral biotin at 2.5mg/day is more established for brittle nail syndrome than topical use. Consider oral supplementation alongside this topical treatment. High-dose oral biotin (above 5mg/day) can interfere with certain lab tests — inform your doctor if you take biotin supplements.
Pro Tip
Nail growth rate is primarily determined by the metabolic activity of the nail matrix (the germinal zone beneath the base of the nail). Anything that improves blood flow and nutrient delivery to this area accelerates growth. Beyond this recipe, wearing gloves when washing dishes, avoiding acetone removers, and eating adequate protein (nails are protein-rich structures) all materially affect nail growth rate and strength.
Application Techniques That Double Treatment Effectiveness
The difference between a honey nail treatment that produces visible results and one that does not often comes down to technique. These practices apply to all five recipes:
- **Apply to clean, bare nails.** Nail polish, base coat, and top coat create an occlusive barrier that prevents penetration of any treatment. Remove all nail products before applying honey treatments. If you must wear nail polish, apply treatments on no-polish days.
- **Warm the treatment slightly.** Body-temperature honey is more fluid and penetrates nail plate spaces more effectively than honey applied straight from a cool jar. 10 seconds in the microwave or a brief warm-water bath is sufficient.
- **Focus on the cuticle and nail fold.** The cuticle and the skin at the base of the nail (the proximal nail fold) are where the nail matrix lives — the zone that generates the nail plate. Most of the visible nail is already keratinized, dead material. The live growth zone at the base is where topical treatments have the most biological impact.
- **Massage for 2–3 minutes.** Mechanical massage of the nail bed significantly increases capillary blood flow to the nail matrix, accelerating nutrient delivery and growth. Use the pad of the thumb from the opposite hand; small circular motions at the base of each nail.
- **Seal with cotton gloves overnight.** Overnight occlusion — wrapping the treatment under cotton gloves — creates a sustained-release effect. Honey continues to draw moisture into the nail throughout the night, and oil compounds achieve maximum penetration within 6–8 hours of occlusive contact.
- **Stay consistent for at least one nail cycle.** Fingernails grow approximately 3mm per month. The portion of nail visible above the skin takes roughly 6 months to fully regenerate. Visible improvements in nail strength represent new growth from the matrix — this takes months, not days. Assess effectiveness at the 4-week mark (you should see the free edge improving) and at the 3-month mark (substantially grown-out nail).
- **Trim regularly.** Long nails are more susceptible to breakage regardless of treatment. Keep nails at a length where the free edge extends no more than 2mm beyond the fingertip during active strengthening treatment. Filing into a squoval or rounded shape eliminates the sharp corners where stress fractures begin.
Which Honey Variety Works Best for Nails?
Any raw, unheated honey delivers the core humectant, antioxidant, and mild antimicrobial benefits. But specific varieties have documented advantages for nail care:
- **Manuka honey (UMF 10+ / MGO 263+)** — Best for fungal-related nail issues and onychomycosis prevention. Contains uniquely high methylglyoxal (MGO), which provides non-peroxide antimicrobial activity against *Trichophyton* species even at dilutions below those achievable with hydrogen peroxide. Use in Recipes 4 and 5.
- **Acacia honey** — Highest fructose content (~40%) makes it the most hygroscopic variety — draws the most moisture into the nail plate per gram applied. Best for severely dehydrated, brittle, or peeling nails (Recipes 1 and 2). Clear and mild — no risk of staining.
- **Buckwheat honey** — Highest polyphenol content (ORAC 800–1000 µmol TE/100g). Antioxidants help protect nail keratin from oxidative damage — relevant for nails that are regularly exposed to acetone, harsh cleansers, or UV. Best in Recipes 2 and 5. Note: dark color could temporarily stain lighter nail polish colors.
- **Wildflower honey** — Broad-spectrum antibacterial and antifungal activity from its polyfloral polyphenol profile. Excellent all-purpose choice for any recipe. Affordable and widely available in raw form.
- **Clover honey** — Most widely available raw honey in North America. Effective for basic moisturizing and barrier support. Good entry-level choice if manuka or specialty varieties are unavailable.