Why Start Beekeeping in 2026?
Backyard beekeeping has surged in popularity over the past decade, with the American Beekeeping Federation estimating over 200,000 hobby beekeepers in the US as of 2025 — up from roughly 115,000 in 2015. The motivations vary: some want a reliable supply of raw, unprocessed honey they can trust — whether wildflower honey from diverse local foraging, clover honey from agricultural areas, or specialty varieties like basswood honey from mature forests — others are drawn to supporting pollinator health in an era of declining bee populations — National Pollinator Week (June 22-28) celebrates the essential role these pollinators play — and many discover that beekeeping is simply a fascinating, meditative hobby that connects them to the natural world.
The good news: beekeeping is more accessible than ever. Online communities, local bee clubs, and beginner-friendly equipment have dramatically lowered the learning curve. The realistic news: bees are livestock, not pets, and successful beekeeping requires genuine commitment — regular inspections, seasonal management, and willingness to learn through inevitable setbacks. This guide covers everything you need to know to start your first hive with confidence.
Step 1: Learn Before You Buy Bees
The single most important thing you can do before getting bees is educate yourself. Most first-year colony losses stem from preventable mistakes — inspecting too rarely, missing varroa mite signs, feeding too late, or using the wrong hive configuration for your climate. Investing 2-3 months in learning before ordering bees will save you hundreds of dollars and heartbreak.
- **Join a local beekeeping club** — Most counties have a beekeeping association that offers beginner courses (often $50-100 for a full-day workshop), mentorship programs, and equipment-sharing. Find yours through the American Beekeeping Federation or your state's apiary inspector website.
- **Take a beginner course** — Your local club likely offers classes in January-March, timed perfectly for spring bee packages. Online options include the University of Florida Master Beekeeper program and the Bee Informed Partnership courses.
- **Read foundational books** — "The Beekeeper's Handbook" by Diana Sammataro, "Beekeeping for Dummies" (surprisingly comprehensive), and "The Backyard Beekeeper" by Kim Flottum are all excellent starting points.
- **Shadow an experienced beekeeper** — Nothing replaces hands-on experience. Most bee club members will happily let you observe inspections if you ask. Attend at least 2-3 inspections before getting your own hive.
Pro Tip
Order your bees 3-4 months before you want them — bee package suppliers sell out by January or February for spring delivery. Plan to have your equipment set up at least 2 weeks before your bees arrive.
Step 2: Check Local Regulations
Before investing in equipment, verify that beekeeping is legal where you live. Regulations vary dramatically by location:
- **Municipal ordinances** — Many cities now allow backyard beekeeping but may limit the number of hives (commonly 2-4), require minimum setback distances from property lines (often 10-25 feet), and mandate flyway barriers (6-foot fences) to force bees to fly up above head height.
- **HOA restrictions** — Homeowners associations may prohibit or restrict beekeeping. Check your CC&Rs (covenants, conditions, and restrictions) before investing.
- **State registration** — Most US states require beekeepers to register their hives with the state apiary inspector. This is typically free and serves two purposes: disease monitoring and notification if aerial pesticide spraying is planned near your hives.
- **Neighbor relations** — Even if legal, talk to your immediate neighbors before getting bees. Address common concerns (stinging, flight paths, water sources) proactively. Offering a jar of honey at harvest builds tremendous goodwill.
Step 3: Choose Your Hive Type
The three main hive styles each have trade-offs. For beginners, the Langstroth hive is almost always the best choice because it's the standard — meaning more mentors can help you, more resources exist, and equipment is universally available and interchangeable.
- **Langstroth hive (recommended for beginners)** — Stacked rectangular boxes with removable frames. The industry standard since 1852. Pros: huge knowledge base, interchangeable equipment from any manufacturer, easy to add supers for honey production, and most extraction equipment is designed for Langstroth frames. Cons: heavy when full (a deep box with honey can weigh 80+ pounds), requires lifting boxes for inspections.
- **Top-bar hive** — Horizontal hive with bars across the top instead of frames. Pros: no heavy lifting (you inspect one bar at a time), lower startup cost, more "natural" comb building. Cons: lower honey yields, can't use standard extraction equipment, less community support for troubleshooting, and comb can break if not handled carefully.
- **Warré hive** — "The people's hive" — smaller stacked boxes with top bars, designed for minimal intervention. Pros: mimics natural bee behavior, less intrusive management. Cons: difficult to inspect for disease, hard to find mentors, very limited commercial support.
Pro Tip
Start with one Langstroth hive, but plan for two. Having two hives lets you compare colony health, share resources between hives (moving frames of brood or honey from strong to weak), and gives you insurance if one colony fails — which happens to roughly 40% of new beekeepers in their first year.
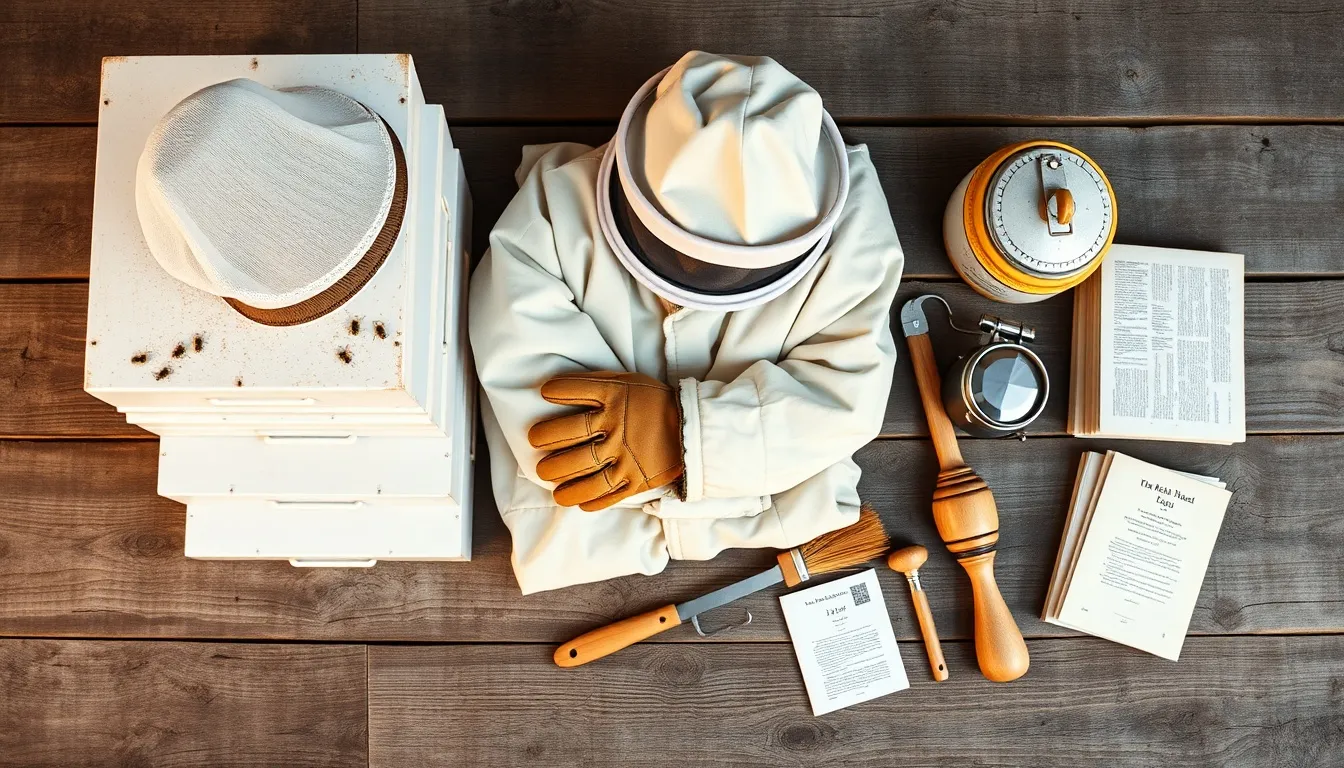
Step 4: Get Your Equipment
A complete beginner setup typically costs $400-600 for the hive and equipment, plus $150-200 for bees. Here's what you need:
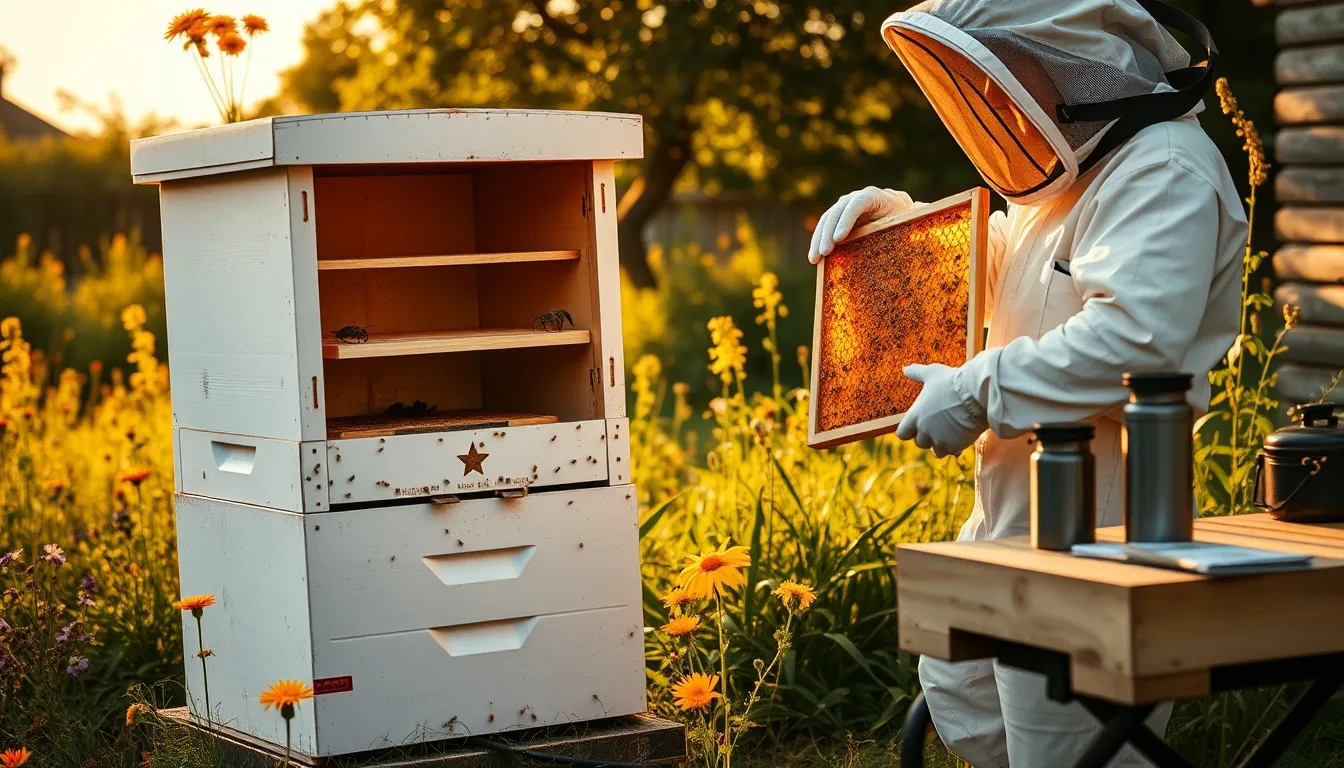
- **Hive components ($200-350)** — Bottom board with entrance reducer, two deep boxes (brood chambers) with frames and foundation, inner cover, telescoping outer cover, and a queen excluder. Buy a second deep body upfront — you'll need it within weeks. Quality equipment preserves the terroir and varietal characteristics of your local honey, whether wildflower honey, clover honey, or specialty varieties.
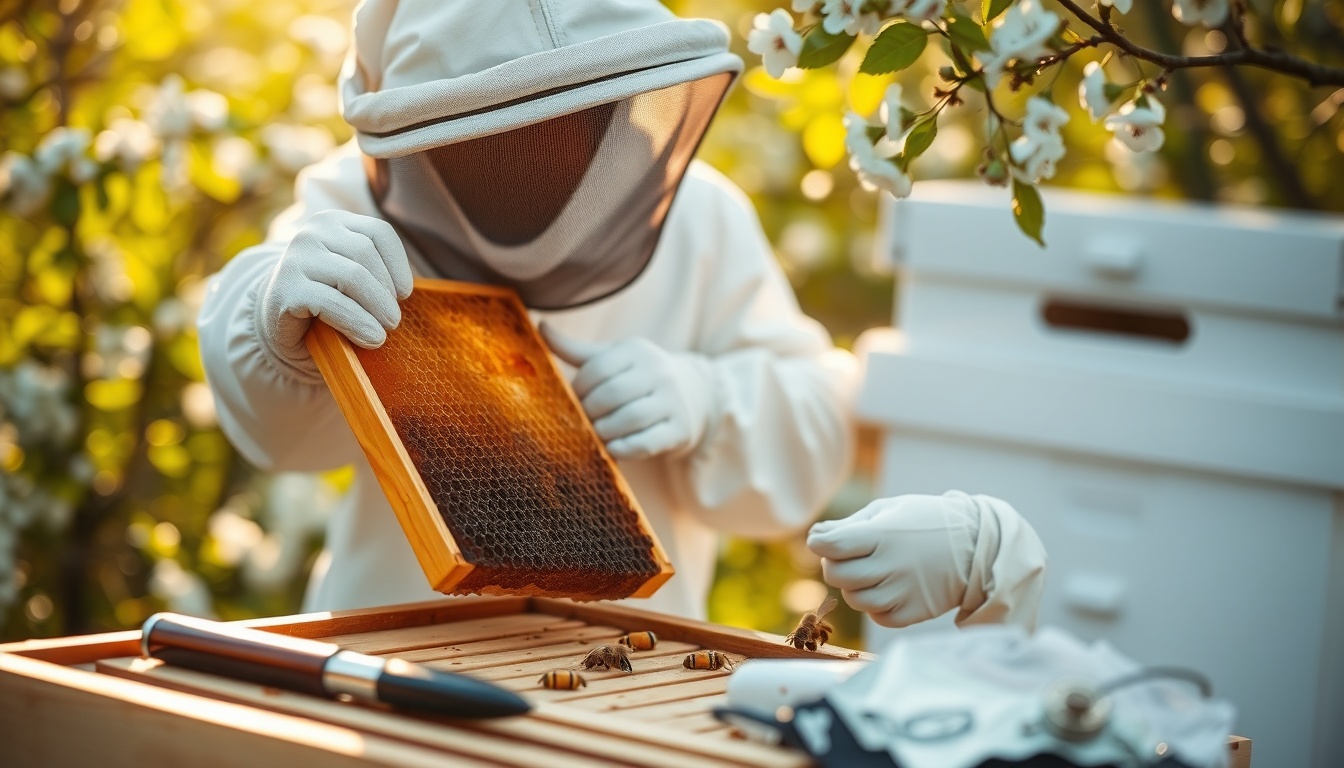
- **Protective gear ($80-150)** — Full bee suit or jacket with attached veil (jacket is fine for beginners), leather or nitrile gloves, and boots you can tuck pants into. Don't skimp on the veil — a sting to the face will end your beekeeping career fast.
- **Smoker ($30-40)** — An essential tool that calms bees during inspections. Stainless steel with a heat shield. Practice lighting and maintaining it before your first inspection — a smoker that goes out mid-inspection is useless.
- **Hive tool ($10-15)** — A flat metal pry bar for separating frames glued together with propolis. The J-hook style is easiest for beginners.
- **Bee brush ($5-8)** — Soft bristle brush for gently moving bees off frames during inspections.
- **Feeder ($15-25)** — Entrance feeder or top feeder for providing sugar syrup to new packages. Essential in the first year while bees build comb.
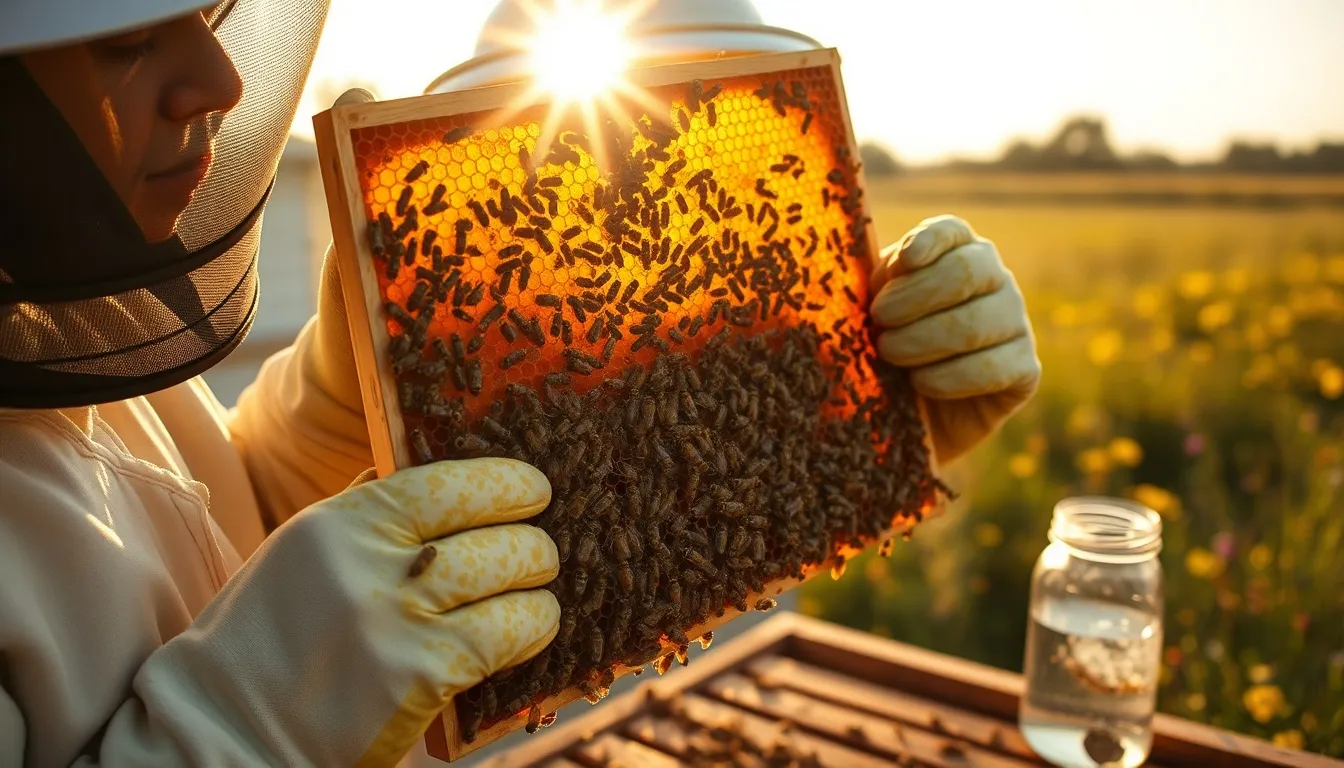
- **Varroa mite monitoring supplies ($20-30)** — Alcohol wash jar or sugar roll kit. You MUST monitor mites — varroa is the #1 killer of managed colonies.
Step 5: Choose and Install Your Bees
There are three ways to get bees, each with different costs, timing, and success rates:
- **Package bees ($150-200)** — 3 pounds of bees (roughly 10,000) with a separately caged queen, shipped in a screened box. Most popular for beginners. Available March-May depending on region. Pros: widely available, least expensive, queen is young and proven. Cons: bees and queen are strangers (occasional queen rejection), no existing comb or brood, slower to build up.
- **Nucleus colony/nuc ($180-250)** — 5 frames of bees with an established, laying queen, brood in all stages, and food stores. Pros: already a functioning mini-colony, higher first-year success rate, queen is accepted. Cons: more expensive, heavier to transport, limited availability (sell out faster than packages).
- **Catching a swarm (free)** — Collecting a wild swarm from a tree, fence, or building. Pros: free bees that are locally adapted. Cons: unpredictable timing, unknown genetics, possible disease, queen age unknown. Best attempted in your second year with some experience.
Pro Tip
For absolute beginners, a nuc is the highest-success option. It gives you a 4-6 week head start over a package because the queen is already laying and the bees have existing comb and brood. If budget is tight, a package is perfectly fine — just feed heavily with 1:1 sugar syrup until they've drawn out 6-8 frames of comb.
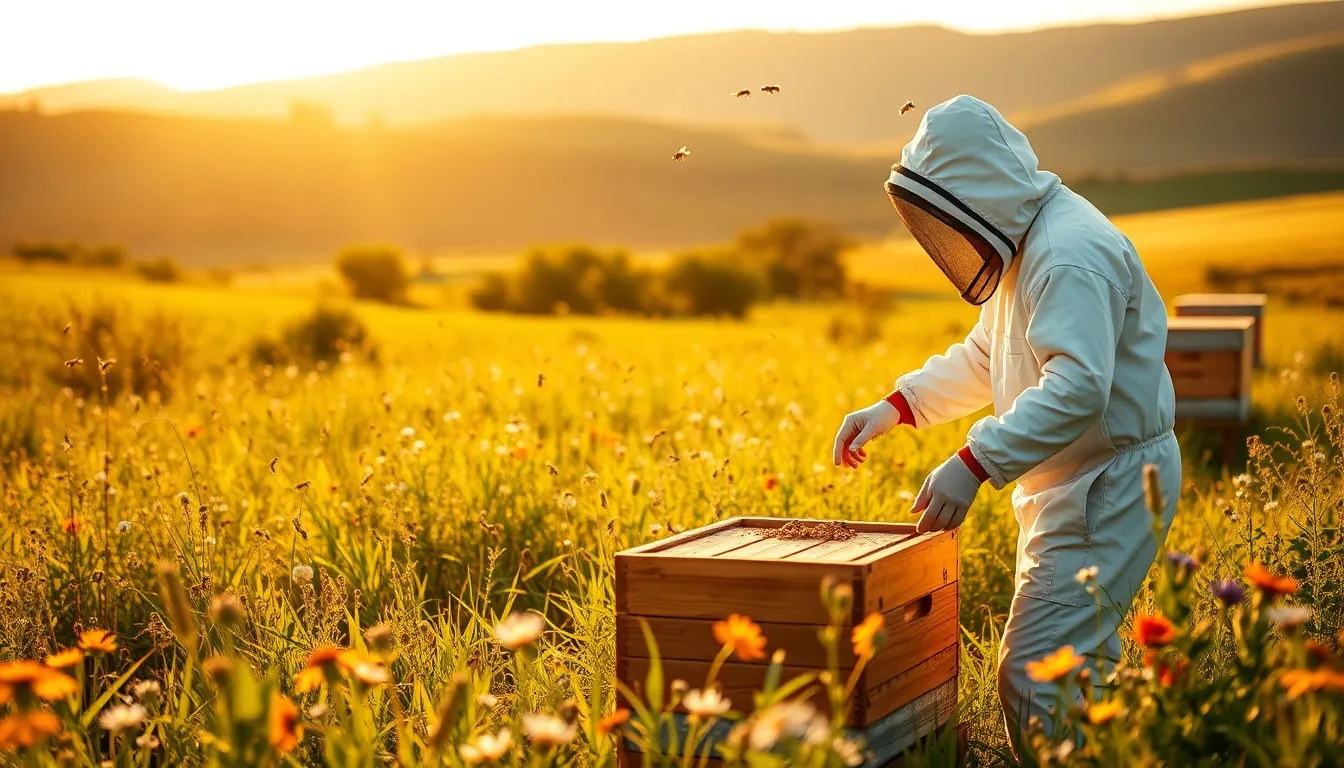
Step 6: Hive Placement
Where you place your hive significantly affects colony health and your beekeeping experience. The ideal location meets these criteria:
- **Morning sun, afternoon shade** — East or southeast facing entrance so bees warm up and start foraging early. Afternoon shade in hot climates prevents overheating.
- **Wind protection** — Position near a fence, hedge, or building that blocks prevailing winter winds. Windbreaks reduce heat loss and keep bees from burning through honey stores too fast.
- **Dry ground with slight forward tilt** — The hive should tilt very slightly forward so rain runs out the entrance rather than pooling inside. Place on cinder blocks, a hive stand, or pallets — never directly on the ground.
- **Away from high-traffic areas** — Keep the hive entrance pointed away from walkways, patios, and play areas. Bees fly in a straight line from the entrance — a 6-foot fence or hedge near the entrance forces their flight path above head height.
- **Near a water source** — Bees need water year-round for cooling the hive and diluting honey to feed larvae. Provide a shallow water source with landing spots (stones, corks, or a fountain with a textured surface) to keep bees out of your neighbor's pool.
- **Accessible for you** — You'll visit the hive weekly during active season. Make sure you can comfortably work behind the hive with room to set boxes down.
Step 7: First-Year Seasonal Management
Your first year follows a predictable rhythm. Here's the condensed version — for detailed month-by-month checklists, see our spring and fall beekeeping guides.
- **Spring (install through June)** — Install bees, feed 1:1 sugar syrup continuously until they stop taking it, inspect weekly to confirm the queen is laying (look for eggs — tiny white rice grains standing up in cells), add the second deep box when 7-8 of 10 frames are drawn out, and monitor for swarm signs (queen cells on frame bottoms).
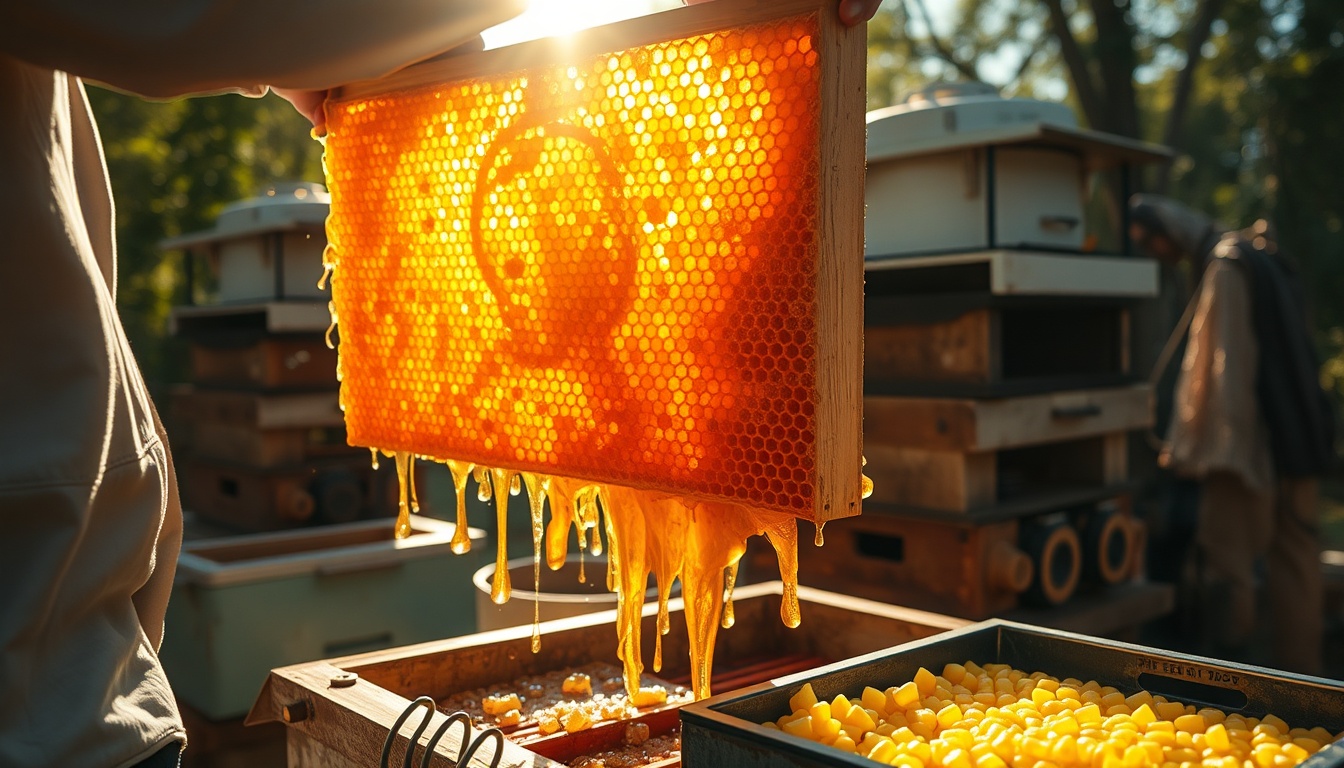
- **Summer (July-August)** — If the colony fills both deeps and is honey-bound, add a honey super above a queen excluder. Stop feeding when nectar flow is on (bees will stop taking syrup). Continue weekly inspections, watching for queen issues and pests. Honey harvest season varies by region — some first-year colonies produce a modest surplus of wildflower honey from mixed summer blooms, basswood honey from linden trees (late June-July), or clover honey from agricultural white clover, many don't. Prioritize colony health over harvest.
- **Fall (September-October)** — Treat for varroa mites after removing any honey supers (typically August-September depending on treatment type). Ensure the colony has 60-90 pounds of honey stores for winter — often a mix of early-season clover honey or wildflower honey, late-summer basswood honey, and fall nectar from asters, goldenrod, or other autumn-blooming plants (varies by region). Reduce the entrance to prevent robbing from stronger colonies. Install mouse guards.
- **Winter (November-February)** — Leave the bees alone. Don't open the hive when temperatures are below 50°F. Ensure adequate ventilation (moisture kills more colonies than cold). Hefting the hive from the back periodically tells you if stores are running low — if it feels light, provide emergency fondant or sugar bricks.
The #1 Threat: Varroa Mites
Varroa destructor mites are parasites that attach to bees and their brood, feeding on fat bodies and transmitting at least 5 debilitating viruses. They are present in virtually every managed honey bee colony in the world, and they are the primary reason colonies die. The Bee Informed Partnership's annual survey consistently shows that ~40% of US colonies die each year, with varroa as the leading cause.
As a new beekeeper, varroa management is non-negotiable. Monitor your mite levels monthly during active season using an alcohol wash or sugar roll (aim to count 300 bees). If your mite count exceeds 2-3 mites per 100 bees (2-3%), treat immediately. Common treatments include formic acid (Formic Pro), oxalic acid (Api-Bioxal), and thymol (ApiGuard or Apiguard) — all are organic-approved options.
The "treatment-free" philosophy is appealing to beginners who want a natural approach. While admirable in concept, the reality is that untreated colonies almost always die within 1-2 years AND spread mites to neighboring colonies within a 2-mile radius. Treat your bees. It's the responsible thing to do for your colony and your beekeeping neighbors.
Pro Tip
The best time to treat for varroa is late summer after your honey harvest, when the colony is raising the "winter bees" that need to survive 4-6 months. Late treatment (October or later) often means treating bees that are already virally compromised.
10 Common First-Year Mistakes to Avoid
Learning from others' mistakes is cheaper than making your own. Here are the most common beginner errors:
- **Inspecting too rarely** — Check your hive every 7-10 days during spring and summer. Swarm cells can develop in just a week. If you only inspect monthly, you'll miss problems until they're unsolvable.
- **Inspecting too often or too long** — Conversely, don't open the hive every day or spend an hour each time. Quick, purposeful inspections (15-20 minutes) with clear goals (checking for eggs, monitoring stores, looking for queen cells) minimize disruption.
- **Not feeding a new colony** — Package bees arrive with nothing and must build all their comb from scratch. Feed 1:1 sugar syrup continuously until they've drawn out most of their frames. Stopping too early stunts growth.
- **Ignoring varroa mites** — "My bees look healthy" is not a mite management plan. Mite damage is invisible until the colony is already in crisis. Monitor monthly, treat when thresholds are exceeded.
- **Harvesting honey the first year** — Most first-year colonies need every drop of honey they produce to survive winter, whether it's wildflower honey from diverse local nectar sources, clover honey from nearby agricultural areas, or basswood honey from mature linden trees. Resist the temptation to take even a frame or two. A patient first year means a productive second year with 20-60 pounds of surplus honey.
- **Opening the hive in bad weather** — Only inspect on warm (above 60°F), calm, sunny days. Opening in cold, rainy, or windy weather chills brood, agitates bees, and makes inspections miserable.
- **Not having a second hive** — One hive gives you no comparison point and no backup if something goes wrong. Two hives doubles your learning and lets you equalize resources between colonies.
- **Skipping the queen excluder too soon** — New beekeepers sometimes remove the queen excluder because bees seem reluctant to move up. Give it time — once the brood boxes are full, bees will move up through the excluder to store surplus honey.
- **Using old or untested equipment** — Used hive equipment from unknown sources can harbor American foulbrood spores. Only buy used equipment from beekeepers you trust, or sterilize thoroughly.
- **Not joining a local club** — A mentor who can look at your frames and say "that's normal" or "treat immediately" is worth more than any book or YouTube video.
What to Expect: First-Year Timeline and Costs
Being realistic about costs and expectations prevents discouragement. Here's what a typical first year looks like:
- **Total startup cost: $550-800** — Hive equipment ($200-350), protective gear ($80-150), tools and accessories ($75-120), and bees ($150-200). Budget an additional $50-100 for mite treatments and extra feeding.
- **Time commitment: 1-2 hours per week** during active season (April-September), plus occasional tasks in winter. It's less time than a garden but more than a houseplant.
- **First honey harvest: year 2 (usually)** — Most first-year colonies produce enough honey only for their own winter stores. Expect your first harvest of 20-60 pounds in your second summer, typically wildflower honey from mixed local blooms, clover honey if near agricultural areas, or specialty varieties like basswood honey depending on your location's dominant nectar sources.
- **Colony survival rate: ~60% for beginners** — Losing your first colony is heartbreaking but common. The most successful beekeepers are those who lost a colony, figured out why, and started again smarter.
Ready to Start? Your First Steps
If you've read this far and you're still excited, that's a great sign. Here's your immediate action plan:
- **This week:** Find your local beekeeping club (search "[your county] beekeeping association") and sign up for their next beginner course.
- **This month:** Order "The Beekeeper's Handbook" and read it cover to cover. Check local regulations and talk to your neighbors.
- **By December-January:** Order your equipment from a reputable supplier (Mann Lake, Dadant, Brushy Mountain). Order your bees (packages or nucs) — spring suppliers sell out fast.
- **March-April:** Set up your hive location. Attend your bee club's spring meetings. Practice lighting your smoker.
- **April-May (depending on region):** Install your bees and begin the most rewarding hobby you'll ever have.
Pro Tip
The best time to start learning about beekeeping is winter. Most beginner courses run January-March, bee package orders open in November-January, and you'll have months to study before your bees arrive in spring.