Why Honey Makes the Best Granola
Most store-bought granola lists refined sugar, corn syrup, or brown rice syrup as the primary sweetener. These ingredients add sweetness but contribute nothing else. Honey is fundamentally different: its glucose-to-fructose ratio creates a crisp, glass-like coating when baked, its 180+ aromatic compounds add depth that sugar cannot match, and its natural acidity balances the richness of oats and nuts.
The real magic of honey granola happens during baking. As honey heats past 230°F, its fructose undergoes caramelization — producing hundreds of new flavor compounds while forming a thin, hard shell around each oat cluster. This is why honey granola stays crunchier than sugar-based versions, even after sitting in milk or yogurt for several minutes.
From a nutritional perspective, honey brings prebiotic oligosaccharides (FOS and GOS) that feed beneficial gut bacteria, trace minerals like iron and zinc, and antioxidant polyphenols — none of which exist in refined sugar. Combined with the whole-grain oats, nuts, and seeds in this recipe, honey granola becomes a genuinely nutrient-dense breakfast rather than candy with a health halo.
Choosing the Right Honey for Granola
The honey variety you choose has a significant impact on the final flavor and texture of your granola.
- **Clover honey** — The best all-purpose choice. Mild, clean sweetness that lets oat and nut flavors come through. Produces a neutral base that works with any mix-in combination.
- **Wildflower honey** — More complex than clover with subtle floral notes that add character. Excellent for nut-heavy granolas where you want an extra layer of flavor.
- **Buckwheat honey** — Dark, bold, molasses-like flavor for intensely flavored granola. Pairs beautifully with dark chocolate, dried cherries, and pecans. Use it when you want granola that stands up to strong flavors.
- **Orange blossom honey** — Bright citrus undertones that make tropical variations (coconut, dried mango, macadamia) sing. Also excellent with dried cranberries.
- **Avoid crystallized honey** — If your honey has crystallized, gently warm it in a hot water bath until liquid again. Crystallized honey does not coat oats evenly and produces uneven browning.
Pro Tip
For the crunchiest clusters, use a honey with lower moisture content. Darker, thicker honeys tend to produce crunchier granola than thin, light ones because they contain proportionally more sugar and less water.
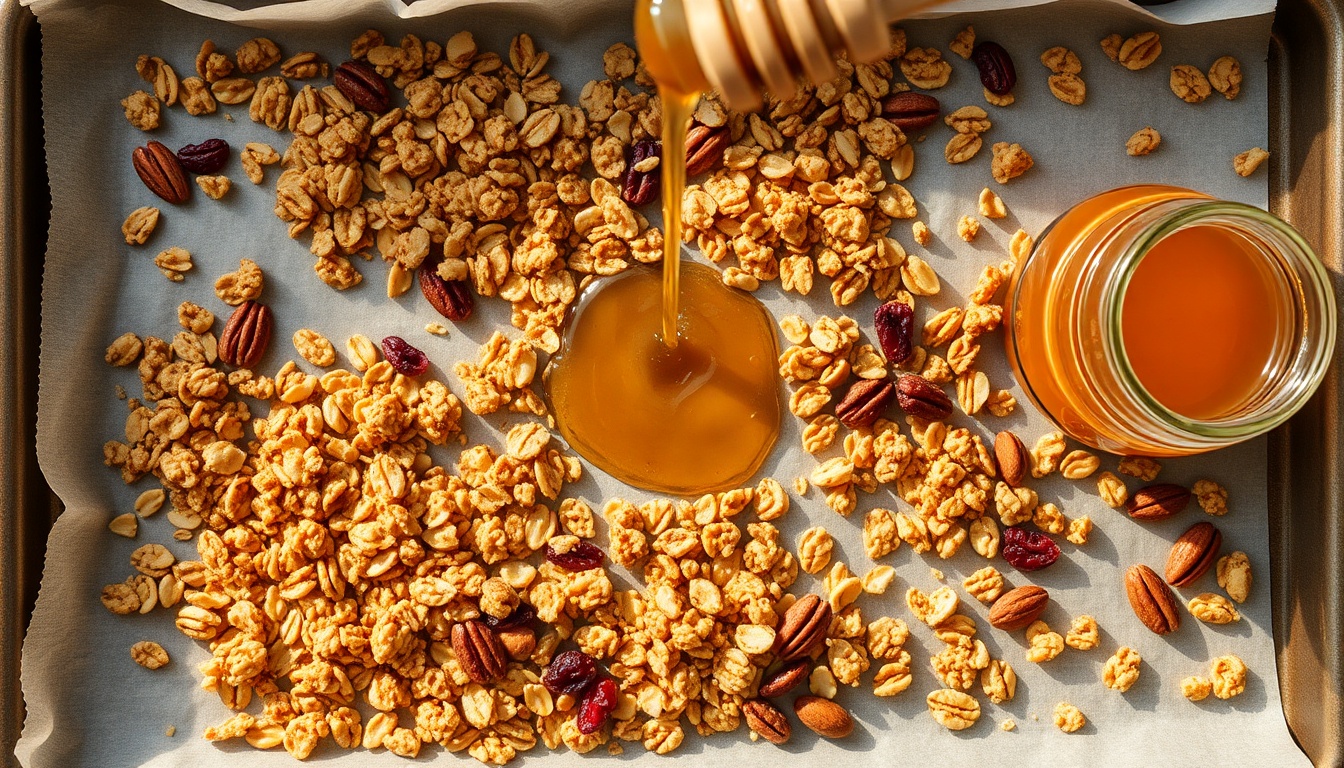
Honey Granola: The Complete Recipe
This recipe produces big, chunky clusters — the kind you can break apart with a satisfying snap. The secret is pressing the mixture flat, baking undisturbed, and letting it cool completely before touching it.
- **Dry ingredients:** 3 cups old-fashioned rolled oats (not quick or instant); 1 cup raw nuts, roughly chopped (almonds, walnuts, pecans, or a mix); 1/2 cup raw seeds (pumpkin, sunflower, or a mix); 1/2 teaspoon salt; 1 teaspoon ground cinnamon.
- **Wet ingredients:** 1/3 cup raw honey; 1/4 cup coconut oil or unsalted butter, melted; 1 teaspoon vanilla extract.
- **After baking (stir in after cooling):** 1/2 cup dried fruit (raisins, cranberries, apricots, or cherries); 1/4 cup unsweetened coconut flakes (optional).
- **Step 1: Prep** — Preheat oven to 325°F (165°C). Line a large rimmed baking sheet with parchment paper. This temperature is critical — higher heat burns honey before the oats are toasted.
- **Step 2: Combine dry** — In a large bowl, toss together oats, chopped nuts, seeds, salt, and cinnamon until evenly distributed.
- **Step 3: Mix wet** — In a small bowl or measuring cup, whisk together honey, melted coconut oil, and vanilla until smooth. If the honey is thick, warm it gently (microwave 15 seconds or set the jar in hot water) so it mixes easily.
- **Step 4: Coat evenly** — Pour wet mixture over dry and stir with a spatula until every oat and nut is coated with a thin, even layer of the honey mixture. This is the most important step — uncoated oats will not cluster.
- **Step 5: Press and bake** — Spread the mixture onto the prepared baking sheet in an even layer. Press it down firmly with the back of the spatula into a compact slab about 1/2 inch thick. Bake for 25-30 minutes total, rotating the pan 180° at the halfway point. Do NOT stir — this is what creates the big clusters.
- **Step 6: Cool completely** — Remove from oven when the edges are golden brown (the center will still look slightly soft — it crisps as it cools). Let the granola cool on the baking sheet for at least 45 minutes without touching it. Once completely cool, break into chunks of your desired size.
- **Step 7: Add dried fruit** — Toss in dried fruit and coconut flakes after cooling. Adding them before baking makes them hard and bitter.
Pro Tip
The granola will seem soft and underdone when it comes out of the oven. This is correct — honey continues to harden as it cools, and the granola will be fully crunchy within an hour. If it is still soft after cooling, bake for 5 more minutes at 300°F.
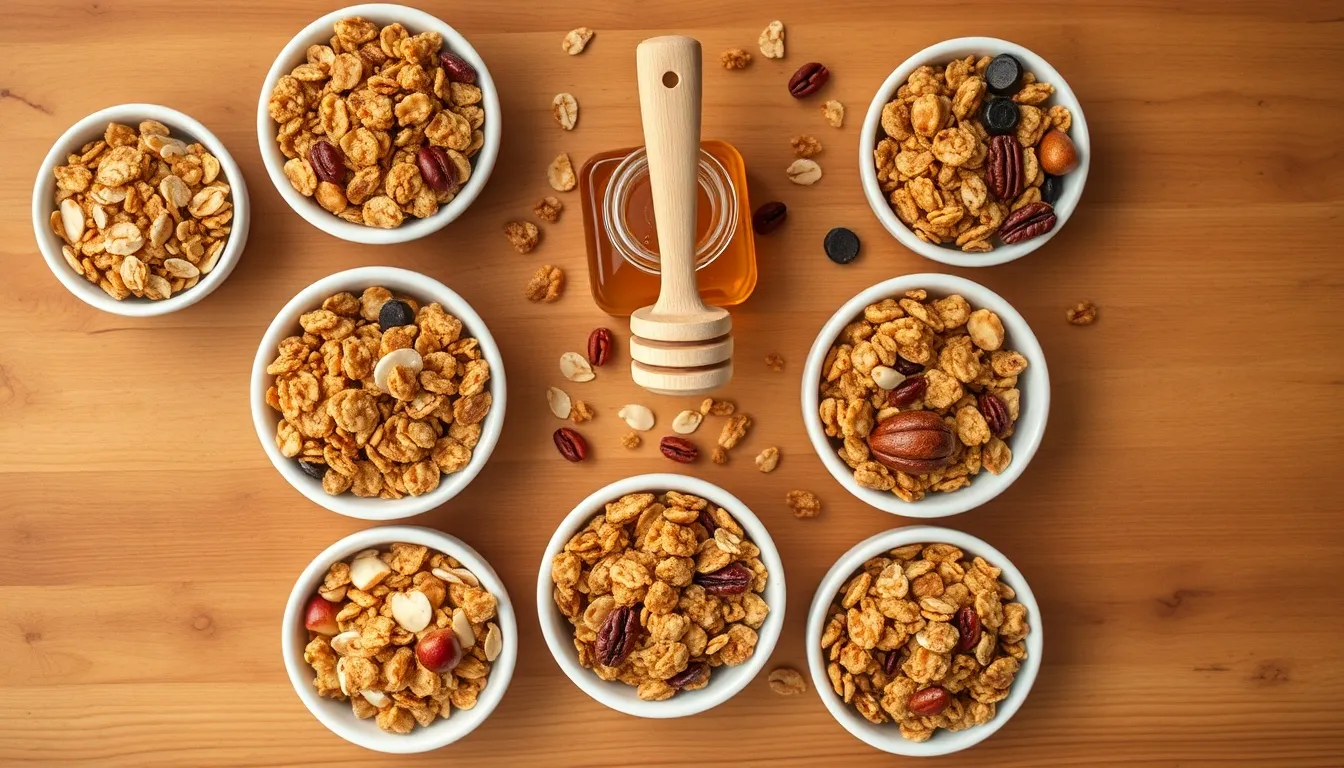
7 Honey Granola Flavor Variations
Once you have the base recipe mastered, these variations open up endless possibilities. Make the substitutions and additions below during Steps 2-4 unless noted otherwise.
- **1. Maple Pecan** — Replace cinnamon with 1/2 teaspoon ground ginger and a pinch of nutmeg. Use all pecans for the nuts. Add 2 tablespoons real maple syrup to the wet mixture alongside the honey for a warm, autumnal flavor.
- **2. Dark Chocolate Cherry** — Use buckwheat honey and all almonds. After cooling, toss in 1/2 cup dried tart cherries and 1/3 cup dark chocolate chips (60%+ cacao). The bittersweet chocolate melts slightly against warm oats.
- **3. Tropical Coconut** — Use orange blossom honey and macadamia nuts. Add 1/2 cup unsweetened coconut flakes to the oat mixture before baking. After cooling, add 1/2 cup diced dried mango and 1/4 cup diced dried pineapple.
- **4. Peanut Butter Protein** — Add 3 tablespoons natural peanut butter to the wet mixture (warm it with the honey so it mixes in). Use peanuts as the nut. After cooling, add 1/4 cup chocolate chips for a trail-mix-style granola.
- **5. Apple Cinnamon** — Double the cinnamon to 2 teaspoons, add 1/4 teaspoon allspice. Use walnuts and pepitas. After cooling, add 1/2 cup diced dried apple rings. Tastes like apple pie in granola form.
- **6. Savory Seed** — Skip the cinnamon and vanilla. Add 1 tablespoon soy sauce or tamari and 1/2 teaspoon smoked paprika to the wet mixture. Use all seeds (no nuts): pumpkin, sunflower, sesame, and hemp hearts. A grain-bowl topper that is salty, crunchy, and addictive.
- **7. Chai Spice** — Replace cinnamon with a chai blend: 1 teaspoon cinnamon, 1/2 teaspoon ground ginger, 1/4 teaspoon cardamom, 1/8 teaspoon each cloves and black pepper. Use almonds and cashews. Perfect paired with honey in tea.
The Science of Crunchy Clusters
Understanding the chemistry behind granola helps you get perfect clusters every time.
- **Honey caramelization** — At 230°F, the fructose in honey begins to caramelize, creating a brittle, glass-like coating around the oats. This is different from Maillard browning (which happens between sugars and amino acids in the oats). Both reactions happen simultaneously, producing complex toasty, nutty, caramel flavors.
- **Glass transition** — When hot honey cools, its sugars undergo a "glass transition" — changing from a liquid to an amorphous solid (like hard candy). This is what makes the clusters snap rather than bend. If your granola is chewy instead of crunchy, it has too much moisture — either the honey was too thin or the granola was not baked long enough.
- **Why not to stir** — Stirring during baking breaks the fragile sugar bridges forming between oats. These bridges are what hold clusters together. One stir at the halfway point (just rotating the pan) is acceptable; more than that produces loose, sandy granola.
- **Oat type matters** — Old-fashioned rolled oats create the best clusters because their large, flat surface area provides more contact points for honey coating. Quick oats are too small and produce dense, hard clumps. Steel-cut oats do not work at all because they do not absorb the honey coating.
- **Fat distribution** — The coconut oil or butter in the recipe serves two purposes: it helps the honey spread evenly (fat reduces surface tension) and it contributes to browning via Maillard reactions. Coconut oil produces a slightly crunchier granola; butter produces a richer, more toasty flavor.
Storage and Serving Ideas
Properly stored honey granola stays crunchy for weeks — significantly longer than store-bought versions because it contains no preservatives that could absorb moisture.
- **Airtight container** — Store in a glass jar or airtight container at room temperature for up to 4 weeks. Mason jars work perfectly and look great on the counter.
- **Avoid the refrigerator** — Refrigeration introduces moisture that softens the clusters. Room temperature is ideal.
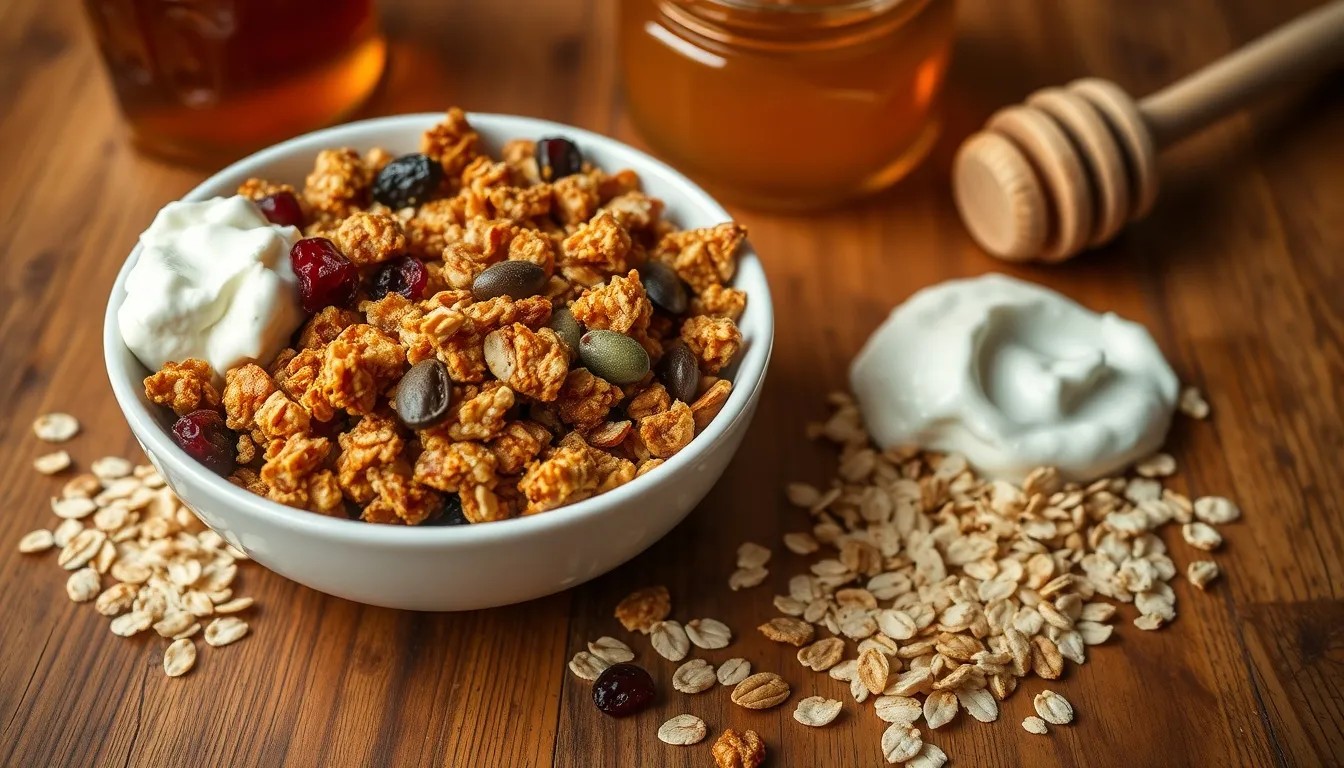
- **Classic yogurt bowl** — Layer granola over Greek yogurt with fresh fruit and a drizzle of raw honey. Add granola just before eating to keep it crunchy.
- **Milk or plant milk** — Pour granola into a bowl and add cold milk. Honey granola holds its crunch in liquid longer than sugar versions (about 3-4 minutes) thanks to the caramelized honey coating.
- **Smoothie topping** — Sprinkle over honey smoothies for textural contrast.
- **Snack bags** — Portion into small bags for an on-the-go snack. Honey granola is a great natural fuel for athletes — portable carbs with sustained energy from oats and nuts.
- **Gift jars** — Layer granola in mason jars with a ribbon. Include the honey variety and variation name on the label. Homemade granola is one of the most appreciated food gifts.
Pro Tip
If your granola has gone soft after a few weeks, spread it on a baking sheet and bake at 300°F for 5-8 minutes. Let cool completely — the crunch will return as the honey re-hardens.