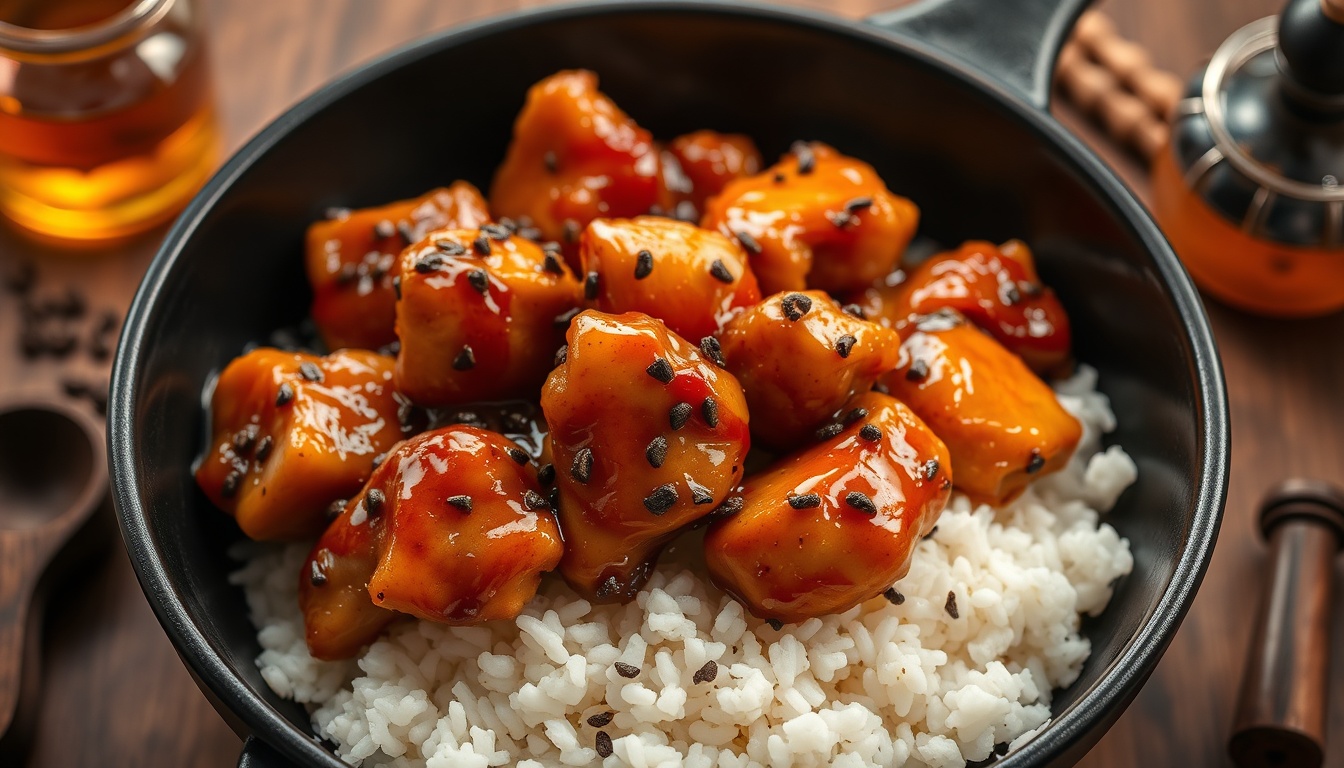
Why Honey Makes the Best Pepper Chicken Glaze
The magic of honey pepper chicken is the contrast — shattering crispy coating meets sticky, sweet-spicy glaze. Honey is uniquely suited for this because of how it behaves at high temperatures.
When honey hits the hot pan, the fructose caramelizes rapidly at 230°F, creating a glossy, candy-like coating that clings to surfaces. Granulated sugar does not melt and coat the same way — it tends to crystallize into a gritty layer. Honey stays smooth and glossy because its natural water content (about 17%) keeps it in a fluid, syrupy state even as it reduces.
The slight acidity of honey (pH 3.2-4.5) also works with the soy sauce and rice vinegar to create a balanced glaze that is sweet without being cloying. That acid is what separates restaurant-quality honey pepper chicken from the one-note sweetness of most home versions.
Finally, raw honey brings over 180 aromatic compounds that add depth beyond simple sweetness — floral, caramel, and malty notes that make the glaze taste complex and intentional rather than like chicken dipped in sugar.
The Key to Crispy Coating That Stays Crispy
The biggest complaint about glazed chicken is that the crispy coating turns soggy the moment sauce touches it. This recipe solves that with three techniques.
- Cornstarch, not flour — cornstarch creates a thinner, crispier shell than all-purpose flour. Flour absorbs moisture from the glaze and turns pasty. Cornstarch forms a glass-like crust that resists moisture penetration for several minutes — enough time to serve and eat before any softening occurs
- Dry chicken is non-negotiable — pat every piece thoroughly with paper towels before dredging. Wet chicken creates steam under the cornstarch, which blows the coating off in patches. If you have time, salt the chicken pieces and refrigerate uncovered for 30 minutes before coating — this draws out surface moisture
- Toss off heat — remove the pan from the burner before adding the chicken back to the glaze. A cooler glaze coats the surface without soaking through the cornstarch layer. If you toss over high heat, the sauce gets thin and watery, penetrating and dissolving the crust
- Serve immediately — honey pepper chicken is a serve-now dish. The crunch window is about 5-7 minutes after glazing. After that, the humidity from the sauce slowly softens the cornstarch. Do not cover the plate or put it in a warming oven — trapped steam accelerates softening
Pro Tip
For extra crunch, double-dip: coat chicken in cornstarch, dip in a beaten egg, then coat in cornstarch again. This creates a thicker armor that stays crispy even longer under the glaze.
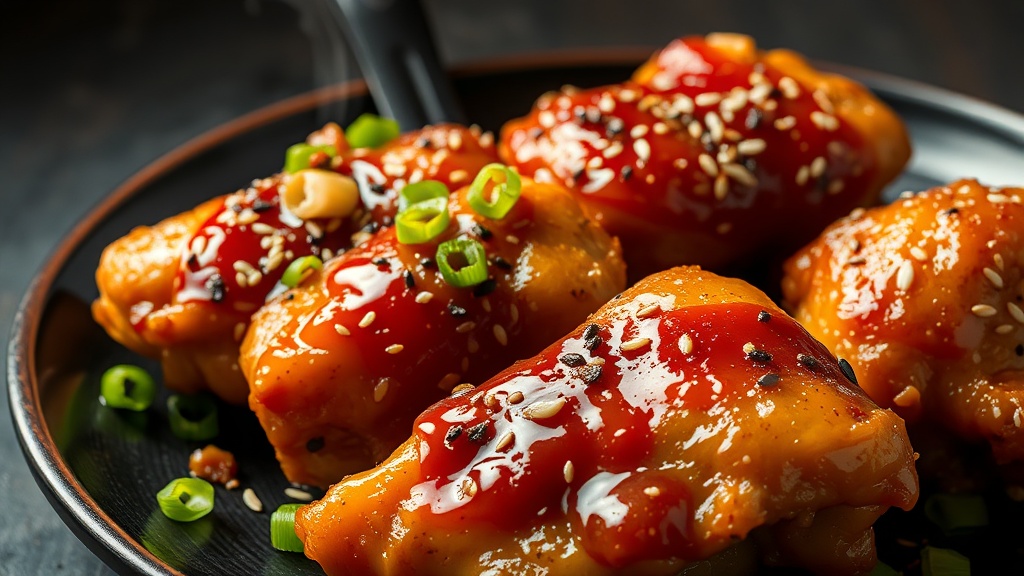
Mastering the Pepper
Black pepper is not just a background seasoning here — it is the co-star alongside honey. The type of pepper and how you prepare it matters significantly.
- Coarsely cracked, not ground — use a mortar and pestle or the bottom of a heavy pan to crack whole peppercorns into irregular pieces. Pre-ground pepper is too fine and disappears into the glaze. You want visible pepper chunks that burst with heat when you bite into them
- Toast the peppercorns first — dry-toast whole peppercorns in the skillet for 1 minute over medium heat before cracking them. Toasting activates volatile oils (piperine and terpenes) that give black pepper its aroma. Raw peppercorns taste flat by comparison
- 1.5 teaspoons is the sweet spot — this produces a distinctly peppery dish without being aggressive. For a milder result, use 1 teaspoon. For serious heat lovers, go up to 2 teaspoons and add 1/2 teaspoon red pepper flakes
- Add pepper to the glaze, not the coating — pepper in the cornstarch coating burns during frying and tastes bitter. Adding it to the honey glaze lets the pepper bloom in the warm sauce without scorching
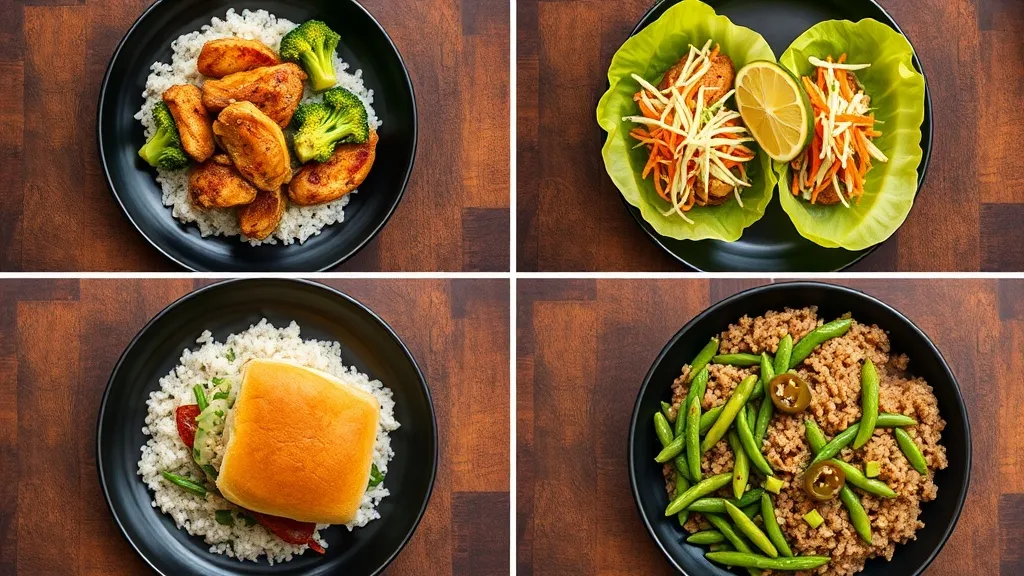
4 Serving Ideas
Honey pepper chicken works as the centerpiece of several different meals.
- Over steamed jasmine rice — the classic pairing. The rice absorbs the excess glaze and the mild starch balances the sweet-spicy chicken. Add a side of steamed broccoli or honey ginger stir-fry vegetables for a complete meal
- Lettuce wraps — spoon glazed chicken into butter lettuce cups with shredded carrots, sliced cucumber, and a drizzle of honey peanut sauce. A lighter, low-carb option that keeps the crunch factor high since the lettuce cups do not trap steam
- On honey bread as a sandwich — pile glazed chicken on soft rolls with pickled jalapeños and coleslaw. The sweet-heat combination with creamy slaw and tangy pickles is outstanding. Press the sandwich lightly on a hot griddle for a crispy exterior
- Meal prep bowls — honey pepper chicken reheats better than most crispy dishes because the glaze protects the coating. Reheat in a 400°F oven for 8 minutes (not the microwave) to re-crisp. Serve over brown rice with edamame and quick-pickled cucumbers
Best Honey Varieties for Pepper Chicken
The honey variety influences how the glaze tastes since 1/3 cup is a significant amount.
- Wildflower honey ($10-18) — the best all-around choice. Its complex sweetness complements the pepper heat and soy-garlic savory notes without competing. The variety used in recipe testing
- Clover honey ($8-15) — clean, mild sweetness that lets the black pepper be the dominant flavor. Best if you want maximum pepper punch with just enough sweetness to balance
- Orange blossom honey ($12-20) — adds a subtle citrus note that brightens the glaze and pairs well with the rice vinegar. An unexpected but excellent choice for this recipe
- Acacia honey ($12-20, GI ~32) — delicate, almost neutral sweetness that lets the pepper and soy flavors dominate completely. The lowest glycemic index of common honeys
- Hot honey — if you already have a hot honey on hand, use it in place of regular honey and reduce the red pepper flakes. This creates a triple-heat effect — black pepper, chili-infused honey, and red pepper flakes
- Avoid buckwheat honey or very dark honeys — their intense, molasses-like flavor clashes with the soy sauce and creates a muddy-tasting glaze
Common Mistakes to Avoid
These are the errors that separate soggy, bland honey chicken from the crispy restaurant-quality version.
- Using chicken breast — breast meat dries out quickly and becomes rubbery under a heavy glaze. Thighs stay juicy because their higher fat content renders during frying. If you must use breast, cut pieces smaller (1 inch) and reduce frying time by 1-2 minutes per side
- Crowding the pan — overlapping chicken pieces steam instead of fry. The cornstarch never crisps and you get a pale, chewy coating. Fry in two batches even if it takes extra time. Each piece needs contact with the hot oil
- Skipping the wire rack — placing fried chicken on paper towels traps steam on the bottom, creating a soggy underside. A wire rack over a sheet pan lets air circulate around every surface, keeping all sides crispy while you make the glaze
- Boiling the glaze too long — the honey-soy mixture should simmer gently for 2-3 minutes, not boil vigorously. Overcooked honey becomes bitter as the fructose breaks down past caramelization into burnt sugar compounds. The glaze should be thick but still pourable
- Adding the chicken to the pan on the heat — this is the most common mistake. When you toss chicken in a hot, bubbling glaze, the steam dissolves the cornstarch coating instantly. Always remove the pan from the heat first, then toss quickly