Why Honey Makes Better Bread
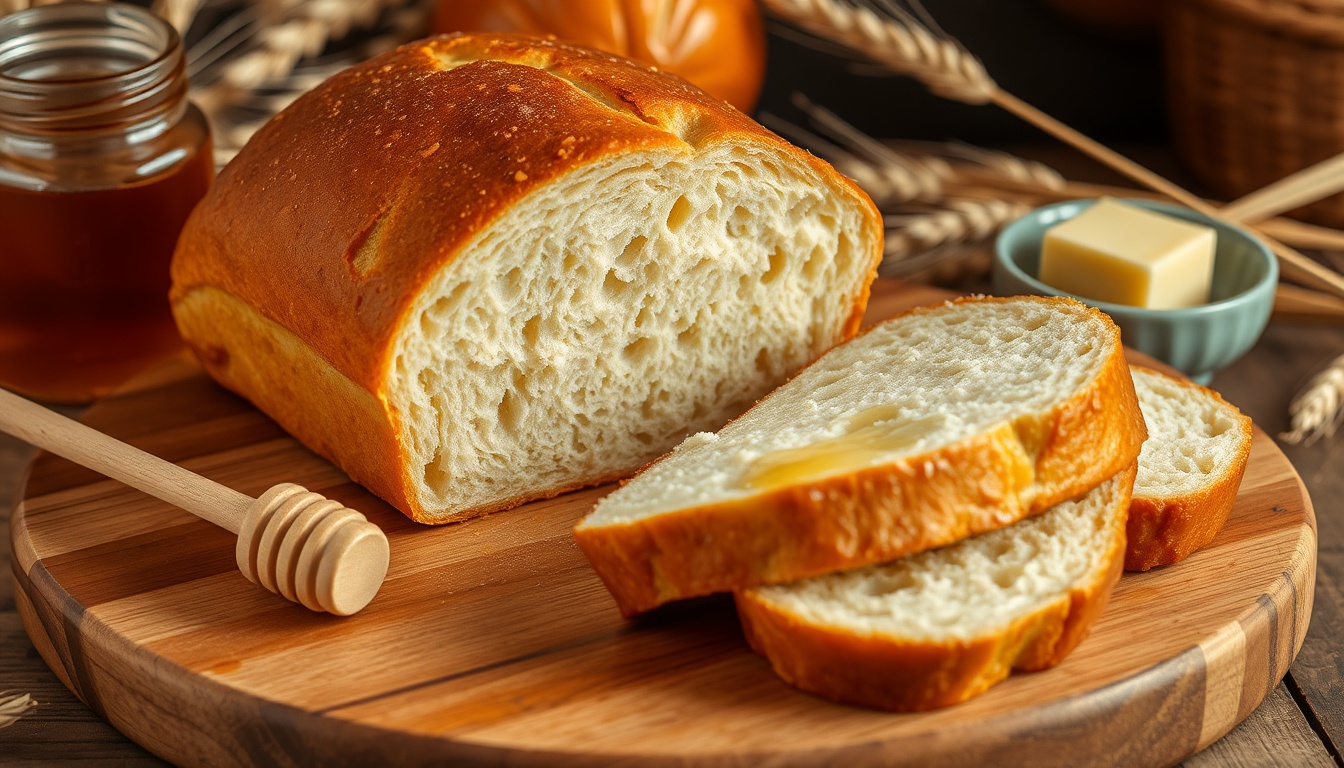
Honey does more for bread than just add sweetness — it fundamentally changes the texture, shelf life, and flavor in ways that sugar simply can't match. Understanding the science behind baking with honey explains why honey bread has been a staple of home baking for centuries.
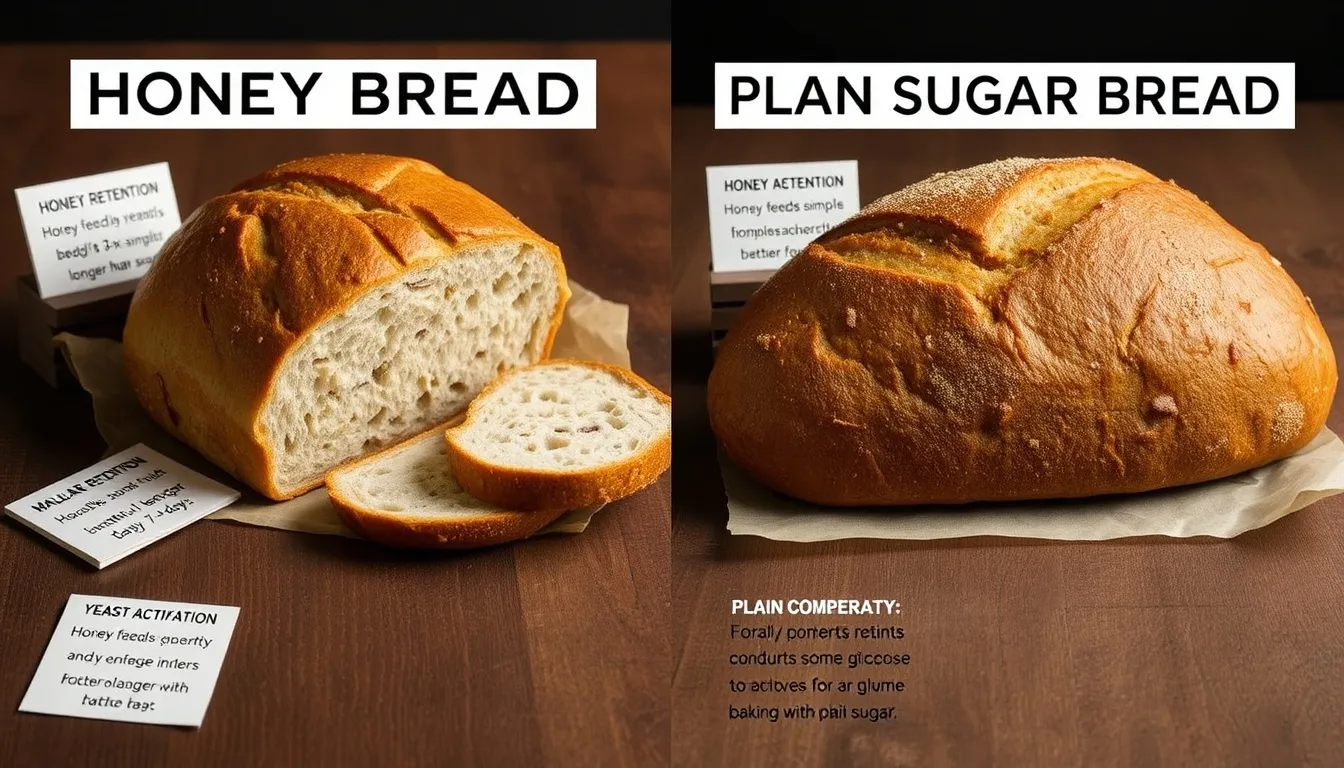
First, honey is hygroscopic — it attracts and retains moisture from the air. This means honey bread stays soft and fresh for days longer than bread made with granulated sugar. While a sugar loaf might go stale overnight, honey bread maintains its tender crumb for 3-4 days at room temperature.
Second, honey's fructose caramelizes at 230°F, nearly 100°F lower than sucrose. This produces a golden, deeply colored crust at normal baking temperatures — that beautiful mahogany color you see on professional bakery loaves. The lower browning point also means more complex flavor compounds form through the Maillard reaction, giving the crust a richer, more aromatic taste.
Third, honey contains trace amounts of natural acids that strengthen the gluten network slightly, resulting in a more structured crumb that still feels tender. Combined with honey's 200+ aromatic compounds, the result is bread with genuine depth of flavor — floral, caramel, and warm notes that refined sugar can't provide.
Choosing the Best Honey for Bread
Different types of honey produce noticeably different bread. The honey's flavor, color, and moisture content all affect the final loaf.
Clover honey ($8–15) is the classic choice — mild, versatile, and widely available. It produces a light golden crumb with subtle sweetness that works for sandwiches, toast, and everything in between. Wildflower honey ($10–18) adds a slightly more complex floral character without overwhelming the bread flavor.
For richer bread, buckwheat honey ($15–25) creates a deeply colored loaf with malty, molasses-like notes and ORAC 16,000+ antioxidant density — excellent for wheat bread and autumnal baking. Orange blossom honey ($12–20) adds a delicate citrus undertone perfect for sweet rolls and brunch bread. Lavender honey ($15–25) produces an aromatic, lightly perfumed loaf that's wonderful toasted with butter. Acacia honey ($12–20) is the lightest option with GI ~32 — ideal for diabetic-friendly bread.
Complete Honey Bread Recipe
This recipe produces a soft, tender loaf with a gorgeous golden crust and just the right amount of honey sweetness. It uses a simple straight-dough method that's perfect for beginner and experienced bakers alike.
- **Prep time:** 20 minutes (plus 1.5-2 hours rising)
- **Bake time:** 30-35 minutes
- **Total time:** About 2.5-3 hours
- **Makes:** 1 loaf (about 12 slices)
Ingredients
All ingredients should be at room temperature for best results, except the milk which should be warm.
- 3 cups (360g) all-purpose flour (or bread flour for chewier texture)
- 1 packet (2 1/4 teaspoons) active dry yeast
- 3/4 cup (180ml) whole milk, warmed to 105-110°F
- 1/4 cup (85g) raw honey, plus extra for brushing
- 3 tablespoons (42g) unsalted butter, softened
- 1 large egg, at room temperature
- 1 teaspoon salt
- 1 tablespoon honey mixed with 1 tablespoon warm water (for glaze)
Step-by-Step Instructions
**Step 1: Activate the yeast.** In a large mixing bowl, combine warm milk (105-110°F — warm to the touch but not hot) with 1 tablespoon of the honey. Sprinkle the yeast over the surface and let it sit for 5-10 minutes until foamy. If it doesn't foam, your yeast is dead or the milk was too hot — start over with fresh yeast and cooler milk.
**Step 2: Mix the dough.** Add the remaining honey, softened butter, egg, and salt to the yeast mixture. Stir to combine. Add 2 cups of flour and stir until a shaggy dough forms. Add the remaining flour 1/4 cup at a time, mixing until the dough pulls away from the sides of the bowl. You may not need all of it — the dough should be slightly tacky but not sticky.
**Step 3: Knead until smooth.** Turn the dough out onto a lightly floured surface and knead for 8-10 minutes until smooth, elastic, and passes the windowpane test (you can stretch a small piece thin enough to see light through without tearing). Alternatively, use a stand mixer with a dough hook on medium-low for 6-7 minutes.
**Step 4: First rise.** Place the dough in a lightly greased bowl, turning once to coat. Cover with plastic wrap or a damp towel and let rise in a warm spot for 1-1.5 hours until doubled in size. The ideal rising temperature is 75-80°F. If your kitchen is cool, place the bowl on top of a warm (not hot) oven or in a microwave with a cup of hot water.
**Step 5: Shape the loaf.** Punch down the dough to release gas. On a lightly floured surface, roll or pat it into a rectangle roughly 8x12 inches. Starting from the short end, roll it tightly into a log, pinching the seam and ends closed. Place seam-side down in a greased 9x5-inch loaf pan.
**Step 6: Second rise.** Cover the loaf pan loosely and let rise for 45 minutes to 1 hour, until the dough crowns about 1 inch above the rim of the pan. Don't skip this rise — it determines the final volume and crumb structure.
**Step 7: Bake.** Preheat oven to 350°F (175°C). Bake for 30-35 minutes until the top is deep golden brown and the internal temperature reads 190-200°F. If the top browns too quickly, tent loosely with foil for the last 10 minutes.
**Step 8: Glaze and cool.** Immediately brush the hot loaf with the honey-water glaze — this creates a glossy, slightly sticky crust that's irresistible. Remove from the pan after 5 minutes and cool on a wire rack for at least 30 minutes before slicing. Cutting too early releases steam and makes the crumb gummy.
Pro Tip
The windowpane test is the most reliable way to know your dough is properly kneaded. Stretch a small piece between your fingers — if you can see light through it without it tearing, the gluten is fully developed. Under-kneaded bread will be dense; over-kneaded bread (rare by hand, possible with a mixer) will be tough.
Five Delicious Variations
**1. Honey Wheat Bread.** Replace 1 cup of all-purpose flour with whole wheat flour. Add 1 tablespoon of additional honey to compensate for the bitterness of whole wheat. The result is a heartier loaf with more fiber and a nuttier flavor. Use buckwheat honey ($15–25) for a particularly robust whole wheat loaf.
**2. Honey Oat Bread.** Replace 1/2 cup of flour with rolled oats. Add 1/4 cup oats to the top before the second rise for a rustic look. The oats add chewiness and make the bread extra filling. Pairs beautifully with honey and oatmeal for breakfast.
**3. Cinnamon Honey Swirl.** After rolling the dough into a rectangle in Step 5, spread with 2 tablespoons softened butter, then sprinkle with 1/4 cup brown sugar and 2 teaspoons cinnamon. Roll up tightly and bake as directed. The result is a gorgeous swirled bread that's perfect toasted. A natural pairing with honey and cinnamon.
**4. Honey Herb Bread.** Add 2 tablespoons of chopped fresh rosemary (or 2 teaspoons dried) and 1 teaspoon each of dried thyme and oregano to the dough in Step 2. Brush with garlic butter instead of honey glaze after baking. Excellent alongside soups and stews.
**5. Honey Milk Bread.** Replace the water in the glaze with 2 tablespoons heavy cream, and add 1 extra tablespoon of butter and 1 extra tablespoon of honey to the dough. This creates an incredibly soft, enriched bread similar to Japanese milk bread — tender enough to pull apart with your fingers. A natural combination of honey and milk.

Common Bread-Making Mistakes and Fixes
Even experienced bakers run into issues. Here's how to troubleshoot the most common problems:
- **Dense, heavy loaf:** Under-kneading is the most common cause. The gluten network needs 8-10 minutes of hand kneading to develop properly. Also check that your yeast is fresh — expired yeast produces weak or no rise.
- **Bread collapses after rising:** Over-rising. The gluten stretches beyond its capacity and can't support the structure. Reduce the second rise time or use cooler rising temperature.
- **Crust too dark:** Honey's low caramelization point means it browns faster than sugar bread. Tent with foil if the top is golden before the interior is done. Always bake at 350°F, not higher.
- **Gummy or wet interior:** Cutting the bread too soon after baking. The interior continues cooking via carry-over heat for 20-30 minutes. Wait at least 30 minutes before slicing.
- **Bread is too sweet:** Use mild clover ($8–15) or acacia honey ($12–20) and reduce to 3 tablespoons if you prefer a more savory loaf. The honey is flexible — adjust to taste.
- **Tough, chewy crust:** Over-baking. Use an instant-read thermometer — pull the bread at 190-195°F for a softer crust. The honey glaze also helps keep the crust tender.
Serving Ideas
Honey bread is incredibly versatile. Here are the best ways to enjoy it:
- **Toast with honey butter** — the ultimate honey-on-honey experience
- **Sandwiches** — the subtle sweetness pairs beautifully with turkey, ham, or chicken salad
- **French toast** — the honey-enriched bread caramelizes beautifully in the pan
- **Alongside soup** — especially tomato soup, chili, or butternut squash soup
- **Bread pudding** — honey bread makes exceptional bread pudding with extra moisture and flavor
- **Grilled cheese** — the slight sweetness contrasts perfectly with sharp cheddar
Storage Guide
One of honey bread's biggest advantages is its naturally longer shelf life compared to sugar bread, thanks to honey's hygroscopic properties:
- **Room temperature:** Wrap in plastic wrap or store in a bread bag. Stays soft for 3-4 days — about 1-2 days longer than regular white bread.
- **Refrigerator:** Not recommended. Refrigeration accelerates staling (starch retrogradation) and dries the bread out faster than room temperature storage.
- **Freezer:** Slice before freezing, then store in a freezer bag with parchment between slices. Freezes beautifully for up to 3 months. Toast directly from frozen — no thawing needed.
Pro Tip
The honey-water glaze on the crust acts as a moisture barrier, helping the bread stay fresh even longer. If you skip the glaze, the bread will still be excellent but may dry out a day sooner.
The Nutritional Advantage of Honey Bread
Compared to bread made with white sugar, honey bread offers modest nutritional benefits. Honey contributes trace minerals (potassium, iron, zinc), antioxidant polyphenols, and prebiotic oligosaccharides that refined sugar lacks entirely. While these amounts are small per slice, they add up over time if honey bread is a regular part of your diet.
A typical slice of honey bread contains approximately 120-130 calories, 3-4g protein, 22-24g carbohydrates, and 2-3g fat. The glycemic impact is moderated by the bread's protein and fat content, resulting in a more gradual blood sugar response than white bread made with sugar.
For an even more nutritious loaf, try the honey wheat variation with whole wheat flour for added fiber and B vitamins, or the honey oat variation for beta-glucan soluble fiber that supports heart health.