A Measured Honey Glaze
Honey, garlic, butter and soy form the pan sauce for these boneless, skin-on chicken thighs. Sear in two batches, then return everything to a wide oven-safe pan to finish.
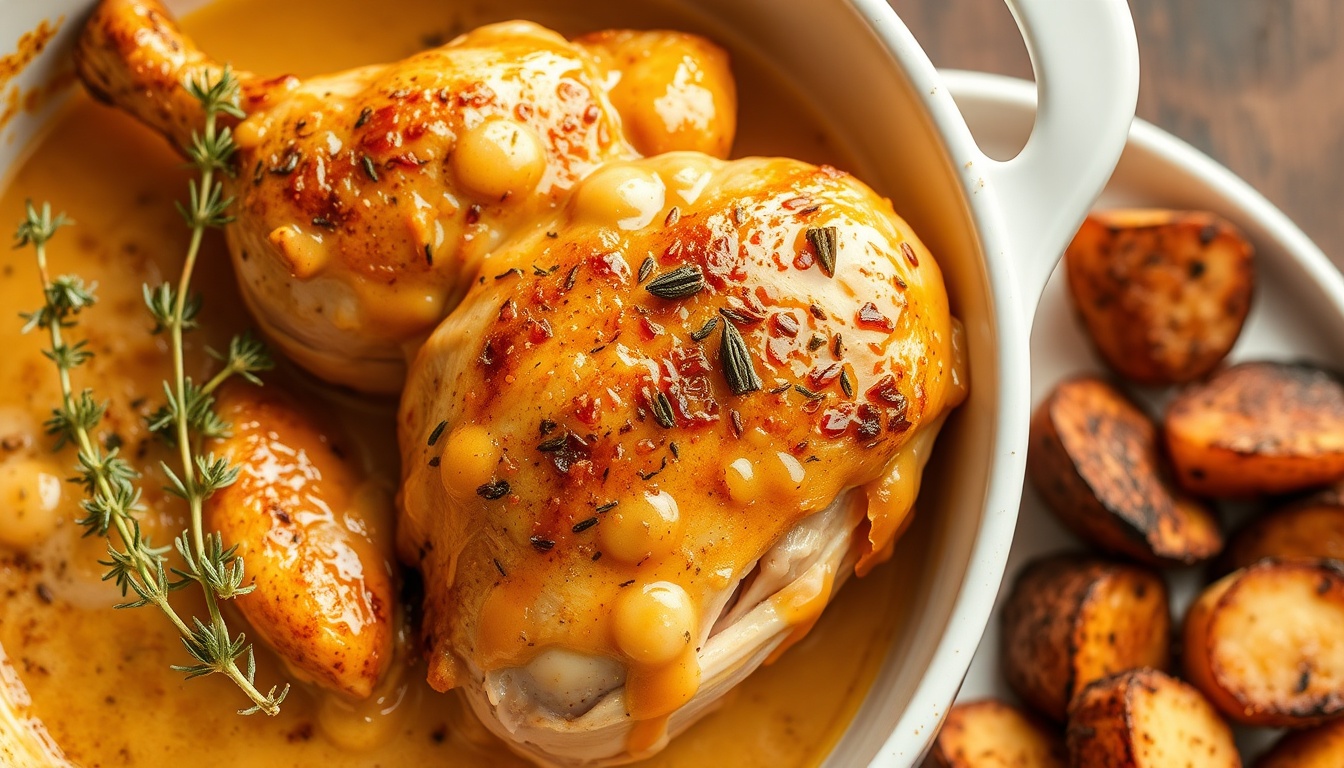
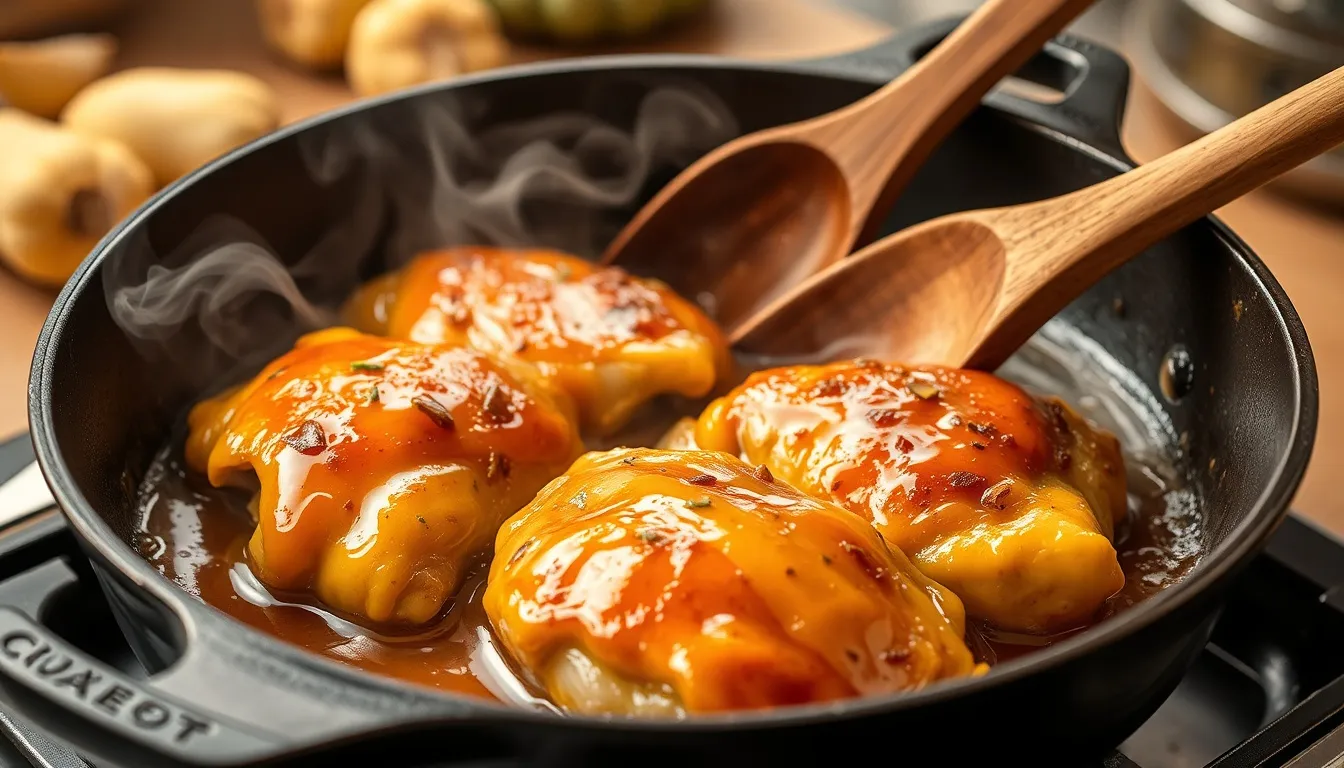
The card uses 1000 g edible boneless thighs, about 8 small pieces, and allows 45 minutes. The original bone-in method is preserved separately below. The hero illustration shows the skinless-pieces variation; the card and section illustration use whole thighs.
Recipe
One-Pan Honey Garlic Chicken
One-pan honey garlic chicken with weighed boneless, skin-on thighs. Four portions; allow about 45 minutes including two searing batches and a rest.
8Ingredients
Yield: 4 servings
- 1000 g boneless, skin-on chicken thighs, about 8 small pieces
- 1/3 cup clover honey
- 1/4 cup low-sodium soy sauce
- 8 cloves garlic, minced
- 2 tablespoons unsalted butter
- 1 tablespoon olive oil
- 1/2 teaspoon table salt
- 1/2 teaspoon ground black pepper
Ingredient amounts scale; instructions show the original batch. Cooking times and pan sizes may need adjustment. Season to taste. Honey grams use US measures at 20°C and 17.5% moisture, a density estimate; weigh your honey for precision.
Instructions
- 1Heat the oven and seasonHeat the oven to 400°F (200°C). Pat the thighs dry and season with the measured salt and pepper. Use a wide oven-safe pan that can hold the thighs in one layer for baking.
- 2Sear in two batchesHeat olive oil over medium-high heat. Sear half the thighs skin-side down for 5–6 minutes, then turn and cook 2 minutes. Transfer to a plate and repeat with the rest. The time allowance includes two batches.
- 3Make the garlic sauceLower the heat. Melt butter and stir in garlic for about 30 seconds. Add honey and soy sauce, scraping the pan, and simmer 2–3 minutes.
- 4BakeReturn all thighs skin-side up in one layer. Spoon sauce around them and transfer to the oven. Bake 8–10 minutes or longer as needed, until each thigh reaches 165°F (74°C) in the thickest part in the meat.
- 5Rest and divideRest 5 minutes. Divide the chicken and sauce into 4 equal portions. Rice and optional sesame/scallion garnish are outside the edible base estimate.
Estimated nutrition per serving
737.87 calories · 50.72 g fat · 26.97 g carbohydrate · 43.25 g protein · 1070.31 mg sodium
Serving: 1/4 of the boneless skin-on chicken and sauce; input estimate before cooking
Calculated from ingredient weights and USDA FoodData Central: 172385, 169640, 172473, 169230, 173430, 171413, 173468, 170931. Estimates use ingredient input weights; actual portions, brands and cooking losses vary. Omitted nutrient values are unavailable, not zero.
Choosing the Best Honey for This Recipe
Since the glaze is the star of this dish, the honey variety makes a real difference in the final flavor.
The chart gives editorial pairing suggestions on a 1 (mild) to 5 (bold) scale. It is not a laboratory measurement; harvests and jars vary.
- Wildflower honey — The best all-around choice. Complex floral notes complement both the garlic and soy sauce without competing. Best for: the classic recipe as written.
- Clover honey — Mild and clean, letting the garlic and soy sauce flavors dominate. Best for: picky eaters, kids, everyday dinners.
- Buckwheat honey — Dark and malty with a molasses-like depth that creates a richer, more complex glaze. survive the caramelization process. Best for: bold flavor lovers, Asian-inspired preparations.
- Orange blossom honey — Light citrus notes that add brightness and cut through the richness of chicken skin. Best for: summer dinners, citrus-herb variations.
- Acacia honey — Very light and delicate, producing a cleaner glaze that highlights the garlic. Best for: lighter preparations, boneless skinless chicken.
Pro Tip
While the honey does get heated during cooking, many of the minerals and flavor compounds survive.
1 = mild, 5 = bold. Editorial pairing guidance, not laboratory measurements; jars vary.
- Clover
- Garlic and soy
- Wildflower
- Floral garlic glaze
- Orange blossom
- Lemon variation
Matching a honey to another dish: the honey flavor map
Get the Honey Buyer's Cheat Sheet (free PDF)
16 varieties on one page — color, flavor, best use and what a fair price looks like — from the 304 honeys we track.
4 Flavor Variations
Once you've nailed the basic recipe, these variations keep weeknight dinners interesting. Each one modifies the base sauce.
These are separate adaptations. Their cooking and marinating times differ from the card; check 165°F (74°C) in the thickest part without touching bone, following FDA guidance.
- Honey garlic sesame chicken — Add 2 tablespoons toasted sesame oil and 1 tablespoon rice vinegar to the sauce. Garnish with toasted sesame seeds. The nutty sesame deepens the Asian flavor profile.
- Spicy honey garlic chicken — Add 1-2 tablespoons of sriracha or hot honey to the sauce plus 1/2 teaspoon red pepper flakes. The sweet-spicy-savory combination is addictive. See our hot honey guide for making your own.
- Honey garlic ginger chicken — Add 1 tablespoon freshly grated ginger to the garlic step. Ginger and honey are a classic combination.
- Honey garlic lemon chicken — Add the juice of one lemon and 1 teaspoon lemon zest to the sauce. Replace butter with olive oil. The citrus brightens everything and pairs beautifully with honey and lemon.
What to Serve with Honey Garlic Chicken
The sticky, savory-sweet glaze pairs well with simple sides that soak up the extra sauce.
- Steamed jasmine rice — The classic pairing. Fluffy rice absorbs the honey garlic sauce perfectly. Drizzle extra sauce from the pan over the rice.
- Roasted broccoli — Toss broccoli florets with olive oil, salt, and pepper, then roast at 425°F for 15-20 minutes. The charred edges complement the sweet glaze.
- Garlic mashed potatoes — Creamy potatoes are a natural match for any glazed chicken. The garlic in both creates a cohesive flavor.
- Honey-glazed carrots — Roast carrots with a tablespoon of honey and butter alongside the chicken for a complete honey-themed meal.
- Simple green salad — A crisp salad with light vinaigrette provides contrast to the rich, sticky chicken.
- Lo mein or rice noodles — Toss cooked noodles with a splash of soy sauce and sesame oil, then top with sliced honey garlic chicken for a complete meal.
Storage and Reheating
Refrigerate cooked portions within 2 hours, using shallow covered containers and a refrigerator at 40°F (4°C) or below. Use within 3–4 days or freeze portions, following USDA leftover guidance.
Reheat leftovers throughout to 165°F (74°C), checked with a food thermometer, following USDA guidance. Honey does not establish a longer tested shelf life for this mixed dish.
Tips for the Best Results
A few key techniques make the difference between good and great honey garlic chicken.
- Dry the chicken thoroughly — Moisture is the enemy of crispy skin. Pat each thigh with paper towels before seasoning. Some cooks even air-dry uncovered in the fridge for an hour.
- Don't move the chicken while searing — Let the skin develop a deep golden crust before flipping. Resist the urge to peek — 5-6 minutes of undisturbed contact with the hot pan creates the best sear.
- Control the garlic heat — Minced garlic burns quickly in a hot pan. Reduce heat to medium before adding, and cook for only 30 seconds. Burned garlic turns bitter and ruins the sauce.
- Use an oven-safe skillet — A cast iron skillet is ideal — it retains heat for a great sear and transitions seamlessly to the oven. Stainless steel works too. Avoid non-stick in the oven above 400°F.
- Let it rest — Resting the chicken for 5 minutes lets the juices redistribute and the sauce thickens slightly as it cools. This is the step most people skip and the one that matters most.
- Use a meat thermometer — Chicken is done at 165°F (74°C) in the thickest part. Thighs are forgiving and stay moist up to 180°F, but breasts dry out quickly past 165°F.
Nutrition Basis
The card divides the measured ingredient inputs into 4 portions.
The calculation counts the measured input ingredients, including sauce, oil and pan residue. It is not a measured finished-dish result.
Different brands, cuts, portion sizes, side dishes and variations change the estimate.
Skinless Pieces Variation
The hero illustration shows a skinless serving idea. Cut boneless, skinless chicken into even pieces, sear in batches, make the sauce and return the chicken until it reaches 165°F (74°C). It uses a different cut and timing from the whole skin-on thigh card, so that card estimate does not apply.
Original Bone-In Thigh Variation
The original method uses 8 small bone-in, skin-on thighs totaling about 3 pounds, with the same honey-garlic sauce. It remains a separate version; the edible boneless card estimate does not apply.
- Sear in two batches:5–6 minutes skin-side down and 2 minutes on the other side for each batch.
- Make the garlic-butter-honey-soy sauce, return the thighs skin-side up and finish at 400°F (200°C) for about 15–18 minutes, checking 165°F (74°C) away from bone.
- Rest 5 minutes. Allow roughly 55 minutes including preparation and both searing batches; thicker thighs can need more time.