Why Add Honey to Sourdough
Honey is not just a sweetener in sourdough — it is a functional ingredient that improves the bread at every stage.
During fermentation, the simple sugars in honey (fructose and glucose) give wild yeast an immediate food source. While yeast can break down the starches in flour, the process is slower and requires enzymatic activity. Honey provides pre-digested fuel, which accelerates initial fermentation and produces a more vigorous rise. This is especially helpful for sourdough starters that are still maturing and may not have peak enzymatic power.
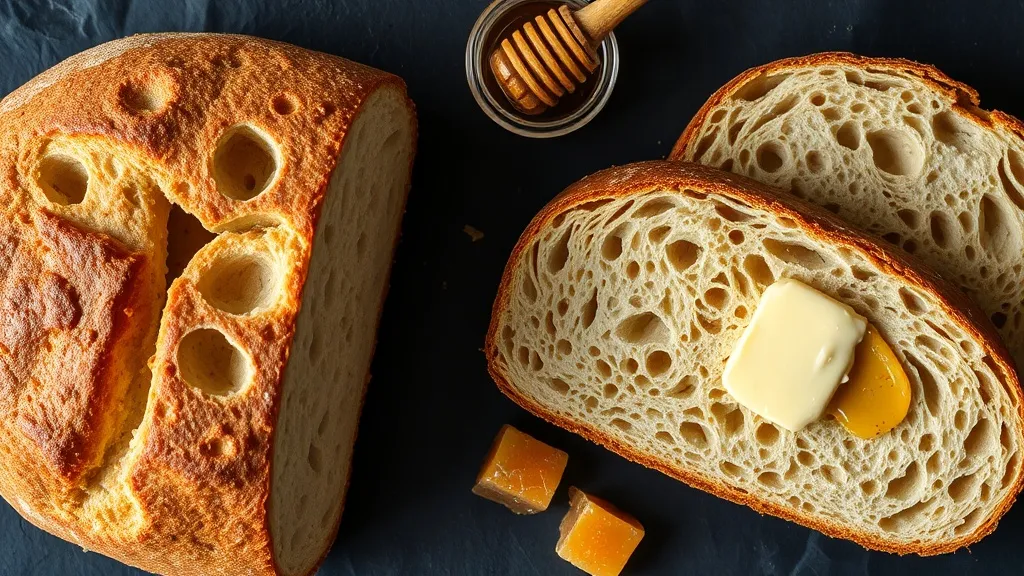
The fructose in honey is highly hygroscopic — it attracts and retains moisture. This gives honey sourdough a noticeably softer, more tender crumb compared to plain sourdough. The bread stays fresh longer too, resisting the staling process for an extra day or two because the honey-bound moisture does not evaporate as quickly.
Honey also balances the tang. Sourdough's characteristic sour flavor comes from lactic and acetic acids produced during fermentation. The sweetness of honey does not eliminate the tang but rounds it out, making the bread more approachable for people who find traditional sourdough too sharp. The overnight cold ferment favors lactic acid (mild, creamy sourness) over acetic acid (sharp, vinegary sourness), which pairs better with honey's sweetness.
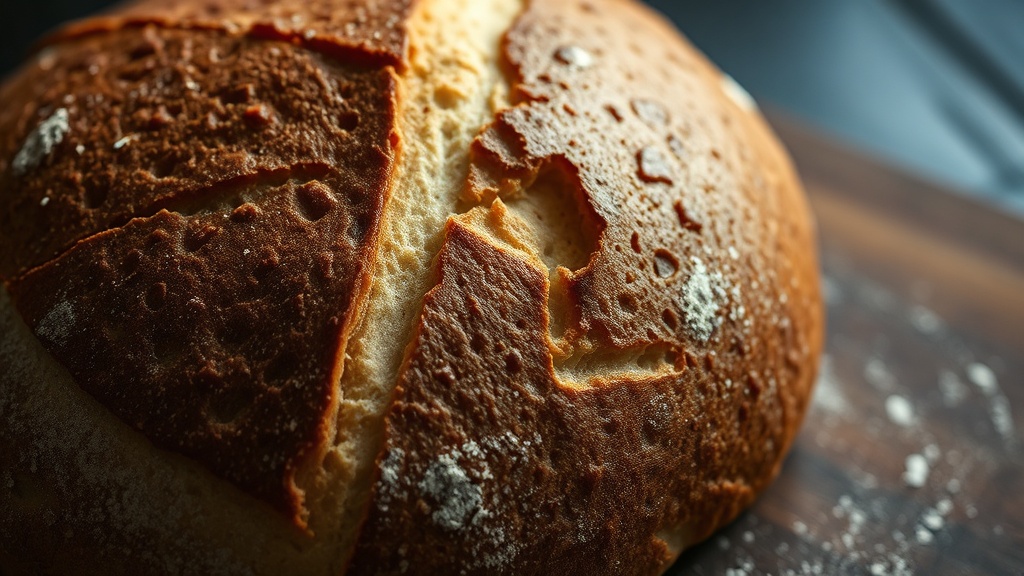
The Crust Difference
Honey transforms the crust through the Maillard reaction and caramelization.
The reducing sugars in honey (fructose and glucose) react with amino acids in the flour at oven temperatures, accelerating the Maillard reaction. This produces a deeper golden-brown color and more complex flavor compounds than flour starches alone can generate. The crust develops toasty, slightly caramelized notes that complement the tangy crumb.
Because honey caramelizes at a lower temperature than table sugar (around 230°F vs 320°F), the crust colors faster. This is why the recipe calls for reducing the oven from 500°F to 450°F after loading the bread — the honey-enriched surface would burn at sustained high heat. The result is a crust that is deeply colored, crackling when fresh, and thin enough to tear easily rather than shatteringly hard.
Best Honey for Sourdough
Any liquid honey works, but the variety subtly influences the bread's flavor.
- Wildflower honey ($10–18/lb) — the top choice. Its complex, multi-floral character adds depth without any single dominant note. The flavor blends seamlessly into the sourdough tang and wheat flavors
- Clover honey ($8–15/lb) — mild and clean. If you want the functional benefits of honey (softer crumb, golden crust, better rise) without adding noticeable flavor, clover is the neutral workhorse and the best value at $8–15 per pound
- Acacia honey ($12–20/lb) — very light and delicate with a low glycemic index (GI ~32). Stays liquid longer than other honeys, making it easy to mix into dough. Produces the mildest honey flavor in the finished bread
- Avoid strong-flavored honeys like buckwheat ($15–25/lb) or chestnut ($20–35/lb) — their bold, malty flavors can overpower the delicate sourdough character and produce bread that tastes more like honey cake than artisan sourdough
- Avoid crystallized honey unless you melt it first. Granulated honey will not distribute evenly through the dough, creating pockets of concentrated sweetness
Timeline at a Glance
This recipe fits into a relaxed two-day schedule. Most of the time is hands-off.
- Day 1, 8:00 AM — feed your sourdough starter
- Day 1, 12:00 PM — mix the dough (5 minutes active)
- Day 1, 12:30 PM — add salt (2 minutes active)
- Day 1, 12:30-2:30 PM — stretch and fold every 30 minutes (1 minute each, 4 sets)
- Day 1, 2:30-6:30 PM — bulk ferment (hands off, just watch for 50-75% rise)
- Day 1, 6:30 PM — shape the loaf (5 minutes active)
- Day 1, 7:00 PM — into the refrigerator for overnight cold retard
- Day 2, 7:00 AM — preheat oven with Dutch oven (45 minutes)
- Day 2, 7:45 AM — score and bake (45 minutes)
- Day 2, 8:30 AM — cool on wire rack (1 hour minimum)
- Day 2, 9:30 AM — slice and eat
Pro Tip
Total active time is about 25 minutes across both days. The rest is fermentation and baking that happens without you.
Troubleshooting Common Issues
Sourdough baking has a learning curve. These are the most frequent problems and their fixes.
- Dense, heavy loaf — your starter was not active enough or bulk fermentation was too short. The starter should pass the float test (a spoonful floats in water) before mixing. And the dough should visibly puff up 50-75% during bulk rise, not just 20-30%
- Flat loaf that spreads instead of rising — the dough was over-fermented (too long at room temperature) or under-shaped. Over-fermented dough loses its gluten structure and cannot hold its shape in the oven. Shorten bulk ferment or shape more tightly with better surface tension
- Gummy interior — you cut the bread before it cooled completely. The starches need the full cooling period to retrograde (set). Wait at least 1 hour, ideally 2. If the outside feels warm, the inside is not ready
- Burnt crust, raw inside — oven too hot or the honey is causing premature browning. Make sure you reduce temperature to 450°F after loading the bread. If your oven runs hot, try 425°F for the uncovered phase
- Weak or no oven spring — the scoring was too shallow (go at least 1/2 inch deep at a 45-degree angle) or the Dutch oven was not preheated long enough. The trapped steam from the lid is what drives oven spring for the first 20 minutes
Storage and Serving
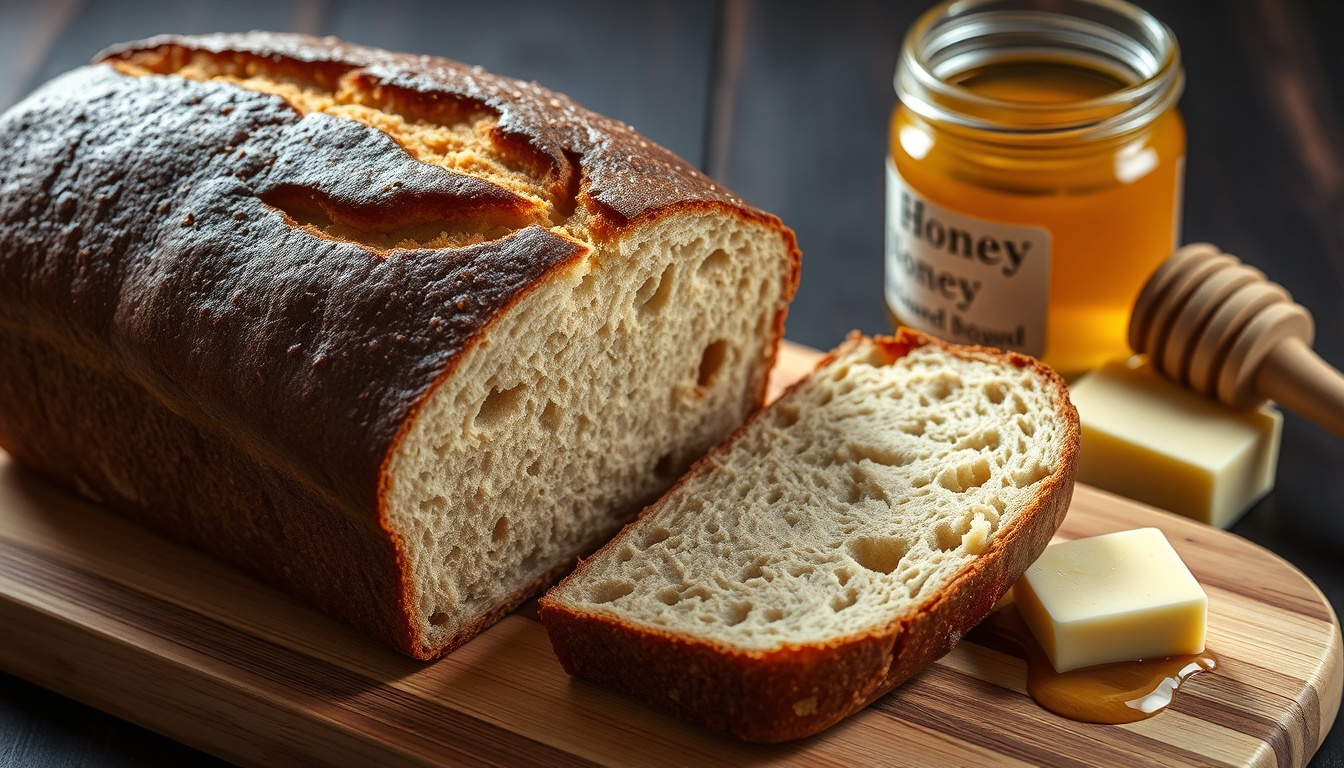
Honey sourdough stores better than lean sourdough thanks to the moisture-retaining properties of honey.
- Room temperature — up to 4 days cut-side down on a cutting board, or in a bread bag. The crust stays intact for the first day. After that, it softens but the crumb remains moist. Do not refrigerate — cold temperatures accelerate staling
- Freezer — slice the bread first, then freeze in a sealed bag for up to 3 months. Toast individual slices directly from frozen. This is the best way to preserve fresh-baked quality long-term
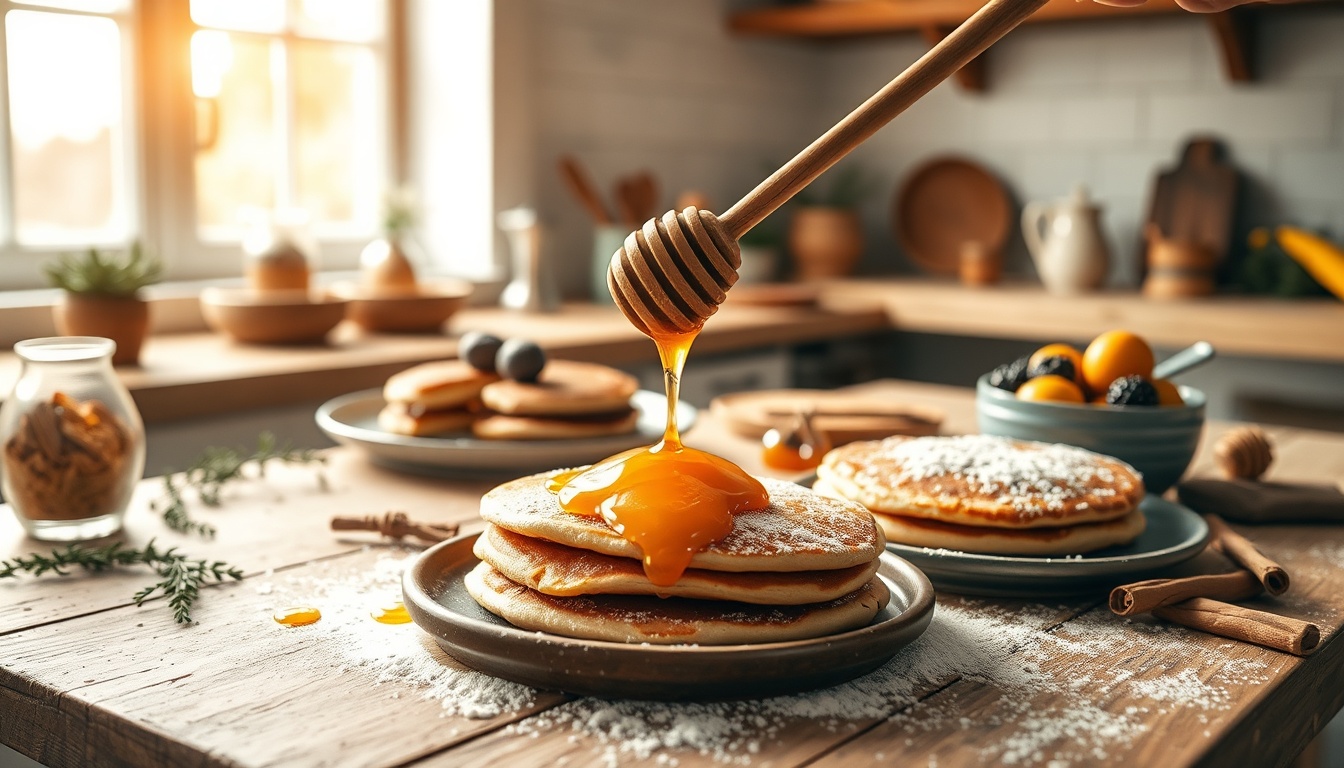
- Best serving ideas — toast thick slices and top with honey butter for a double-honey experience. Use for honey french toast — the tangy crumb with honey egg custard is exceptional. Serve alongside soups and stews where the soft, slightly sweet bread can soak up broth