Why Homemade Honey Wheat Bread Is Worth the Effort
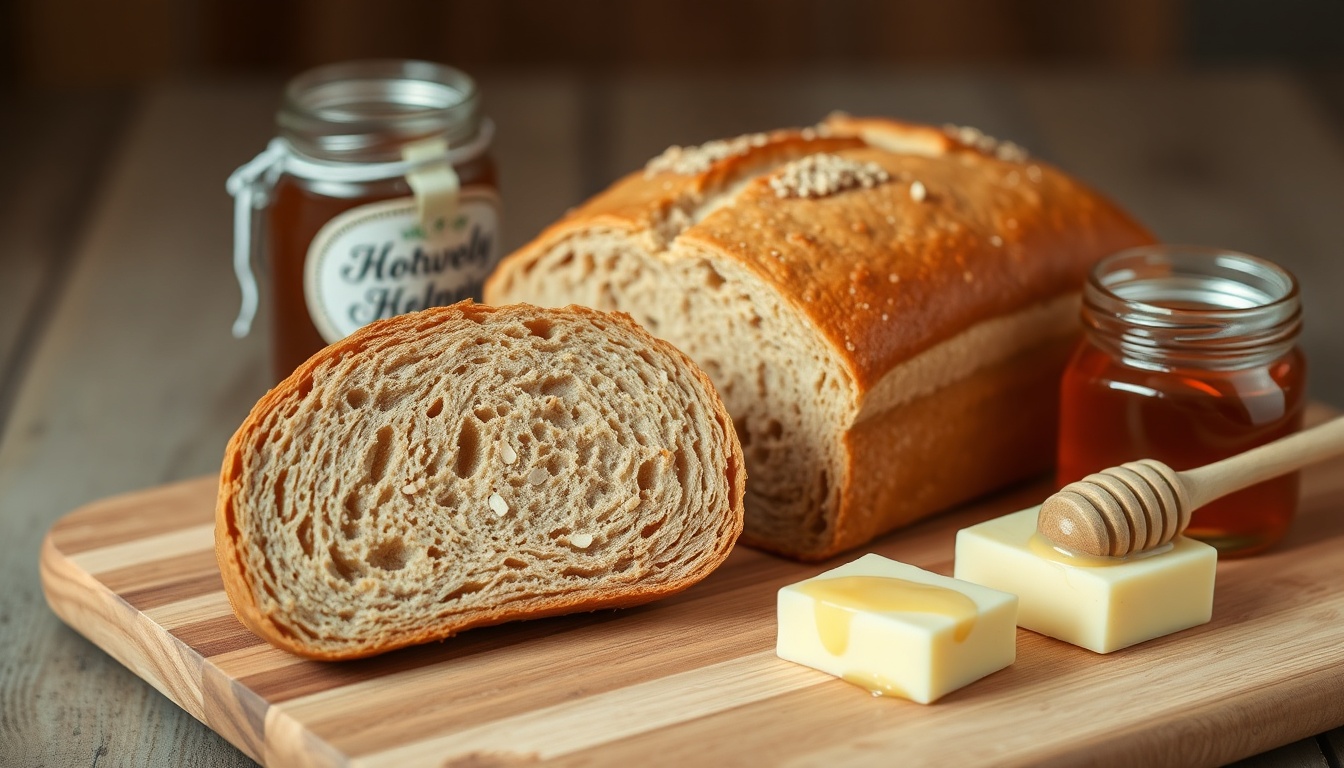
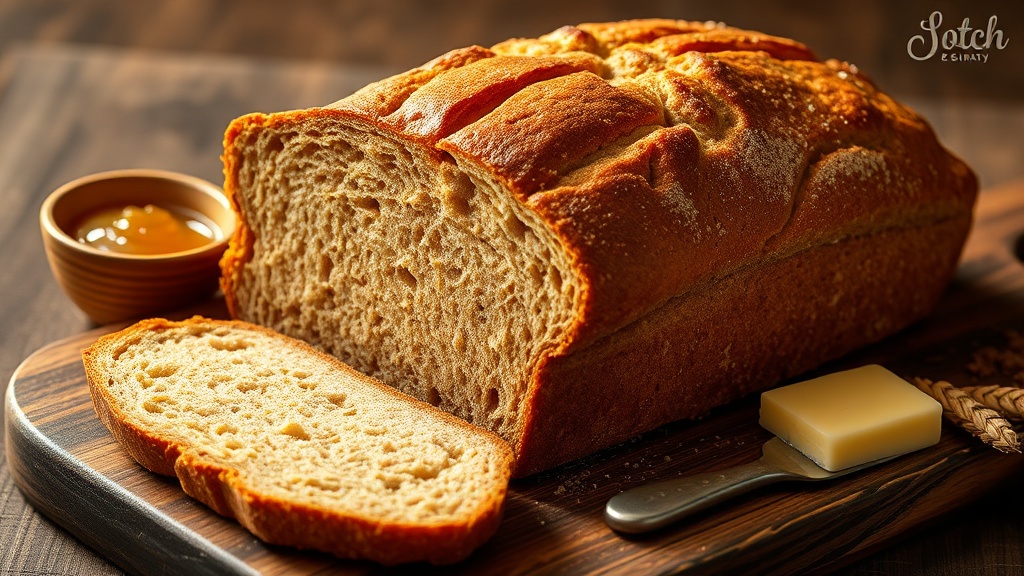
Homemade honey wheat bread fills your kitchen with one of the best aromas in cooking — warm yeast, toasted wheat, and caramelizing honey. The result is a loaf that's softer and more flavorful than anything from the grocery store, with a tender crumb, golden crust, and a gentle sweetness that makes it perfect for sandwiches, toast, or eating plain with butter.
The secret ingredient isn't a secret at all: it's honey. Unlike sugar, honey does three things in bread dough. First, honey is hygroscopic — it attracts and holds moisture, which keeps the bread soft for days instead of going stale overnight. Second, honey's fructose caramelizes at a lower temperature than sucrose, creating a deeper golden crust with more complex flavor. Third, the natural sugars in honey feed yeast more efficiently than granulated sugar, producing a better rise.
This recipe uses a mix of whole wheat and bread flour, giving you the nutty depth and fiber of whole wheat without the dense, heavy texture that 100% whole wheat loaves often have. Combined with honey, butter, and a simple knead, you get bakery-quality bread with minimal hands-on time.
Ingredients
Makes one standard 9×5 inch loaf (about 12 slices).
- **Whole wheat flour:** 1½ cups (180g) — provides nutty flavor, fiber, and structure
- **Bread flour:** 1½ cups (195g) — higher protein content develops more gluten for a softer crumb; all-purpose flour works but produces a slightly denser loaf
- **Raw honey:** ¼ cup (85g) — the star ingredient; clover ($8–15/lb) or wildflower ($10–18/lb) work best for bread
- **Warm water:** 1 cup (240ml) — 105-110°F is ideal for activating yeast without killing it
- **Active dry yeast:** 2¼ teaspoons (one standard packet) — or instant yeast (skip the bloom step)
- **Unsalted butter:** 2 tablespoons (28g), melted — adds tenderness and flavor
- **Salt:** 1¼ teaspoons — essential for flavor and controlling yeast activity
- **Neutral oil or butter for greasing:** for the bowl and loaf pan
Best Honey Varieties for Bread
The honey variety affects both flavor and crust color. Here are the best choices for bread baking.
- **Clover honey ($8–15/lb):** The classic choice — mild, clean sweetness that enhances wheat flavor without competing with it. The best value for bread baking.
- **Wildflower honey ($10–18/lb):** Slightly more complex than clover, with floral undertones that complement whole wheat beautifully
- **Acacia honey ($12–20/lb):** Very mild and light with a low glycemic index (GI ~32) — lets the wheat and butter flavors lead
- **Orange blossom honey ($12–20/lb):** Adds a subtle citrus note that makes exceptional morning toast
- **Buckwheat honey ($15–25/lb):** Bold and malty with the highest antioxidant content of any common variety (ORAC 16,000+) — creates a deeply flavored, dark-crusted loaf with a molasses-like character; spectacular with sharp cheese
Pro Tip
Avoid using manuka honey ($35–60+/lb) or other expensive therapeutic honeys in bread — the high oven temperatures destroy the bioactive compounds that make them special. Save those for eating raw and bake with affordable everyday varieties instead.
Step-by-Step Instructions
**Step 1: Bloom the yeast.** In a large mixing bowl, combine warm water (105-110°F), honey, and yeast. Stir gently and let sit for 5-10 minutes until the surface is foamy and bubbly. This confirms your yeast is alive and active. If nothing happens after 10 minutes, your yeast is dead or the water was too hot — start over with fresh yeast.
**Step 2: Mix the dough.** Add melted butter and salt to the yeast mixture and stir. Add whole wheat flour first and mix until combined, then add bread flour ½ cup at a time, stirring until a shaggy dough forms that pulls away from the sides of the bowl. You may not need all the bread flour — stop when the dough is soft and slightly sticky.
**Step 3: Knead.** Turn dough onto a lightly floured surface and knead for 8-10 minutes until smooth, elastic, and slightly tacky but not sticky. The dough should pass the windowpane test: stretch a small piece thin enough to see light through without tearing. Whole wheat dough takes a few extra minutes of kneading compared to white bread.
**Step 4: First rise.** Place dough in a lightly oiled bowl, turning once to coat. Cover with plastic wrap or a damp towel. Let rise in a warm spot (75-80°F) for 1 to 1½ hours until doubled in size. The honey sugars feed the yeast efficiently, so this rise is often faster than sugar-based recipes.
**Step 5: Shape the loaf.** Punch down the dough to release air. On a lightly floured surface, pat or roll into a roughly 8×12 inch rectangle. Starting from the short end, roll the dough tightly into a log, pinching the seam closed. Place seam-side down in a greased 9×5 inch loaf pan.
**Step 6: Second rise.** Cover the loaf pan and let rise for 45-60 minutes until the dough crests about 1 inch above the rim of the pan. Don't rush this — under-proofed bread is dense and doesn't rise well in the oven.
**Step 7: Bake.** Preheat oven to 350°F. For a golden honey-glazed crust, brush the top with a thin layer of honey mixed with a teaspoon of warm water. Bake for 30-35 minutes until the top is deep golden brown and the internal temperature reaches 190°F. If the top browns too quickly, tent loosely with foil for the last 10 minutes.
**Step 8: Cool.** Remove from pan immediately and cool on a wire rack for at least 30 minutes before slicing. Cutting too early releases steam and makes the crumb gummy.
Pro Tip
For the best rise, make sure all ingredients are at room temperature before starting. Cold butter or eggs slow yeast activity significantly.
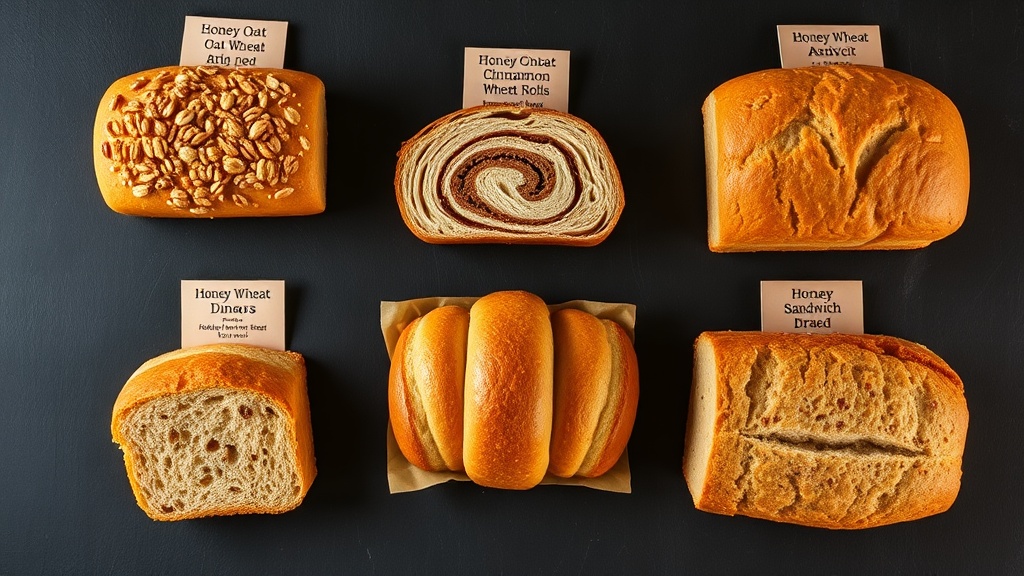
5 Variations
**1. Honey Oat Wheat Bread:** Add ½ cup rolled oats to the dough with the flour, and press an extra 2 tablespoons of oats onto the top before the second rise. The oats add a chewy texture and extra fiber. Brush with honey glaze before baking to help the oat topping stick.
**2. Honey Cinnamon Wheat Bread:** Add 1½ tablespoons ground cinnamon and an extra tablespoon of honey to the dough. This variation makes outstanding French toast and pairs perfectly with a honey and cinnamon butter spread.
**3. Honey Wheat Dinner Rolls:** Instead of shaping into a loaf, divide the dough into 12 equal portions and roll into balls. Place in a greased 9×13 inch baking pan. Let rise 30 minutes, brush with honey glaze, and bake at 375°F for 18-22 minutes.
**4. Honey Multigrain Bread:** Replace ½ cup of the whole wheat flour with a multigrain blend (flax, millet, sunflower seeds, oats). Adds crunch and nutrition. Soak the grains in warm water for 15 minutes first to prevent them from absorbing moisture from the dough.
**5. Honey Wheat Sandwich Bread (Extra Soft):** Add 1 egg and increase butter to 3 tablespoons. Replace ½ cup of water with whole milk. The extra fat and protein create an incredibly soft crumb perfect for sandwiches. Stays fresh an extra day thanks to the enriched dough.
Tips for Perfect Honey Wheat Bread
These tips solve the most common problems with whole wheat bread.
- **Don't use 100% whole wheat.** Whole wheat flour has bran particles that cut gluten strands, producing a dense loaf. The 50/50 blend in this recipe gives you wheat flavor with bread flour's structure.
- **Check your water temperature.** Too hot (above 120°F for active dry yeast) kills the yeast. Too cold and the yeast won't activate. Use a kitchen thermometer — guessing leads to failed loaves.
- **Knead enough.** Whole wheat dough needs 8-10 minutes of kneading to develop sufficient gluten. Under-kneaded dough produces a crumbly loaf that falls apart when sliced.
- **Don't over-flour.** A slightly tacky dough is correct. Adding too much flour during kneading produces a dry, heavy loaf. Resist the urge.
- **Use the right pan size.** A 9×5 inch pan is essential. Smaller pans cause overflow; larger pans produce flat loaves. If you don't have a loaf pan, shape into a free-form round on a baking sheet instead.
- **Let it cool fully.** The starches are still setting as the bread cools. Cutting too early produces a gummy interior even if the bread is fully baked.
Storage and Shelf Life
Honey's hygroscopic properties give this bread a longer shelf life than most homemade loaves.
- **Room temperature:** 4-5 days wrapped tightly in plastic wrap or stored in a bread bag at room temperature. The honey retains moisture naturally, keeping the crumb soft.
- **Refrigerator:** Not recommended — refrigeration accelerates starch retrogradation (staling). Room temperature or freezer are both better options.
- **Freezer:** Up to 3 months. Slice the bread before freezing so you can pull individual slices. Wrap tightly in plastic, then foil. Toast frozen slices directly — no thawing needed.
- **Refreshing stale bread:** If the crust hardens after a few days, sprinkle the outside with water and heat in a 350°F oven for 5 minutes. The steam refreshes the crust while the interior reheats.
Nutrition Highlights
This honey wheat bread offers genuine nutritional advantages over store-bought white bread. Each slice provides about 3 grams of fiber (10% DV) from the whole wheat flour — more than double the fiber in white bread. The whole wheat also contributes B vitamins (thiamin, niacin, folate), iron, magnesium, and zinc.
Using honey instead of sugar adds trace minerals and over 30 polyphenol antioxidants that granulated sugar completely lacks. While the heat of baking does reduce some of honey's enzyme activity, the polyphenols and minerals are heat-stable and survive the oven. The combination of whole wheat fiber and honey's lower glycemic index also means this bread has a more moderate blood sugar impact than white bread made with sugar. For more on honey's nutritional profile, see our complete honey nutrition guide.