Why Honey Makes Chicken Tenders Better
The secret to great chicken tenders is not just the breading — it is the brine. Soaking chicken in a honey brine before breading accomplishes three things at once: the salt seasons the meat all the way through, the honey adds subtle sweetness that balances the savory coating, and the sugars in honey promote faster, more even browning in the oven so you get a deep golden crust without deep frying.
Raw honey works better than sugar in a brine because its fructose and glucose dissolve instantly in warm water, and its natural acidity gently tenderizes the chicken proteins. Clover honey provides clean sweetness for traditional flavors, while wildflower honey adds complexity that elevates the dish. The result is tenders that are noticeably juicier than un-brined versions, even after 20 minutes in a hot oven.
This recipe bakes the tenders at high heat on a wire rack, which lets air circulate underneath for all-around crispiness. No flipping required. The honey in the breading mixture caramelizes during baking, creating a sticky-crispy coating that rivals anything from a fryer.
Honey Chicken Tenders Recipe
This recipe makes about 16 tenders, enough for 4 servings. The honey brine takes 30 minutes but makes a noticeable difference — do not skip it if you have the time.
- **For the honey brine:** 2 cups warm water; 2 tablespoons clover honey or wildflower honey; 1 tablespoon kosher salt; 1 pound chicken tenderloins (about 16 pieces).
- **For the breading:** 1 cup panko breadcrumbs; 1/2 cup all-purpose flour; 1 teaspoon garlic powder; 1 teaspoon smoked paprika; 1/2 teaspoon onion powder; 1/2 teaspoon salt; 1/4 teaspoon black pepper.
- **For the honey egg wash:** 2 large eggs; 1 tablespoon clover honey; 1 tablespoon Dijon mustard.
- **For the honey glaze:** 2 tablespoons honey (use same variety as brine); 1 tablespoon melted butter; pinch of salt.
Step-by-Step Instructions
The process has four stages: brine, bread, bake, and glaze. Total active time is about 20 minutes plus 30 minutes of brining and 18-20 minutes of baking.
- **Step 1: Honey brine** — Stir honey and salt into warm water until dissolved. Add chicken tenderloins and refrigerate for 30 minutes (up to 2 hours). This seasons the meat and adds moisture. Pat chicken completely dry with paper towels after brining — wet chicken will not get crispy.
- **Step 2: Set up breading station** — Preheat oven to 425°F (220°C). Place a wire rack on a baking sheet and spray with cooking spray. In one shallow bowl, combine panko, flour, garlic powder, paprika, onion powder, salt, and pepper. In another bowl, whisk eggs with honey and Dijon mustard.
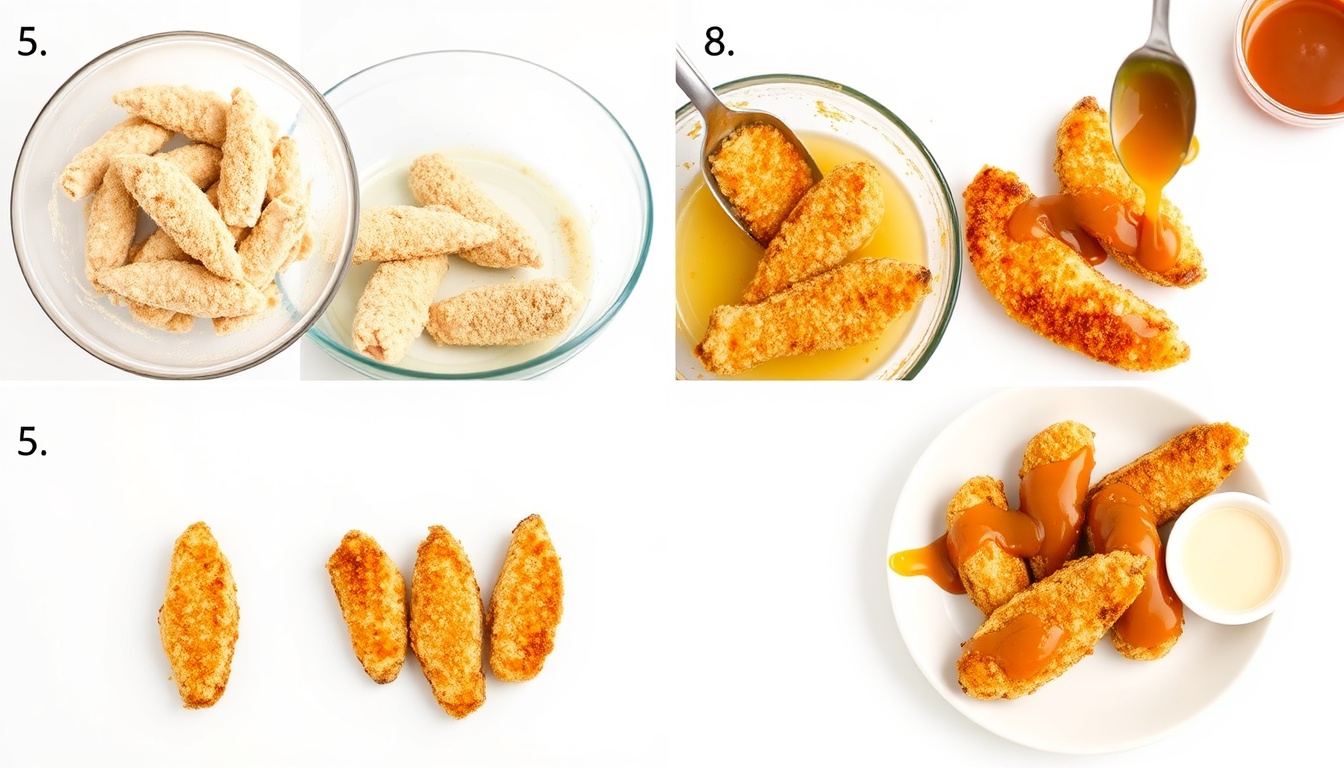
- **Step 3: Bread the tenders** — Working one at a time, dip each tender in the egg wash (let excess drip off), then press firmly into the panko mixture, coating all sides. Press the crumbs on firmly — they should stick well to the honey egg wash. Place on the wire rack with space between each tender.
- **Step 4: Bake** — Bake at 425°F for 18-20 minutes until the breading is deep golden brown and the chicken reaches 165°F (74°C) internally. Do not flip — the wire rack ensures the bottom gets crispy too.
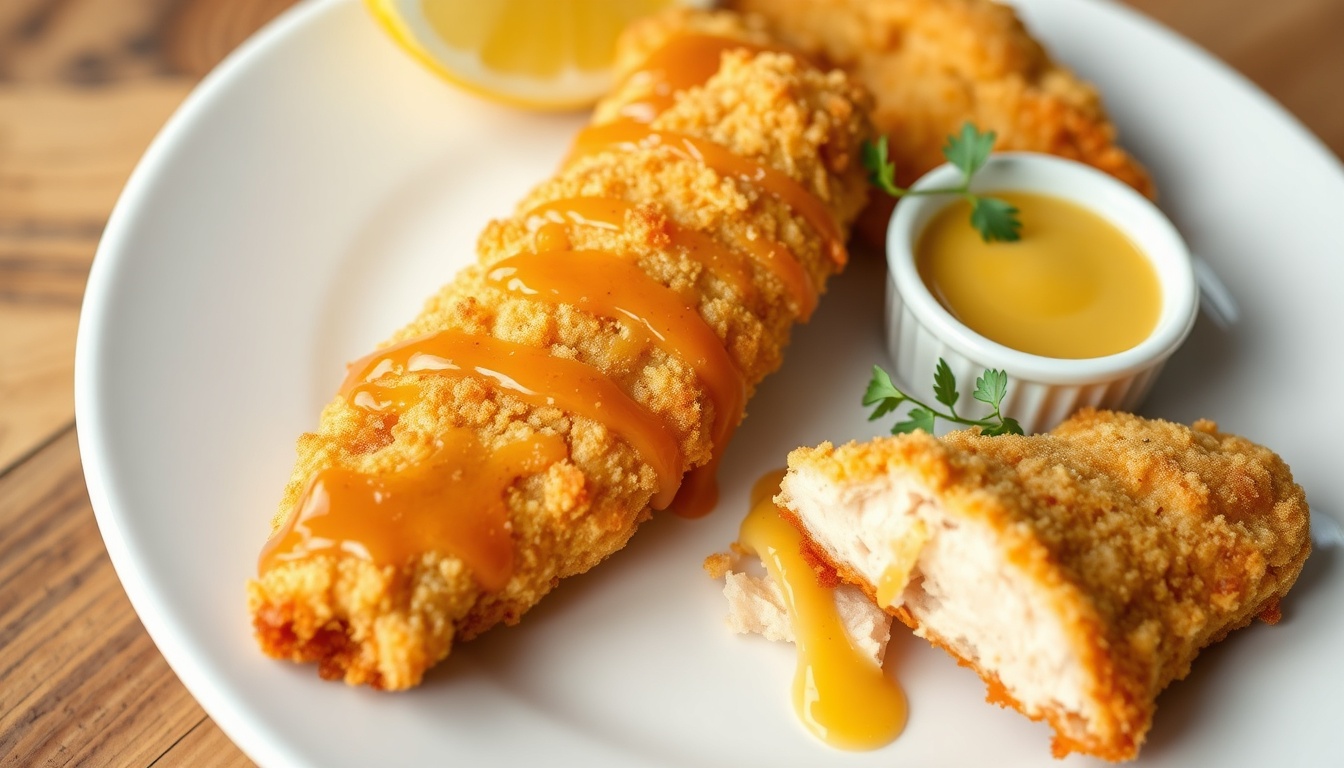
- **Step 5: Honey glaze** — While the tenders bake, stir together honey, melted butter, and a pinch of salt. As soon as the tenders come out of the oven, brush each one lightly with the honey glaze. The residual heat will set the glaze into a sticky, shiny coating.
Pro Tip
For extra-crispy tenders, spray the tops lightly with cooking spray before baking. The oil helps the panko brown and crisp more evenly. You can also toast the panko in a dry skillet for 2-3 minutes before breading for guaranteed crunch.
5 Honey Dipping Sauces
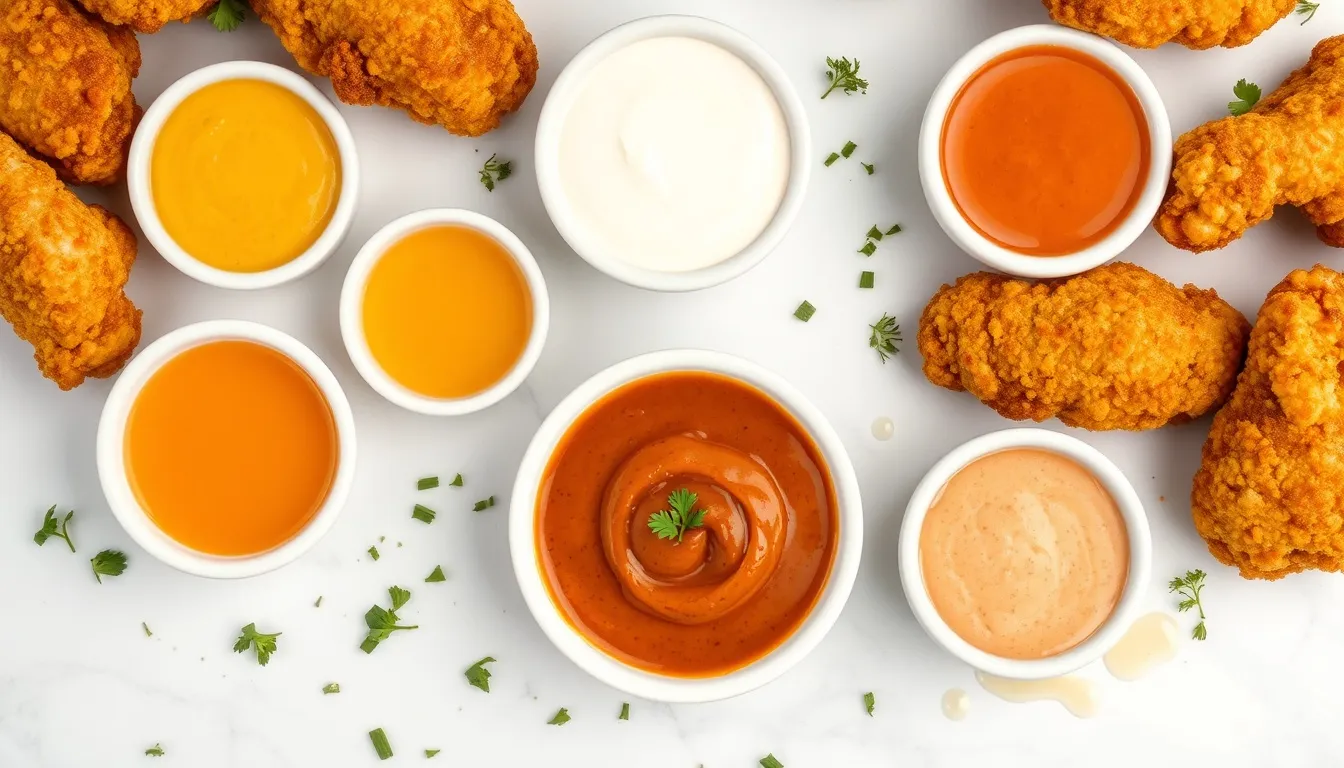
Chicken tenders are only as good as their dipping sauce. Here are five honey-based sauces that take 2 minutes each to make.
- **Classic Honey Mustard** — Stir together 3 tablespoons clover honey or wildflower honey, 2 tablespoons Dijon mustard, 1 tablespoon yellow mustard, and 1 tablespoon mayonnaise. Clover creates the classic clean sweetness, while wildflower adds complexity. The two-mustard combination gives you both sharpness and tang.
- **Honey Sriracha** — Mix 3 tablespoons orange blossom honey with 1-2 tablespoons sriracha sauce, 1 teaspoon soy sauce, and a squeeze of lime juice. The citrus notes in orange blossom honey complement the heat perfectly. Sweet heat that builds gradually.
- **Honey BBQ** — Combine 2 tablespoons buckwheat honey or wildflower honey, 2 tablespoons ketchup, 1 tablespoon apple cider vinegar, 1 teaspoon smoked paprika, and 1/2 teaspoon garlic powder. Buckwheat creates deeper molasses notes that enhance the smokiness. Microwave 30 seconds and stir.
- **Honey Ranch** — Mix 1/4 cup ranch dressing with 1 tablespoon acacia honey or clover honey and 1/2 teaspoon dried dill. Light honeys preserve the herbs without overwhelming the creamy base. A crowd favorite with kids.
- **Honey Garlic** — Warm 3 tablespoons wildflower honey with 2 minced garlic cloves, 1 tablespoon soy sauce, and 1 teaspoon rice vinegar in a small saucepan for 2 minutes. The complex floral notes balance the savory umami elements. Savory, aromatic, and addictive — similar to the glaze on honey garlic chicken.
Choosing the Best Honey
The honey variety you use affects both the brine flavor and the glaze character.
- **Clover honey** — Mild and versatile, perfect for a neutral brine that lets the spices and breading shine. Clean sweetness balances the savory coating without competing with the garlic and paprika. Most reliable choice for kid-friendly tenders.
- **Wildflower honey** — Complex floral notes add subtle aromatic depth to both the brine and glaze. Creates a more sophisticated flavor profile than clover while remaining approachable. Excellent for elevating weeknight dinners to restaurant quality.
- **Orange blossom honey** — Bright citrus undertones create a slightly tangy glaze that pairs beautifully with the honey mustard dipping sauce. The natural acidity enhances the tenderizing effect in the brine, resulting in exceptionally juicy chicken.
- **Acacia honey** — Light and delicate, allowing the chicken and spice flavors to dominate while adding gentle sweetness. Perfect when serving to guests who prefer subtle honey flavor. Creates the clearest, most professional-looking glaze.
- **Buckwheat honey** — Bold molasses-like flavor creates robust, deeply caramelized tenders with complex depth. Best for fall and winter meals when you want rich, satisfying comfort food. Pairs excellently with the honey BBQ dipping sauce.
- **Hot honey** — For spicy tenders, use hot honey in the glaze step. The combination of sweet honey, chili flakes, and crispy breading is the flavor profile behind the hot honey chicken trend.
Meal Prep and Storage
Honey chicken tenders are excellent for meal prep. The honey in the breading helps them reheat better than most breaded chicken because it retains moisture.
- **Refrigerator storage** — Cooked tenders keep for 4 days in an airtight container. Reheat in a 375°F oven for 8-10 minutes to restore crispiness. The microwave works for convenience but softens the breading.
- **Freezer storage** — Flash freeze cooked, unglazed tenders on a baking sheet, then transfer to a freezer bag. They keep for 3 months. Reheat from frozen in a 400°F oven for 15-18 minutes. Apply the honey glaze after reheating.
- **Prep ahead** — You can bread the raw tenders and refrigerate on the wire rack for up to 4 hours before baking. Cover loosely with plastic wrap. The breading actually adheres better after resting.
- **Kid-friendly meal prep** — Make a double batch and freeze half. These are faster and healthier than store-bought frozen chicken tenders. Pack in lunchboxes with a small container of honey mustard.
Nutrition Information (Per Serving)
One serving (4 tenders with honey glaze, without dipping sauce) contains approximately 310 calories, 8g fat, 28g carbohydrates, 10g sugar, and 32g protein. Compared to deep-fried chicken tenders (about 450 calories and 22g fat for the same portion), baking with a wire rack cuts nearly half the fat while delivering comparable crispiness.
Adding a dipping sauce adds 40-70 calories per 2-tablespoon serving depending on the sauce. The honey mustard is about 60 calories, the honey sriracha is about 45, and the honey ranch is about 70.