Why Honey Makes Better Scones
Scones have a reputation for being dry and crumbly in the wrong way. Honey solves this problem through chemistry.
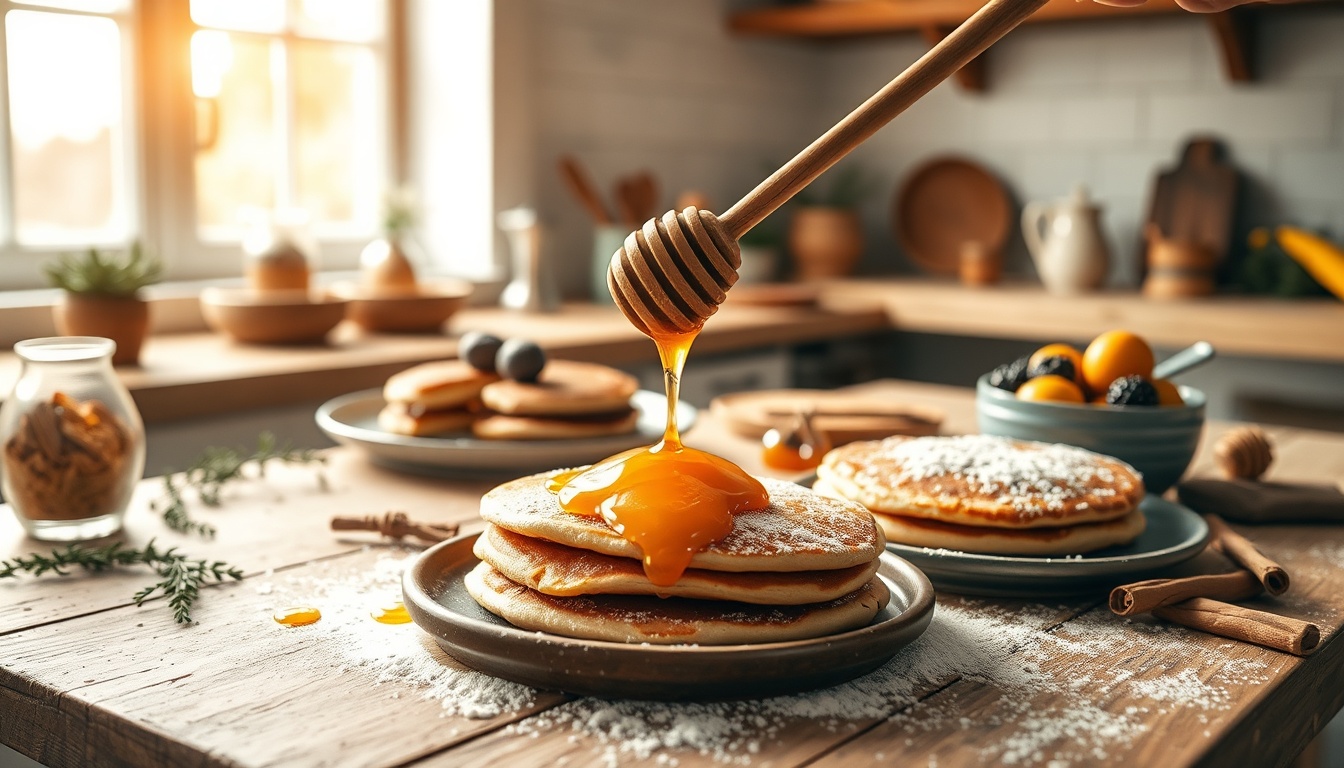
Honey is hygroscopic — it attracts and retains moisture from the air. In a baked scone, the fructose in honey continues to pull moisture even after baking, keeping the interior tender for days. Sugar-based scones start drying out within hours because sucrose does not have the same moisture-retaining ability.
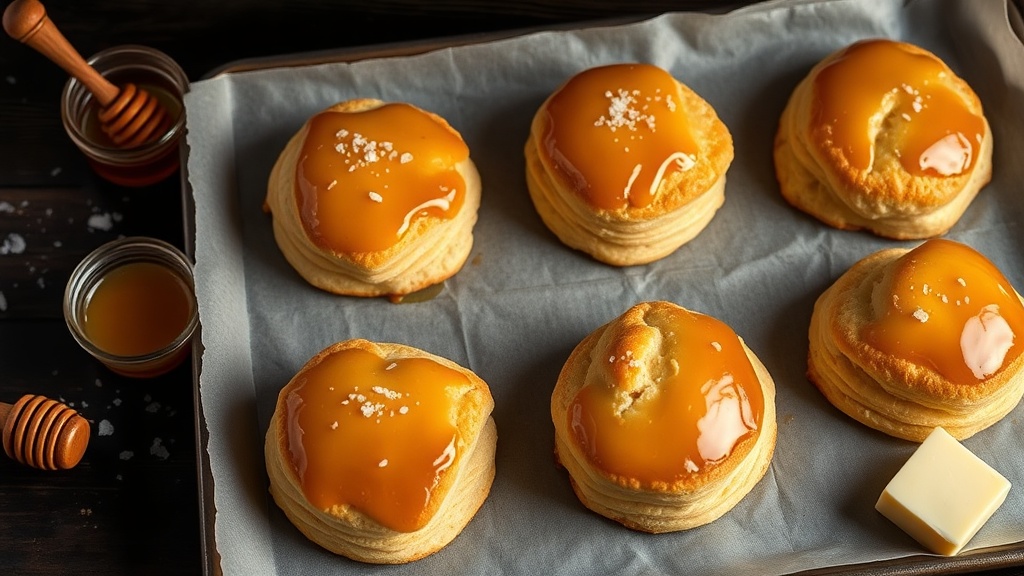
Honey also browns faster than sugar. The fructose in honey caramelizes at around 230°F (110°C), compared to 320°F (160°C) for granulated sugar. This means honey scones develop a golden, slightly caramelized exterior at 425°F while the interior stays soft and under-set. The result is a scone with contrast — crisp outside, tender inside.
The flavor difference is significant too. Sugar adds flat sweetness. Honey adds sweetness plus the complex aromatic compounds that give each variety its unique character — floral, herbal, fruity, or malty notes that make every bite more interesting than "just sweet."
The Secret to Flaky Scones
Flakiness comes from cold butter. Every technique in this recipe serves one goal: keeping the butter cold until it hits the oven.
- Cube the butter and freeze it for 15 minutes before starting. Soft butter blends into the flour and makes a tender but dense scone. Cold butter stays in discrete pieces that melt during baking, creating steam pockets — the flaky layers you see when you pull a scone apart
- Use cold buttermilk straight from the refrigerator. The acid in buttermilk reacts with baking powder for extra lift, and the cold temperature keeps the butter from softening when you combine wet and dry ingredients
- Work fast and handle the dough as little as possible. Every second you touch the dough, your hand warmth transfers to the butter. The entire mixing and shaping process should take under 3 minutes
- Do not twist the cutter or knife when cutting scones. Twisting seals the edges and prevents the layers from rising properly. Press straight down with a sharp, decisive cut
- If your kitchen is warm, chill the shaped scones on the baking sheet for 10 minutes before baking. This re-firms the butter and produces better layering
Pro Tip
For extra-flaky scones, try the fold technique: after pressing the dough into a rectangle, fold it in thirds like a letter, rotate 90 degrees, and press flat again. Repeat once more before shaping into the final circle. This creates dozens of thin butter layers.
5 Flavor Variations
Add these mix-ins to the dry ingredients (before adding wet ingredients) for completely different scones from the same base recipe.
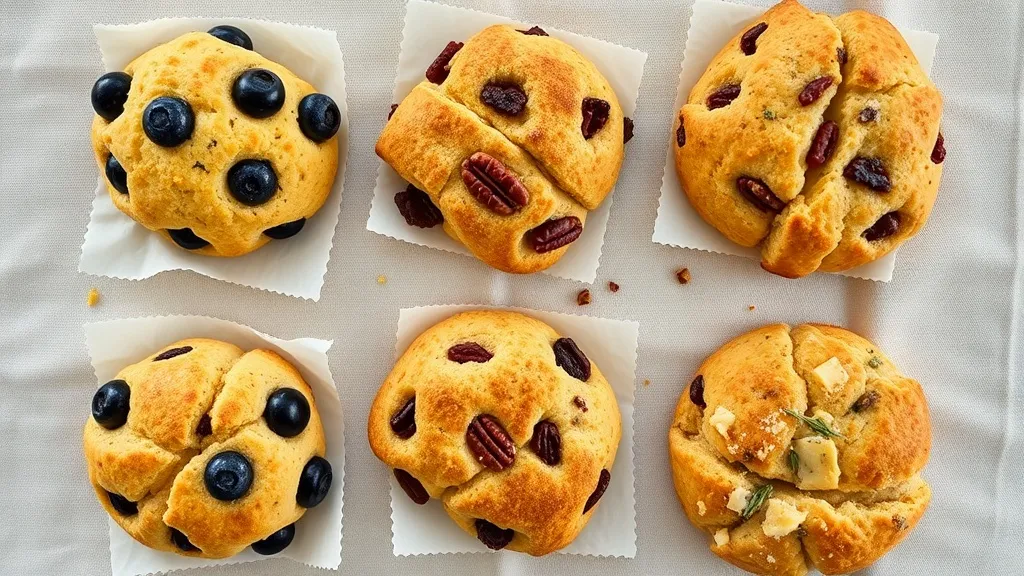
- Lemon blueberry — add 1 tablespoon lemon zest to the dry ingredients and fold in 3/4 cup fresh blueberries after combining wet and dry. Use a gentle hand so the berries do not burst and turn the dough purple. The lemon brightens the honey flavor beautifully
- Cinnamon pecan — add 1 teaspoon ground cinnamon and 1/2 cup chopped toasted pecans to the dry ingredients. Double the honey glaze and add 1/4 teaspoon cinnamon to it. Use cinnamon-infused honey for extra warmth if you have it
- Orange cranberry — add 1 tablespoon orange zest and 1/2 cup dried cranberries to the dry ingredients. Use orange blossom honey ($12-20) in both the dough and glaze for a triple-citrus flavor. A classic afternoon tea combination
- Chocolate chunk — fold in 1/2 cup dark chocolate chunks after combining wet and dry. The bittersweet chocolate with honey sweetness is an indulgent breakfast treat. Use buckwheat honey ($15-25) for a deep, malty-chocolate combination
- Savory cheddar and herb — omit the vanilla extract. Add 3/4 cup shredded sharp cheddar cheese, 1 tablespoon chopped fresh rosemary, and 1/4 teaspoon black pepper to the dry ingredients. Reduce the honey in the dough to 2 tablespoons and skip the glaze. These pair with soups and stews
Best Honey Varieties for Scones
The honey flavor comes through clearly in scones — in the dough and especially in the glaze — so the variety you choose matters.
- Clover honey ($8-15) — mild, clean sweetness that lets the butter and flour flavors shine. The best choice for a traditional, crowd-pleasing scone where honey plays a supporting role
- Acacia honey ($12-20, GI ~32) — similarly mild to clover and an excellent choice for bakers who prefer neutral sweetness. Lowest glycemic index of common varieties
- Wildflower honey ($10-18) — more complex than clover with subtle floral notes. Adds depth without being assertive. The best all-purpose choice
- Lavender honey ($15-25) — adds a gentle floral-herbal note that makes the scones taste like a high-end bakery product. Especially good in the plain scone and lemon blueberry variation
- Orange blossom honey ($12-20) — a natural fit for the orange cranberry variation. The citrus-floral notes amplify the orange zest beautifully
- Buckwheat honey ($15-25) — bold and malty with ORAC 16,000+ antioxidants, best reserved for the chocolate chunk variation where its intensity matches the dark chocolate. Too strong for the lighter variations
Storage and Reheating
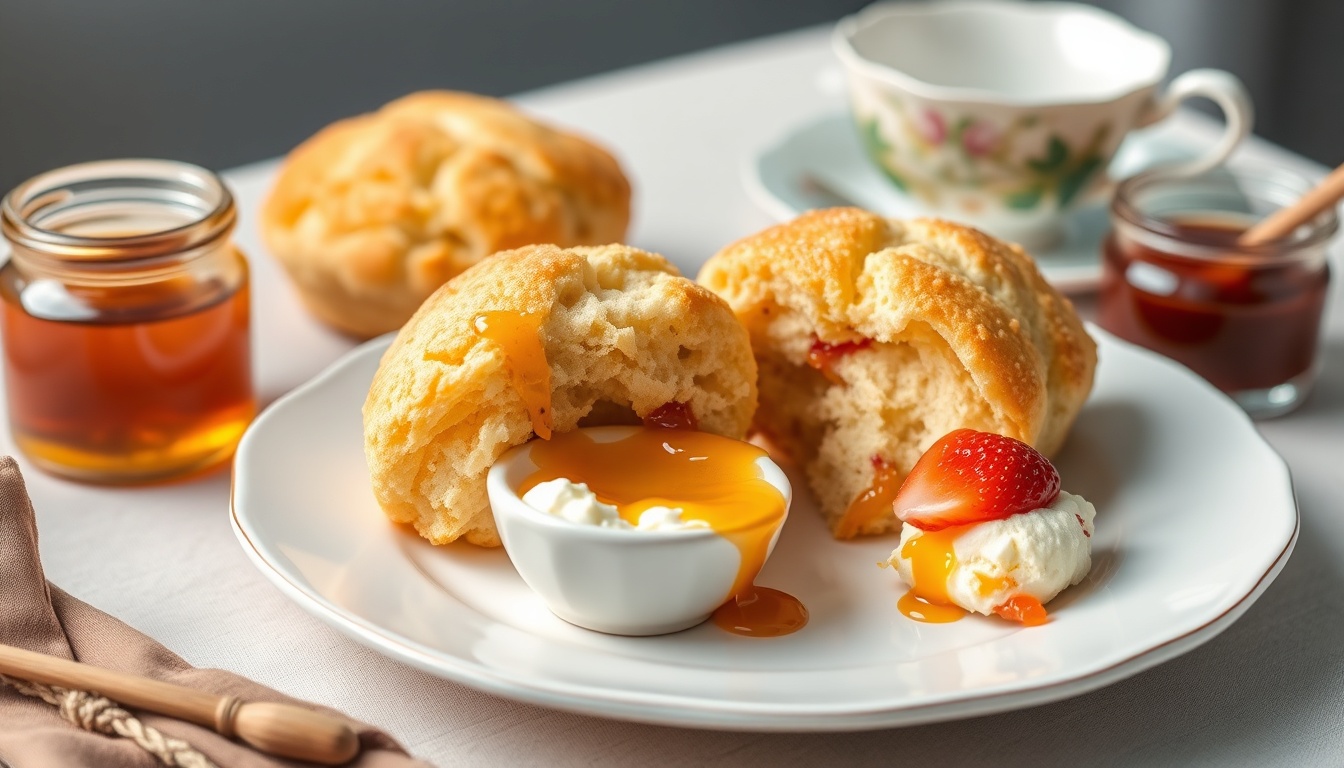
Honey scones store better than sugar-based scones thanks to honey keeping them moist, but fresh is always best.
- Room temperature — up to 2 days in an airtight container or wrapped tightly in plastic wrap. The honey glaze stays slightly sticky, so place parchment paper between stacked scones
- Refrigerator — up to 5 days sealed. Bring to room temperature for 20 minutes before serving, or reheat
- Freezer — up to 2 months. Freeze individually wrapped in plastic, then stored in a freezer bag. Thaw at room temperature for 1 hour, or reheat from frozen
- Reheating — wrap in foil and warm at 300°F (150°C) for 8-10 minutes. The foil prevents the glaze from burning. Alternatively, split in half and toast in a toaster oven, cut side up, for 2-3 minutes
- Freezing unbaked dough — shape and cut the scones, then freeze on a baking sheet until solid. Transfer to a freezer bag. Bake from frozen at 425°F, adding 3-5 minutes to the bake time. This is the best method for having fresh scones on demand
Pro Tip
The best make-ahead strategy: freeze the cut, unbaked scones. On the morning you want fresh scones, go straight from freezer to oven — no thawing needed. You get hot, fresh scones in 20 minutes with zero morning prep.
Common Mistakes to Avoid
Scones are simple but unforgiving of technique errors. Avoid these pitfalls for perfect results every time.
- Using warm or soft butter — the single biggest mistake. If the butter is not cold and firm, you get dense biscuits instead of flaky scones. If your butter softened during preparation, refrigerate the shaped scones for 15 minutes before baking
- Overworking the dough — overmixing develops gluten, producing tough, chewy scones instead of tender, crumbly ones. Stop mixing the instant the dough comes together, even if it looks rough. Shaggy is good
- Adding too much flour — resist the urge to flour your work surface heavily. Excess flour makes dry, dense scones. A light dusting is all you need, and the dough should feel slightly tacky
- Overbaking — honey browns faster than sugar, so check scones at 15 minutes. They should be golden on top and just barely golden on the bottom. The centers firm up as they cool. Overbaked honey scones go from moist to sawdust quickly
- Skipping the buttermilk brush — the buttermilk wash creates a golden, slightly glossy top crust. Without it, the scones bake pale and dull. In a pinch, use heavy cream or beaten egg as a substitute