Why Honey Is the Secret to Great Pizza Dough
Professional pizzerias have used honey or malt in their dough for decades, and for good reason. Honey does three things that sugar cannot match.
First, honey feeds the yeast more efficiently. Yeast can metabolize the simple sugars in honey (fructose and glucose) directly, without needing to break them down first like it does with table sugar (sucrose). This means faster, more vigorous fermentation and a more developed flavor in less time.
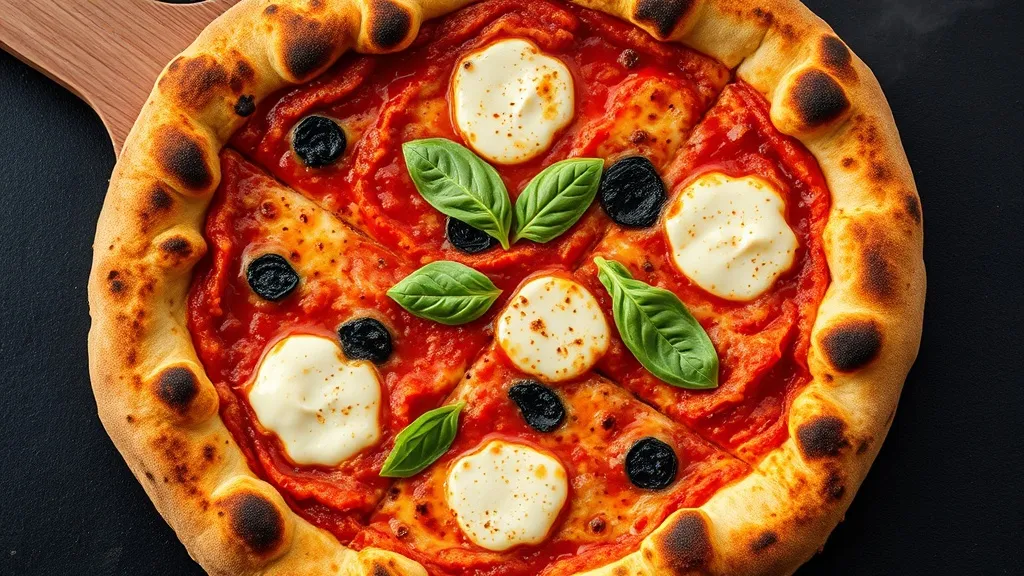
Second, honey promotes superior browning. Fructose caramelizes at 230°F — nearly 100°F lower than sucrose at 320°F. This gives honey pizza dough those gorgeous dark-golden spots and blistered edges that make Neapolitan pizza so appealing, even in a home oven that maxes out at 500-550°F.
Third, honey is hygroscopic — it attracts and retains moisture. This keeps the interior of the crust soft and chewy even as the outside crisps. The result is the elusive crispy-outside, pillowy-inside texture that separates great pizza from mediocre pizza. It also means leftover pizza reheats better because the crust retains moisture overnight instead of turning into cardboard.
Classic Honey Pizza Dough: The Complete Recipe
This recipe makes enough dough for two 12-14 inch pizzas or four personal-sized pizzas. The overnight cold ferment is optional but produces significantly better flavor.
- **Ingredients:** 3 1/4 cups (400g) bread flour (or all-purpose); 1 tablespoon (15g) raw honey (wildflower, clover, or acacia); 1 1/4 teaspoons (5g) instant yeast (or 1 1/2 teaspoons active dry); 1 1/4 teaspoons (8g) fine salt; 1 cup plus 2 tablespoons (270ml) warm water (105-110°F); 2 tablespoons (25ml) olive oil.
- **Step 1: Activate the yeast** — Stir honey into warm water until dissolved. If using active dry yeast, sprinkle it over the honey water and wait 5-10 minutes until foamy. Instant yeast can be mixed directly with the flour. The honey provides an immediate food source that produces visible foaming within 3 minutes.
- **Step 2: Mix the dough** — Combine flour, salt, and yeast (if using instant) in a large bowl. Add the honey water and olive oil. Stir with a wooden spoon or dough hook until a shaggy dough forms. It will look rough — that is normal.
- **Step 3: Knead until smooth** — Turn out onto a clean surface and knead for 8-10 minutes until the dough is smooth, elastic, and slightly tacky but not sticky. Or use a stand mixer with dough hook on medium-low for 6-7 minutes. The windowpane test: stretch a small piece thin — if you can see light through it without tearing, the gluten is developed.
- **Step 4: First rise** — Shape the dough into a ball, place in a lightly oiled bowl, and cover with plastic wrap or a damp towel. Rise at room temperature for 1-1.5 hours until doubled in size. Honey-fed yeast typically rises faster than sugar-fed.
- **Step 5: Divide and shape** — Punch down the dough gently. Divide into 2 equal pieces for large pizzas or 4 pieces for personal size. Shape each into a tight ball by tucking the edges underneath. Place on a floured surface, cover, and rest for 15-20 minutes before stretching.
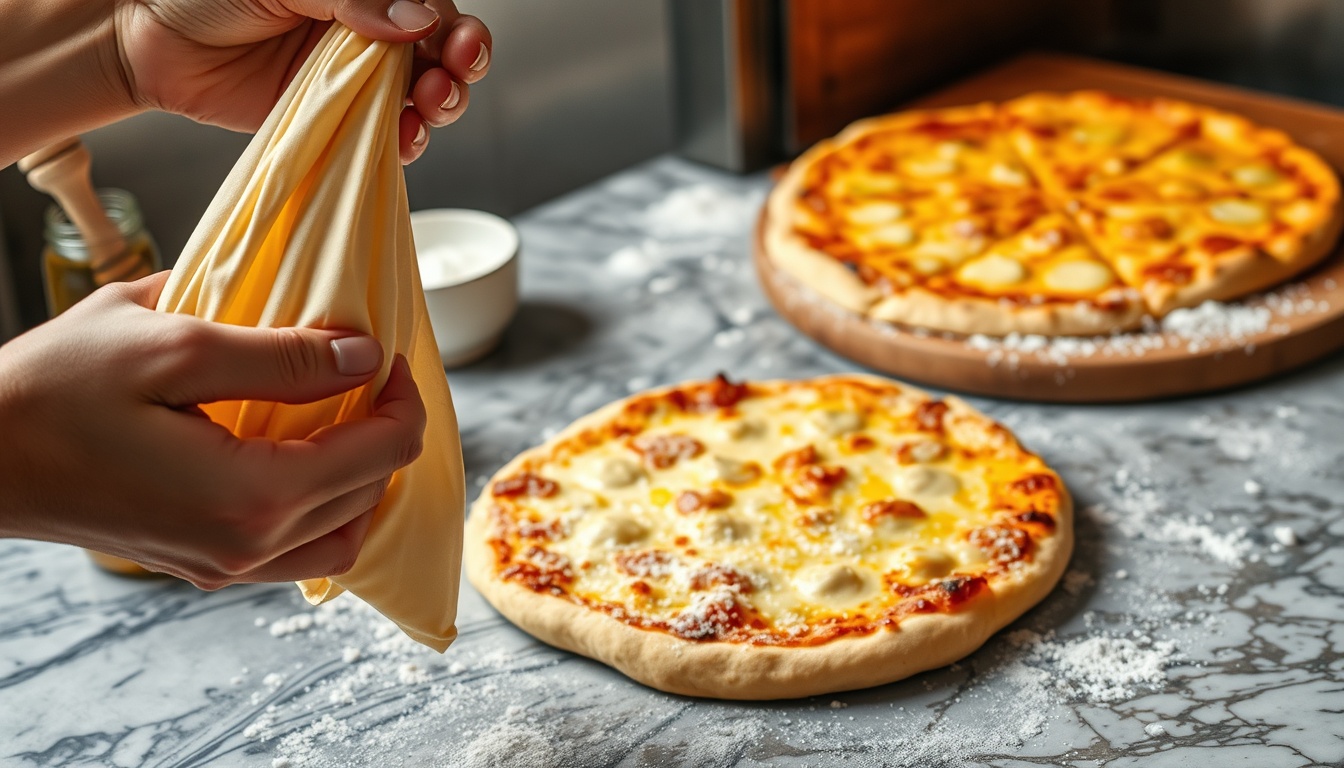
- **Step 6: Stretch and top** — On a floured surface or parchment, stretch each ball into a 12-14 inch round using your hands (not a rolling pin — rolling pins pop the gas bubbles that create the airy, chewy crust). Leave the edges slightly thicker for the cornicione (the puffy outer rim). Add sauce, cheese, and toppings.
- **Step 7: Bake** — Place on a preheated pizza stone or inverted sheet pan at 500-550°F (the highest your oven goes) for 8-12 minutes until the crust is golden-brown with dark spots and the cheese is bubbling. The honey-enriched dough browns faster than plain dough, so watch the edges.
Pro Tip
For significantly better flavor, do an overnight cold ferment. After the first rise, divide the dough into balls, place in individual oiled containers, and refrigerate for 12-72 hours. The slow, cold fermentation develops complex flavors (tangy, slightly nutty) that a quick room-temperature rise cannot match. Pull from the fridge 1 hour before shaping to bring to room temperature.
Choosing the Best Honey for Pizza Dough
You need only 1 tablespoon of honey per batch, so the variety matters less here than in a honey-forward recipe like honey cake. Still, certain honeys work better than others.
- **Clover honey ($8–15/lb)** — The top recommendation. Mild, clean sweetness that enhances the dough without adding detectable floral flavor. This is what most pizzerias use, and at $8–15 per pound it is the most affordable option.
- **Wildflower honey ($10–18/lb)** — Slightly more complex than clover, with subtle floral notes that add depth. Excellent all-purpose choice.
- **Acacia honey ($12–20/lb)** — Extremely mild and neutral with a low glycemic index (GI ~32). If you want zero detectable honey flavor and only the functional benefits (yeast feeding, browning, moisture), acacia is the pick.
- **Orange blossom honey ($12–20/lb)** — Adds a hint of citrus that works surprisingly well with tomato sauce. Worth trying if you have it on hand.
- **Avoid strong-flavored honeys** — Buckwheat ($15–25/lb) and chestnut ($20–35/lb) have bold, distinctive flavors that can come through even at 1 tablespoon and compete with your toppings.
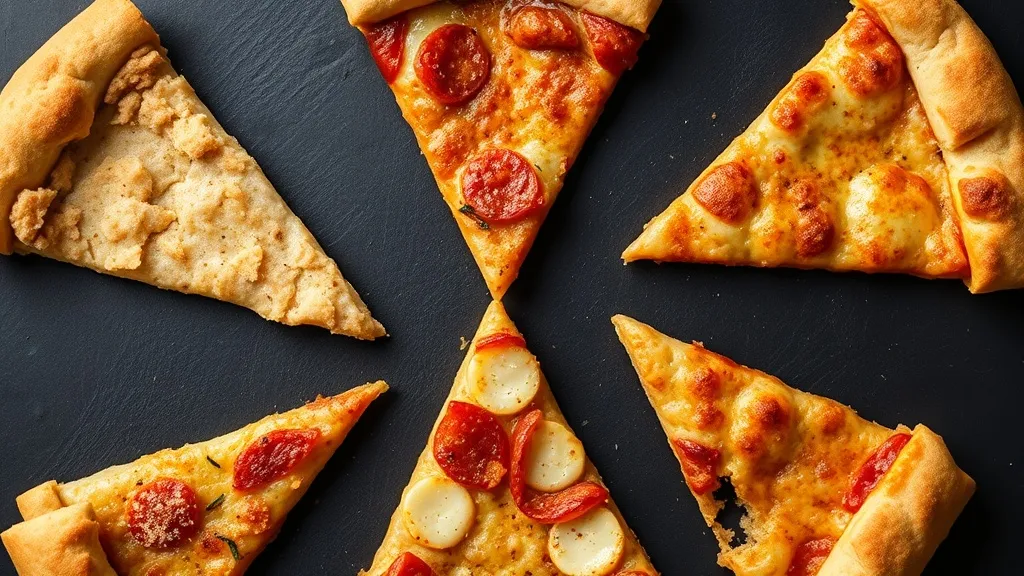
5 Honey Pizza Crust Variations
Each variation modifies the base dough or baking method to produce a different style of crust.
- **1. Thin and crispy** — After dividing, roll the dough as thin as possible (1/8 inch) with a rolling pin. Dock the surface with a fork to prevent large bubbles. Bake directly on a preheated pizza stone at 500°F for 6-8 minutes. The result is a cracker-crispy base that shatters when you bite.
- **2. Deep dish / pan pizza** — Press the dough into an oiled 10-inch cast iron skillet, pushing it up the sides. Add sauce and toppings. Bake at 425°F for 25-30 minutes. The olive oil in the pan creates a fried, buttery crust. Add 1 extra tablespoon of honey to the dough for a sweeter contrast with the savory fillings.
- **3. Garlic honey crust** — Before baking, brush the shaped outer rim with a mixture of 2 tablespoons melted butter, 1 tablespoon honey, and 2 minced garlic cloves. Sprinkle with dried Italian herbs and Parmesan. The honey-butter garlic crust becomes the best part of the pizza.
- **4. Whole wheat honey** — Replace half the bread flour (200g) with whole wheat flour. Add 1 extra tablespoon of honey (2 total) and 2 extra tablespoons of water to compensate for the bran absorbing moisture. Knead 2 minutes longer. The result is nuttier and heartier with more fiber. The extra honey balances whole wheat's slight bitterness.
- **5. Honey stuffed crust** — Roll the dough slightly larger than your pan. Place string cheese or mozzarella sticks around the outer edge. Fold the dough over the cheese and press to seal. Brush with honey butter before baking. The honey-glazed stuffed crust adds a sweet-savory element that puts delivery pizza to shame.
The Science of Honey in Bread Dough
Understanding what honey does at each stage helps you troubleshoot and adapt the recipe.
During mixing, honey's viscosity helps hydrate the flour evenly — it distributes more uniformly through the dough than granulated sugar crystals, which dissolve unevenly. This produces more consistent texture.
During fermentation, yeast (Saccharomyces cerevisiae) consumes the glucose in honey first because it can metabolize it without the invertase enzyme required to break down sucrose. The fructose is metabolized more slowly, providing a sustained food source that extends fermentation activity. This is why honey-enriched doughs often have a more complex flavor — the yeast is more active for longer.
During baking, fructose's lower caramelization point (230°F) means the crust starts browning earlier. In a 500°F home oven — which is already 300°F cooler than a wood-fired Neapolitan oven — this head start on browning is crucial for achieving the charred spots and golden color that mark a great pizza.
After baking, honey's hygroscopic nature keeps the crust soft inside. Regular pizza dough loses moisture rapidly and becomes stiff within hours. Honey-enriched dough stays chewy longer because the fructose literally holds onto water molecules through hydrogen bonding.
Storage, Make-Ahead, and Freezing
Pizza dough is one of the most freezer-friendly foods you can make. A batch in the freezer means homemade pizza is always 20 minutes away.
- **Refrigerator (up to 72 hours)** — After the first rise, divide into balls and store in individual oiled containers or zip-top bags. This doubles as a cold ferment that improves flavor. Pull out 1 hour before shaping.
- **Frozen (up to 3 months)** — Shape into balls after the first rise. Coat lightly with olive oil, wrap tightly in plastic wrap, then place in a freezer bag. Thaw overnight in the refrigerator, then bring to room temperature for 1 hour before stretching. Honey-enriched dough freezes better than plain dough because the honey prevents ice crystal damage.
- **Par-baked crusts (up to 2 months frozen)** — Stretch the dough, dock with a fork, and bake at 450°F for 5-6 minutes until set but not browned. Cool, stack with parchment between crusts, and freeze. To serve, top the frozen par-baked crust directly and bake at 500°F for 8-10 minutes. Fastest path from freezer to table.
- **Baked pizza** — Leftover slices keep in the fridge for 3-4 days. Reheat in a skillet over medium heat (covered for 3-4 minutes) rather than the microwave. The honey in the crust helps it stay softer than regular pizza dough even after refrigeration.