Why Honey and Ginger Work Together
Honey and ginger is one of the great flavor combinations in cooking, and there is real food science behind why it works so well on chicken.
Fresh ginger contains gingerol — the compound responsible for its signature warm, zingy bite. Gingerol is not just heat. It is a different kind of pungency than chili peppers (capsaicin) or black pepper (piperine). Gingerol activates both heat and cold receptors simultaneously, creating a complex warming sensation that contrasts perfectly against the pure sweetness of honey.
When honey meets the hot skillet, its fructose caramelizes at 230°F — well below the pan temperature. This creates the sticky, lacquered glaze that clings to the chicken. The ginger's volatile oils concentrate during this brief cook, intensifying from fresh and bright to warm and deep.
The soy sauce provides glutamate (umami), the rice vinegar adds acidity that balances the sweetness, and the sesame oil adds a toasty finish. Together, these five flavors — sweet, salty, sour, spicy, and umami — hit every taste receptor. This is why the dish tastes more complex than its simple ingredient list suggests.
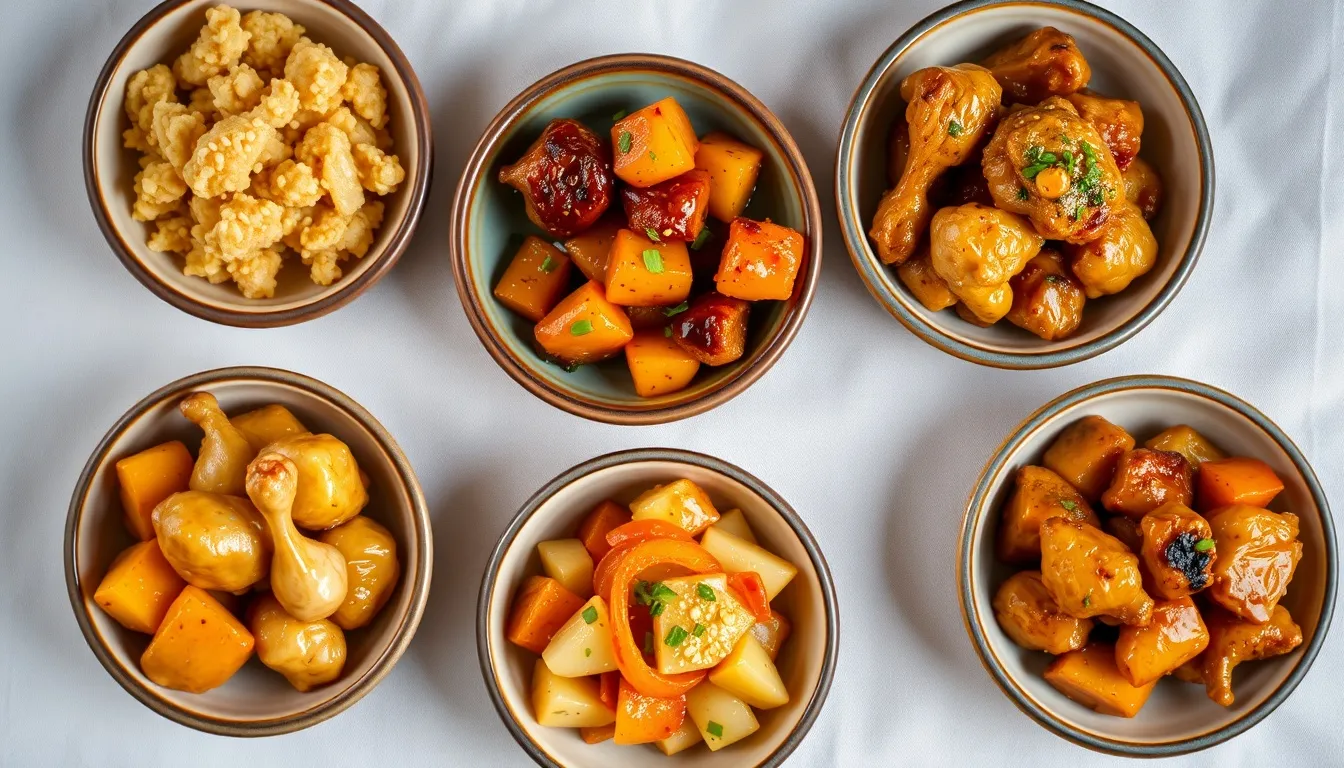
5 Flavor Variations
The base recipe is versatile. Change a few ingredients and the entire character shifts.
- Honey ginger sesame — increase the sesame oil to 1 tablespoon and add 2 tablespoons toasted sesame seeds to the sauce while it reduces. Finish with a drizzle of sesame oil and extra seeds. The nutty depth of toasted sesame makes this version especially good over honey garlic noodles
- Spicy honey ginger — add 1-2 tablespoons chili garlic sauce (sambal oelek) or honey sriracha sauce to the glaze. The heat builds slowly against the honey sweetness and ginger warmth. Finish with thinly sliced red chili for color and extra kick
- Honey ginger lime — add the juice and zest of 2 limes to the sauce. Replace the sesame oil with a neutral oil. The bright citrus transforms this into something closer to Thai-inspired flavors. Garnish with fresh cilantro and serve with jasmine rice and honey lime shrimp tacos
- Honey ginger teriyaki — add 2 tablespoons mirin to the sauce for a sweeter, more traditional Japanese flavor profile. The mirin adds a subtle rice wine depth. Serve over sticky rice with pickled ginger on the side, like a homemade version of honey teriyaki chicken
- Honey ginger coconut — replace the sesame oil with 2 tablespoons coconut milk and add 1/2 teaspoon curry powder. This creates a creamy, Southeast Asian-inspired sauce with warming spice. Serve over coconut rice with fresh herbs and a squeeze of lime
Best Honey Varieties for Ginger Chicken
The honey flavor concentrates during pan reduction, so your variety choice affects the final glaze.
- Wildflower honey — the best all-purpose choice. The mild floral complexity complements ginger without competing. Works with all five variations
- Clover honey — clean and mild. Use this when you want the ginger and garlic to be the dominant flavors with honey providing structure and sweetness only
- Orange blossom honey — adds a subtle citrus note that enhances the ginger and works especially well with the lime variation
- Buckwheat honey — bold and malty with deep caramel notes. Creates a darker, richer glaze. Best with the spicy and teriyaki variations where its intensity matches the other strong flavors
- Acacia honey — very light and neutral with the lowest glycemic index of common honeys. Use this when you want clean sweetness without adding any competing flavor
Tips for the Perfect Glaze
The difference between a sticky, lacquered glaze and a thin, watery sauce comes down to a few details.
- Dry the chicken thoroughly — moisture on the surface turns to steam and prevents browning. Press paper towels firmly against each thigh. This single step has more impact on the final dish than any other
- Do not move the chicken during the first sear — 5-6 minutes undisturbed builds the golden crust and fond (browned bits) that become the flavor base for the sauce. If the chicken sticks, it is not ready to flip yet. Wait until it releases naturally
- Deglaze with the sauce — the browned fond on the pan bottom is pure concentrated flavor. When the sauce hits the hot pan, it dissolves that fond into the liquid. Never skip this step by making the sauce in a separate pan
- Use the cornstarch slurry — without it, the sauce is too thin to cling to the chicken. The cornstarch creates a glossy, spoon-coating consistency in seconds. Always mix the cornstarch with cold water first to prevent lumps
- Rest the chicken in the sauce — returning the chicken to the pan off-heat lets it absorb the glaze. Skipping this step means the sauce slides off onto the plate instead of staying on the meat
Pro Tip
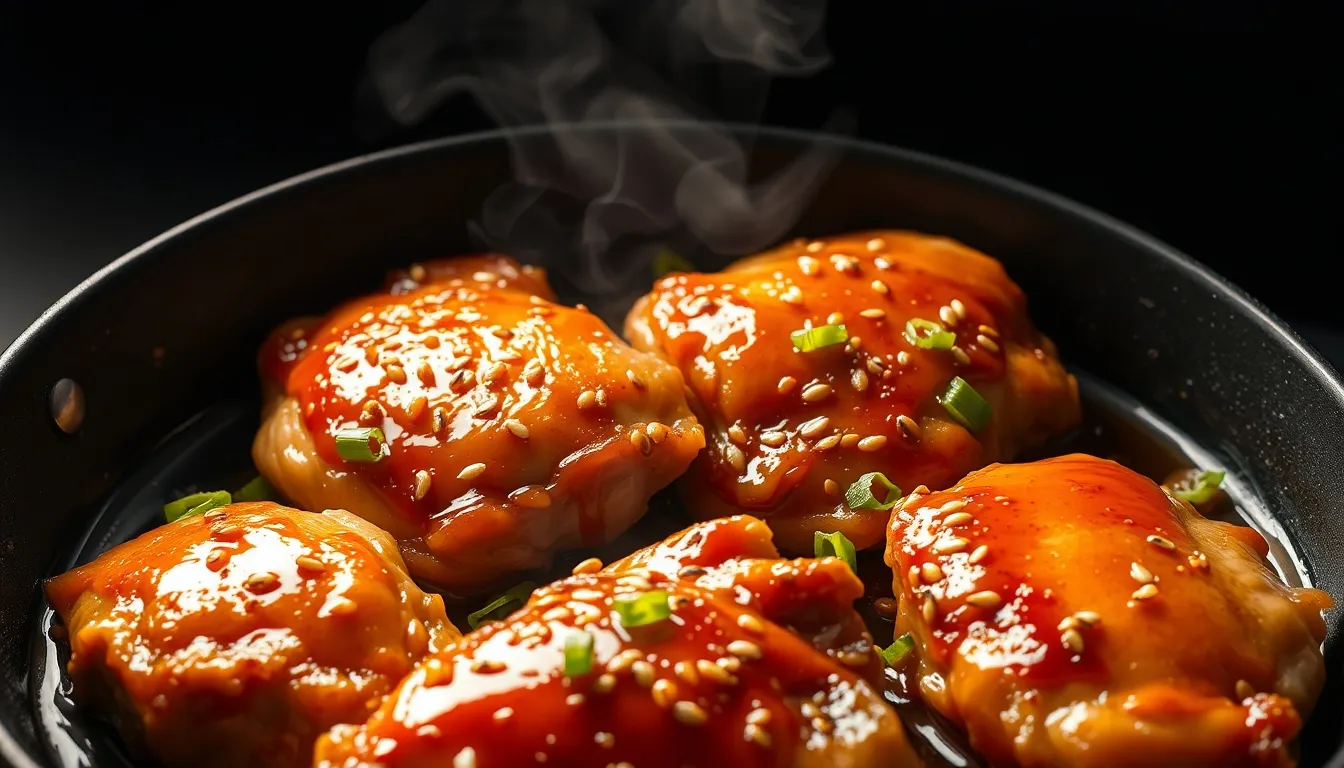
For extra-crispy skin: use bone-in, skin-on chicken thighs. Sear skin-side down first for 8 minutes until the skin is shatteringly crispy, then flip and finish. Glaze only the meat side so the skin stays crunchy.
Serving Suggestions
Honey ginger chicken pairs well with a variety of sides.
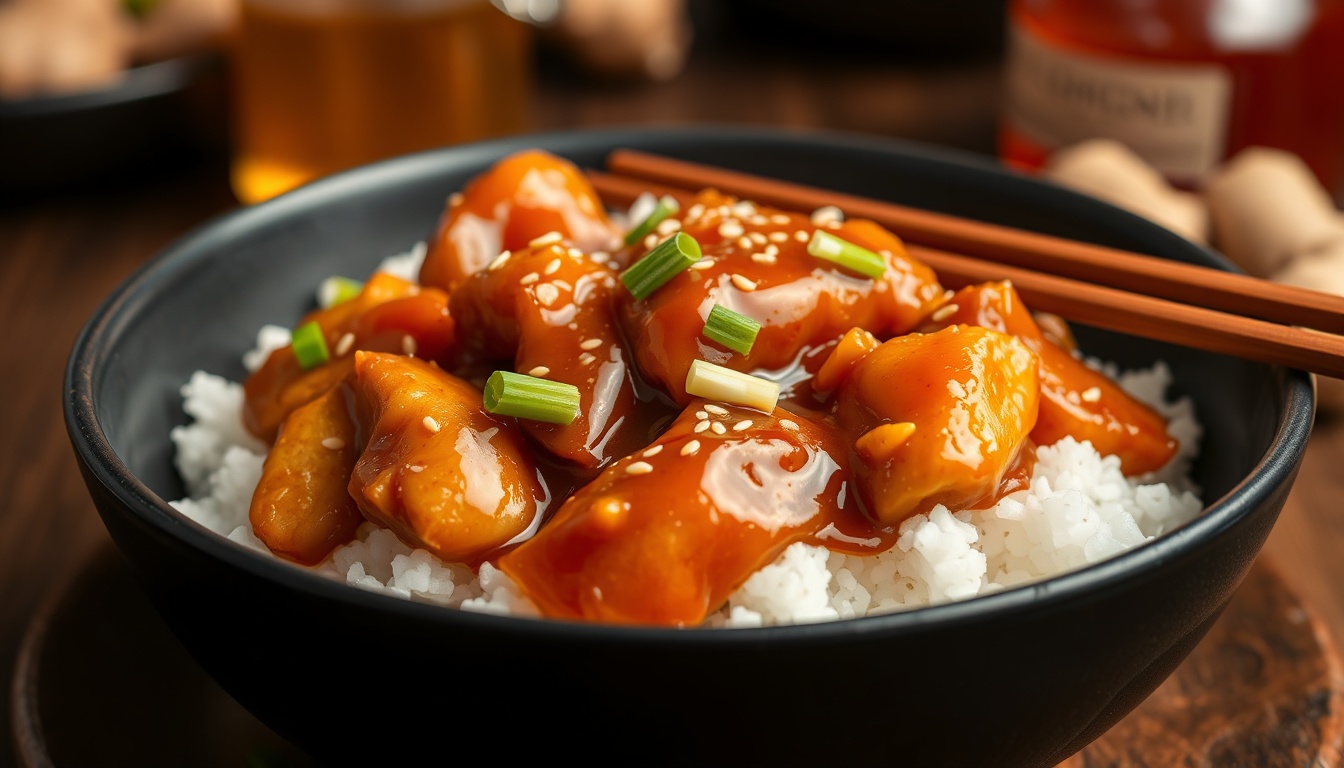
- Over jasmine or sticky rice — the rice soaks up the extra glaze from the plate, which is the best part of the dish. For a twist, try coconut rice
- With honey garlic broccoli or honey garlic green beans for a complete Asian-inspired dinner
- Over honey garlic noodles for a one-bowl meal that takes the honey-ginger theme through the entire plate
- In lettuce wraps with shredded carrots, cucumber, and a drizzle of honey peanut sauce for a lighter option
- Sliced over a grain bowl with edamame, avocado, pickled red onion, and honey lime dressing
Meal Prep and Storage
This recipe works well for weekly meal prep with a few adjustments.
- Refrigerator — the glazed chicken keeps for 4 days in an airtight container. The sauce thickens further as it cools, which is actually a benefit — the glaze clings better when reheated
- Reheating — use a skillet over medium heat with a splash of water to loosen the glaze. Microwave works but softens the sear. Add a teaspoon of fresh honey to the skillet while reheating to refresh the glaze
- Freezer — the cooked, glazed chicken freezes well for up to 3 months. Thaw overnight in the refrigerator and reheat in a skillet. The sauce separates slightly when frozen but comes back together during reheating
- Sauce only — make a double batch of the honey ginger sauce and store it separately for up to 2 weeks refrigerated. Use it as a quick glaze for chicken, shrimp, tofu, or salmon throughout the week
Common Mistakes
Simple recipe, but a few common errors to avoid.
- Using chicken breast instead of thighs — breasts dry out easily during the searing and glazing process. Thighs have more fat and connective tissue, which keeps them moist even when slightly overcooked. If you must use breast, slice it into thin cutlets and reduce sear time to 3-4 minutes per side
- Grating the ginger too coarsely — large pieces of ginger create unpleasant fibrous bites in the sauce. Use a microplane or the fine side of a box grater. Fresh ginger should become a paste, not chunks. Alternatively, press grated ginger through a fine-mesh strainer and use only the juice
- Adding the sauce too early — the sauce should go into the pan after the chicken is cooked and removed. Adding it with raw chicken floods the pan, lowers the temperature, and steams the meat instead of searing it
- Skipping the rest — cutting into the chicken immediately after glazing lets all the juices run out. The 2-minute rest in the sauce is short but essential. The internal temperature continues rising 5°F during this time, finishing the cook gently